How to Make a Rainbow Yarn Tree Topper
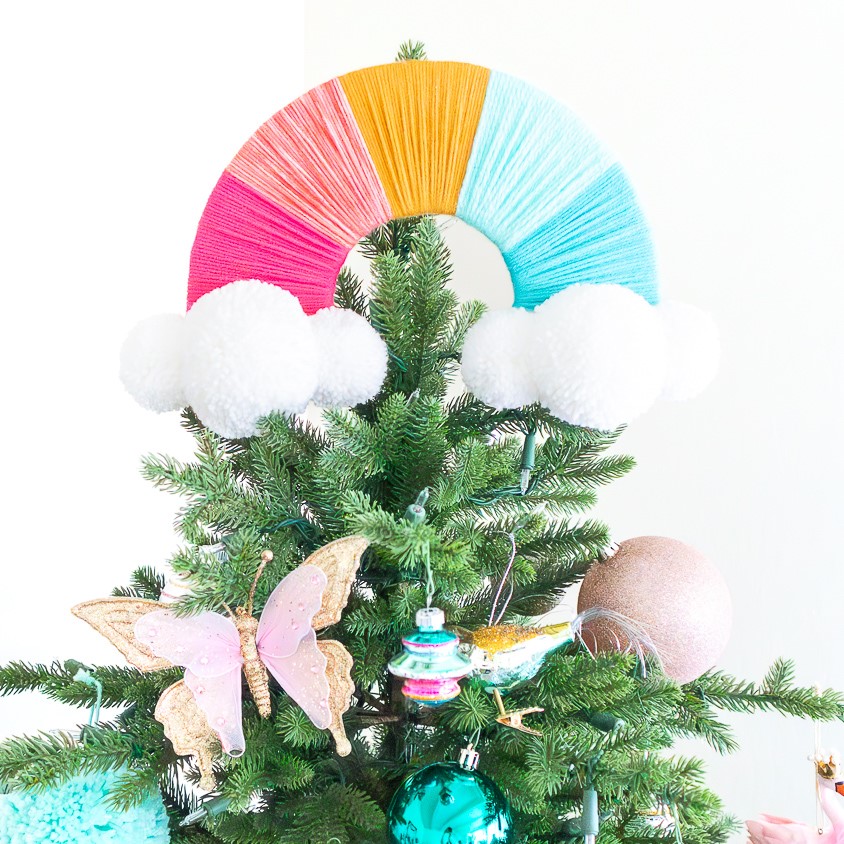
This DIY rainbow yarn tree topper makes a JOYFUL addition any colorful Christmas tree!
If you’ve been following my blog for a while, you know I love color and especially rainbows! In fact, in recent years I’ve totally leaned into the colorful, rainbow-y vibe for the holidays and I’m not looking back! If you’re looking to add a burst of color and a dash of whimsy to your holiday decor, you’re going to love this easy DIY project.
In today’s tutorial, I’ll show you how to make a vibrant rainbow yarn tree topper that’s sure to steal the show. Whether you’re aiming for a cheerful, crafty aesthetic or just want to spread extra joy this holiday season, this tree topper is a guaranteed crowd-pleaser. Grab your favorite yarn and let’s get wrapping!
Keep reading for the supplies list and step-by-step tutorial!
SAVE THIS PIN!

This post contains affiliate links. If clicked, I may make a small commission at no cost to you. As an Amazon affiliate, I earn from qualifying purchases.
Supplies
MATERIALS
Yarn in assorted colors (for rainbow) – I used 5 colors, but you can use as many colors as your rainbow heart desires!
White yarn (for clouds)
Pom pom maker – I used the 1.75 inch and 2.5 inch pom pom makers
Felt (for placing on tree)
TOOLS
Pencil
Ruler
Scissors
Sandpaper
Hot glue gun + glue sticks
Instructions
VIDEO OVERVIEW
PHOTO OVERVIEW
1. Cut Foam Board into Rainbow Shape
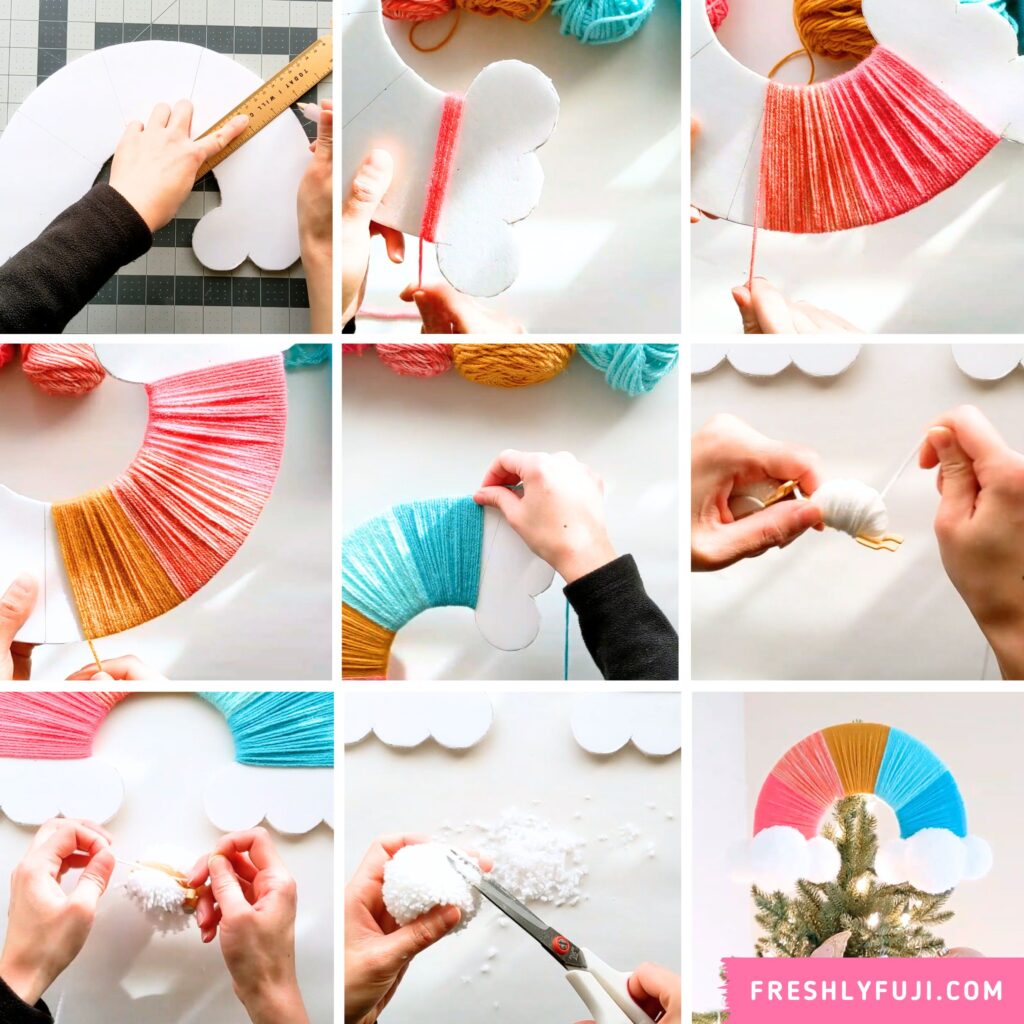
Print out rainbow template (see above to download) on two pages of printer paper. Tape both pieces together and cut out the rainbow shape. It should measure 14.2 inches across.
Trace the rainbow shape onto a foam board and cut it out using a craft knife. Use sandpaper to smooth out any bumps. It doesn’t need to be perfect since it’ll be covered with yarn!
2. Mark Off Sections on Rainbow Foam Board
Use a ruler and pencil to divide the rainbow into 5 even sections. If you’re using 5 colors of yarn for your rainbow, make 5 sections. If you’re using more colors than this, you will need to create more sections.
3. Wrap Rainbow Part of Foam Board With Colored Yarn
Start at one end of the rainbow and work your way to the other end. Select your first yarn color and attach the end to the back of the foam board using hot glue. Now wrap the yarn around the foam board snugly together until you reach the first marking. Cut the yarn and glue the tail on the back of the foam board. Repeat this process with the next sections until you get to the end of the rainbow.
4. Make Pom Poms From White Yarn
You will need to make FOUR small pom poms (using 1.75 inch pom pom maker) and TWO larger pom poms (using 2.5 inch pom pom maker) to make two complete clouds.
Extend one set of arms of the pom pom maker. Wrap the white yarn around the set of arms until it’s full. Close the set of arms and cut off the yarn. Repeat this process on the other set of arms.
Next, cut through all the yarn between the two arms, being careful to keep the arms closed. Cut off a piece of yarn and wrap it around the gap between the two arms and tie a tight knot. Wrap the ends around and tie another tight knot and trim.
Finally, trim the excess yarn around the pom pom to form a round ball. It may take several rounds of trimming to get the right shape.
Repeat this process for the other 5 pom poms! This post has more detailed instructions on how to use the Clover pom pom makers.
5. Attach Pom Poms to Foam Board to Form Clouds
Hot glue one large pom pom to the center of the left cloud. Hot glue the two small pom poms on either side of the large pom pom. Repeat for the cloud on the right side.
6. Add Felt Loop For Hanging
In order to place the tree topper on my Christmas tree, I needed some kind of loop. I cut out a 2.5 inch x 0.5 inch strip of felt and glued both ends vertically behind the yellow yarn to form a loop. Then I wrapped floral wire through the loop and around the top branch of my artificial tree several times to secure it in place.
Deck the Halls with Rainbows!
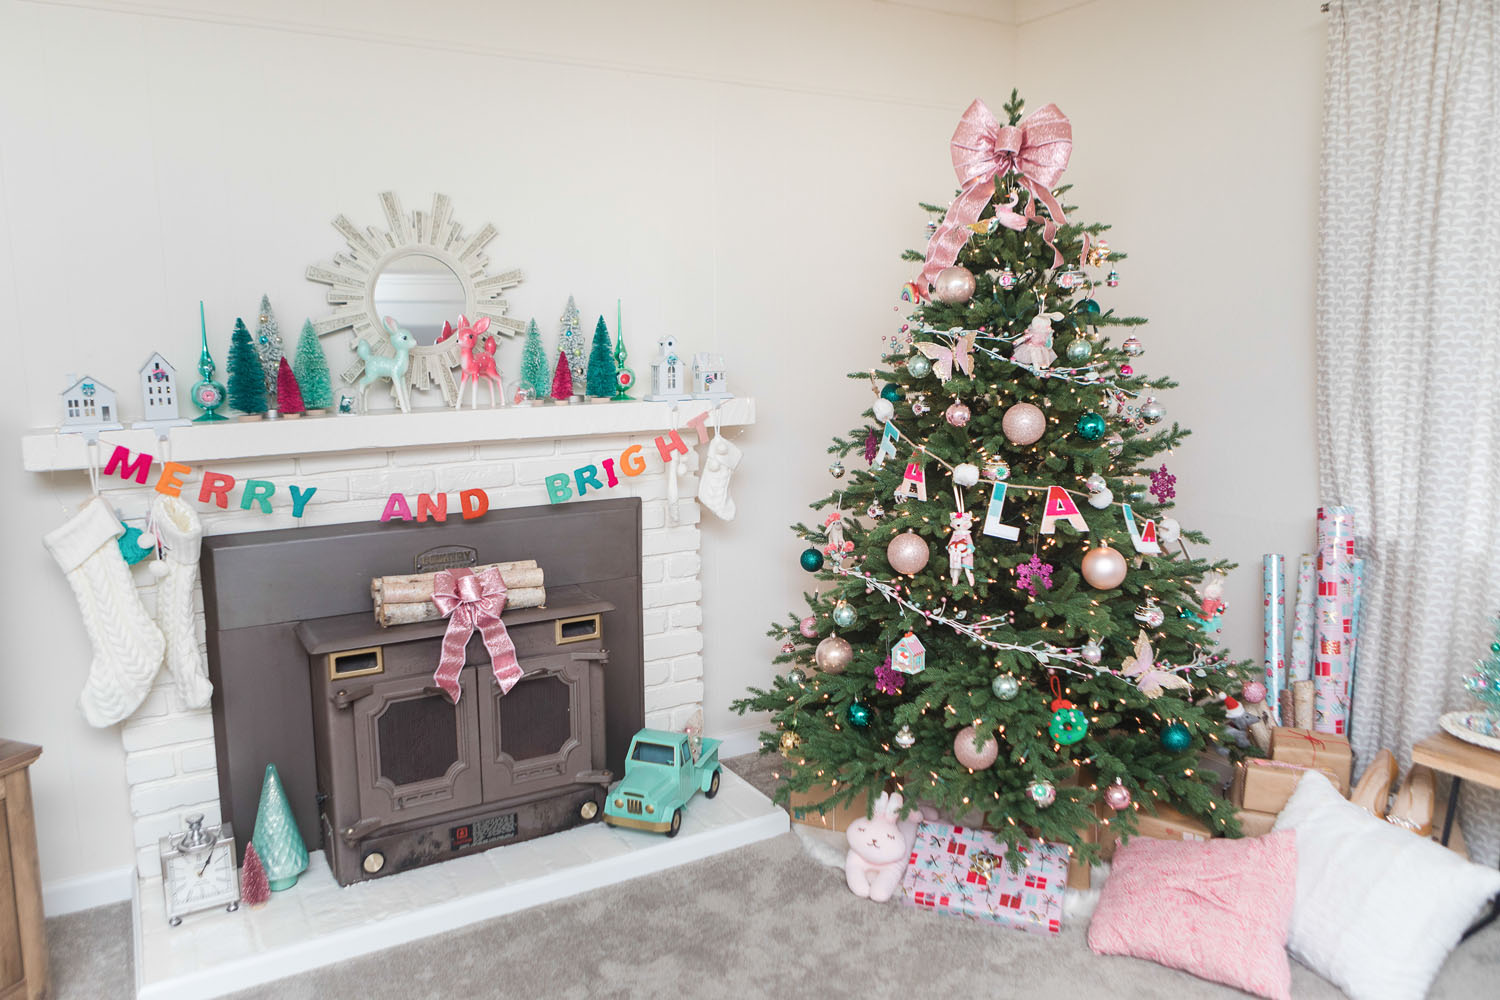
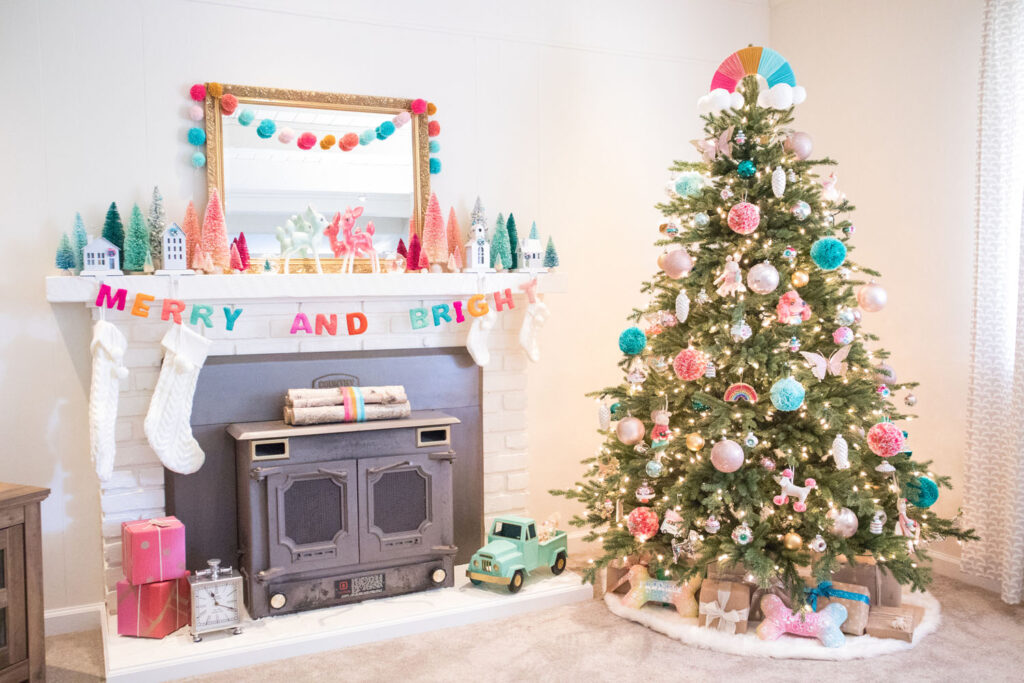
This rainbow tree topper really was the icing on my cake Christmas tree! Check out my colorful Christmas home tour for more fun decorating ideas.
Other Variations and Ideas
CHOOSE YOUR COLORS – Use yarn in your favorite color palette to make it personalized to you!
ADD MORE COLORS – I used 5 yarn colors for this project, but you can use as many as your heart desires.
VARY THE SPACING – Change up the spacing between colors (some thicker, some thinner) for a more eclectic look.
WALL ART – Attach a ribbon or loop to the back of the rainbow and use it as a wall hanging! How cute would this be in a nursery, kids room, or craft space?
I hope you love this rainbow tree topper as much as I do! I especially love that it ties in with my pom pom ornaments and garlands, AND that it also doubles as wall decor in my craft room.
What colors would you use for yours? If you end up making this tree topper or something like it, tag me on Instagram so I can see it and cheer for you! Happy crafting!!
