How to Paint a Rainbow Stripe Wall
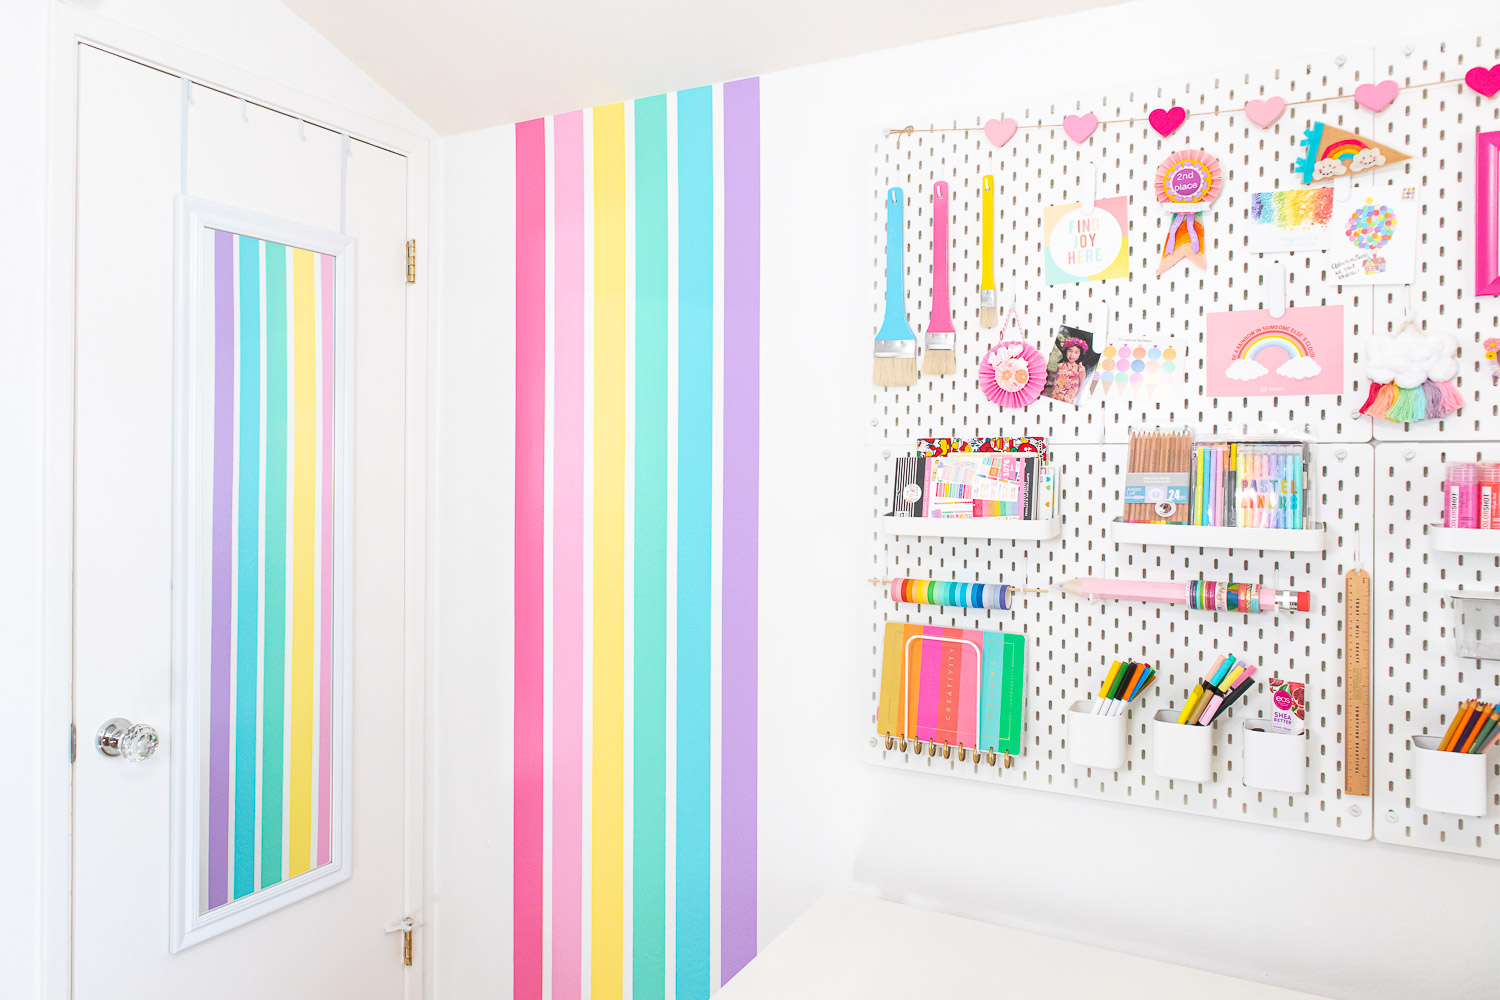
The corner of my craft room next to my desk has always been a blank white space. After several months of looking at the wall with paint swatches I taped up, I decided to commit to rainbow stripes and I couldn’t be happier. I can now see my rainbow stripe wall in the periphery when I’m working and it brings me so much joy! It also (unintentionally) serves as a fun backdrop for outfit photos which I am totally excited about! If you’re looking for a fun and inexpensive way to cheer up your craft space, office or bedroom, I’m sharing my step-by-step tutorial below. The whole process only took one evening and it was way easier than I expected!
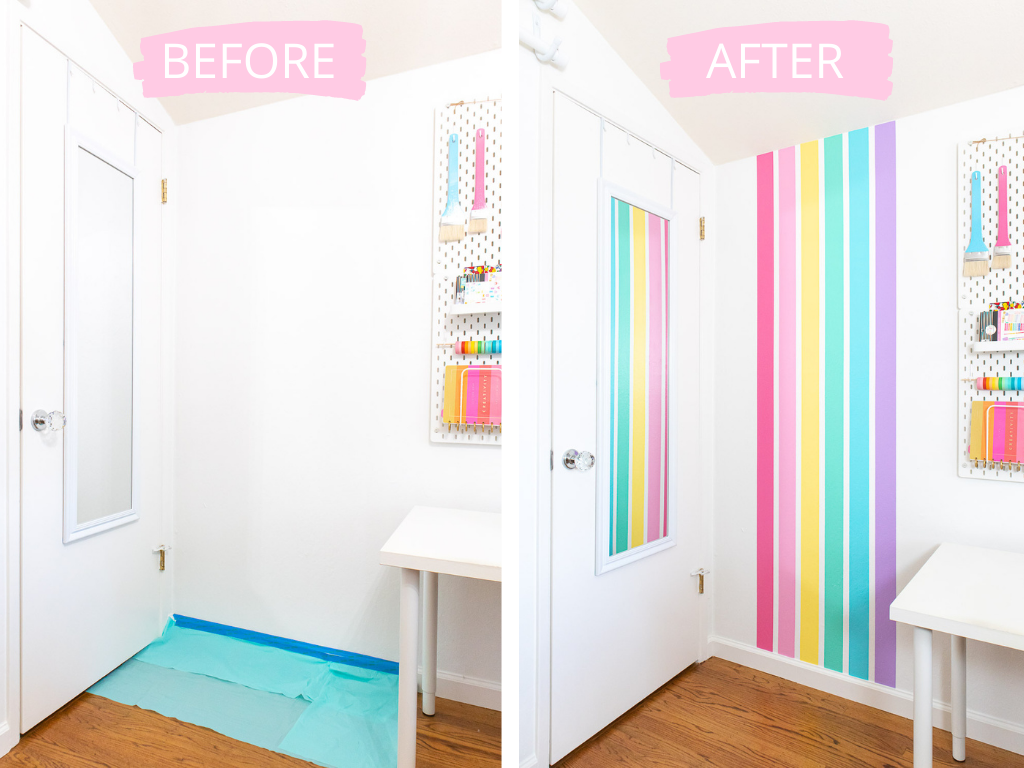
Keep reading for my step by step tutorial!
Some of the below links are affiliate links and if clicked, I may make a small commission at no cost to you. As an Amazon Associate I earn from qualifying purchases.
Materials
Laser level mounted on tripod
Pencil
Yardstick
Painter’s Tape
Drop cloth
Base paint (existing wall color)
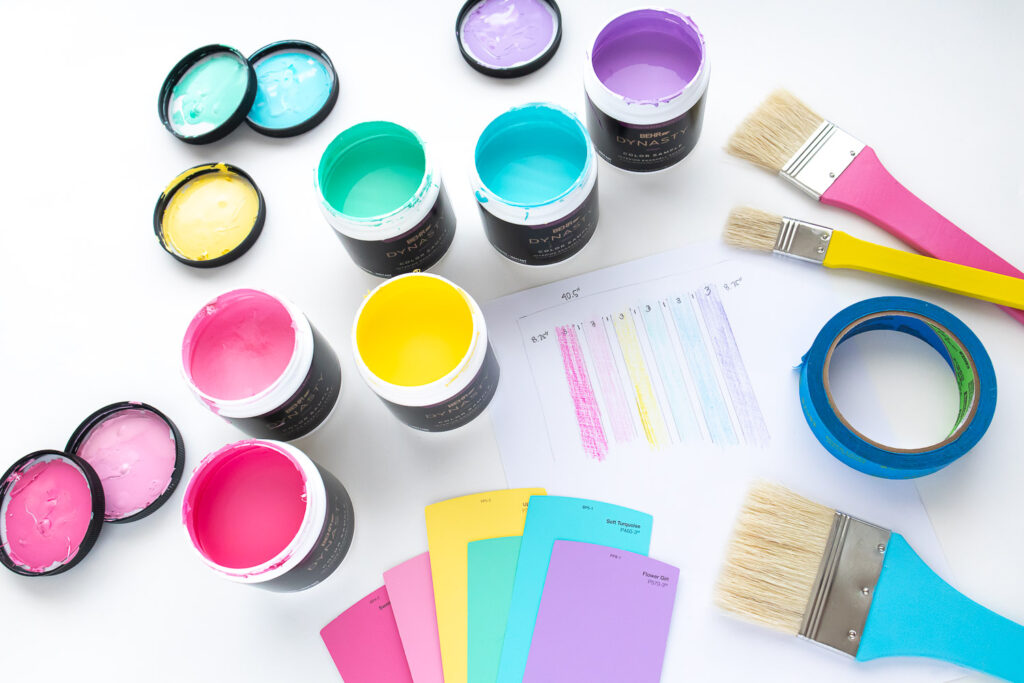
Paint for stripes. I used Behr Dynasty in an eggshell finish and purchased six 8 oz. sample jars for just under $40. Here are the colors I used: Sweet Chrysanthemum, Little Princess, Upbeat, Tropical Trail, Soft Turquoise, Flower Girl.
Small paint brush (I used 0.5 inch and 0.75 inch flat brushes)
Larger paint brushes (I used 1.5 inch and 2 inch brushes, one for each color. You can get away with less if you clean the brushes after each coat)
Plastic wrap
Instructions
1. Pick paint colors
Picking paint colors can be intimidating especially if you’re picking out enough colors to fill a rainbow! My suggestion is to get color palette ideas from photos online (Pinterest is a great place to find and save inspiration). It doesn’t even have to be a rainbow stripe wall, it could be a photo of any color palette you love! Once you have a general idea of what colors you like, head to your local paint store. I like to go to Home Depot because I can browse their giant selection of paint swatches and purchase paint colors in small 8 oz. jars which are perfect for small projects like this! I chose an eggshell finish which matches the finish of my walls and has a subtle sheen which is easy to clean.
Tip: Before committing to paint colors, pick out a bunch of swatches and bring them home. See how they look next to each other and with your existing wall color. Colors can read differently depending on what colors they’re next to and the lighting in your space. Tape them up on your wall and observe them at different times of the day. Switch out colors until you’re happy with the combination.
2. Prep wall surface
Use a damp cloth to wipe off any dust or debris from your walls. Allow to dry.
3. Sketch your rainbow stripe wall design
Sketch out what you want your rainbow stripe wall to look like on a piece of paper. (You can also use a design program to map it out on a photo of your space if you’re more tech savvy). Determine the thickness of the colored stripes, spacing in between (if any), and placement on your wall. For my space I decided on stripes 3 inches wide with 1 inch spaces in between. This was convenient because my painter’s tape was already 1 inch wide.
4. Draw the stripes on your wall
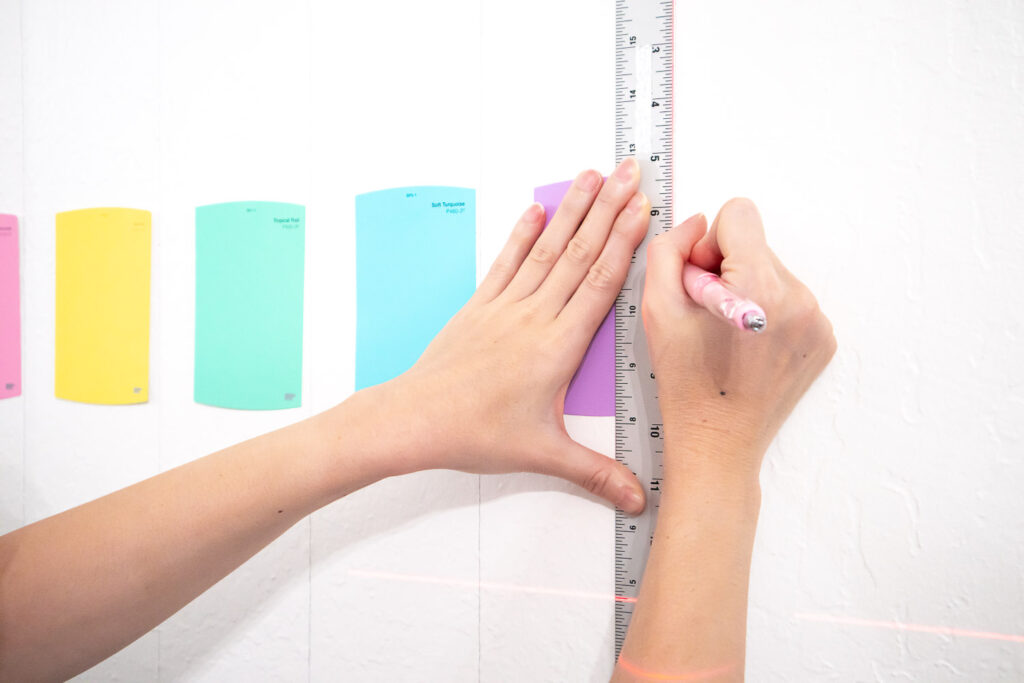
Mark placement of stripes on your wall using a pencil and yardstick. Turn on the laser level and align the vertical laser line with the markings. Place the yardstick along the laser line and use a pencil to lightly draw a vertical line from the ceiling to the baseboard. Repeat for all the stripes.
Note: I only sketched along one edge of the paint swatches here because I knew the 1 inch painter’s tape would fill in the intended gaps between my stripes. If you want the spacing between your stripes to be larger than the width of your painter’s tape, you’ll have to draw lines along both borders.
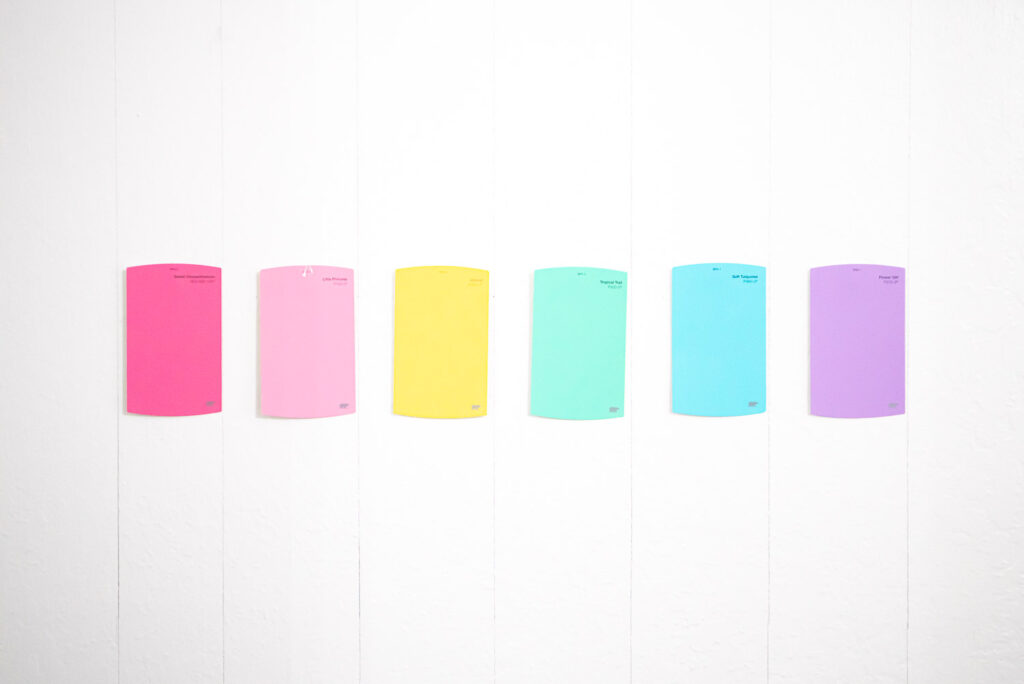
5. Tape off stripe borders
Starting from where the wall meets the ceiling, use painter’s tape to tape off the borders of each stripe. Remember to do this for the top (not shown) and bottom edges to avoid getting paint on your ceilings or baseboards. Tape down a drop cloth to cover your baseboards and floor to prevent paint from dripping on those surfaces. Press the tape firmly to make sure it is adhered to the walls and baseboard with minimal gaps.
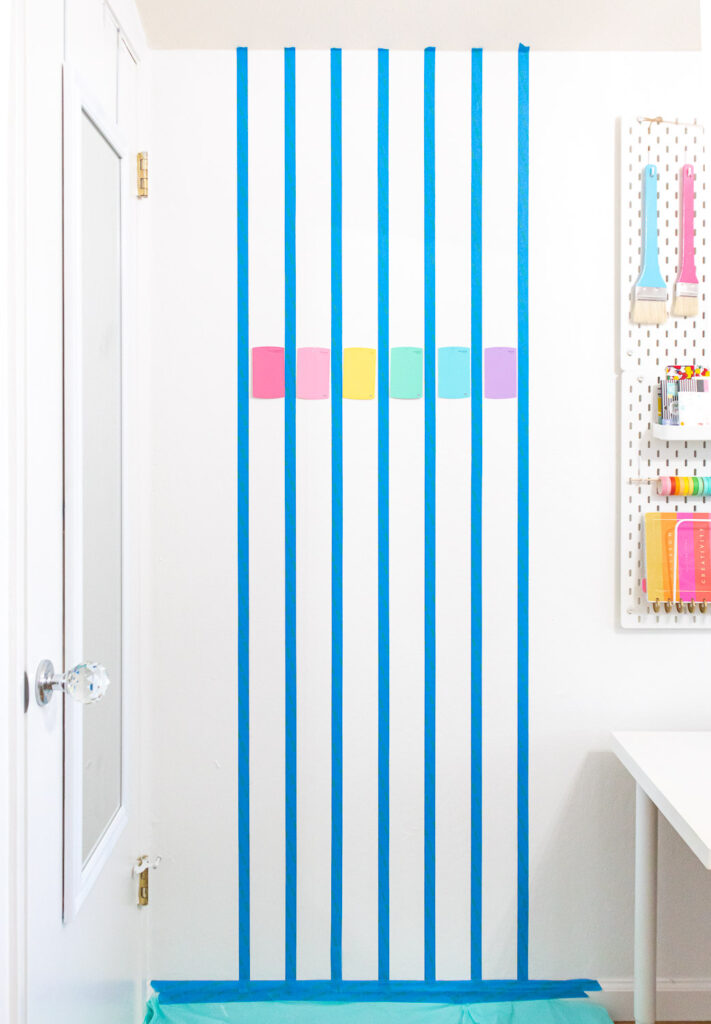
6. Apply base paint to the edges of painter’s tape
Using a small paint brush, apply a thin coat of base paint (in my case white) to the edges of the tape that will contact the stripes. This “seals” the gaps between the painter’s tape and walls, preventing the colored paint from seeping under. Although this seems like an extra step, it’s crucial to getting clean lines and minimizes touch ups! This is especially important if you have textured walls like mine. Allow the paint to dry to touch before proceeding to the next step.
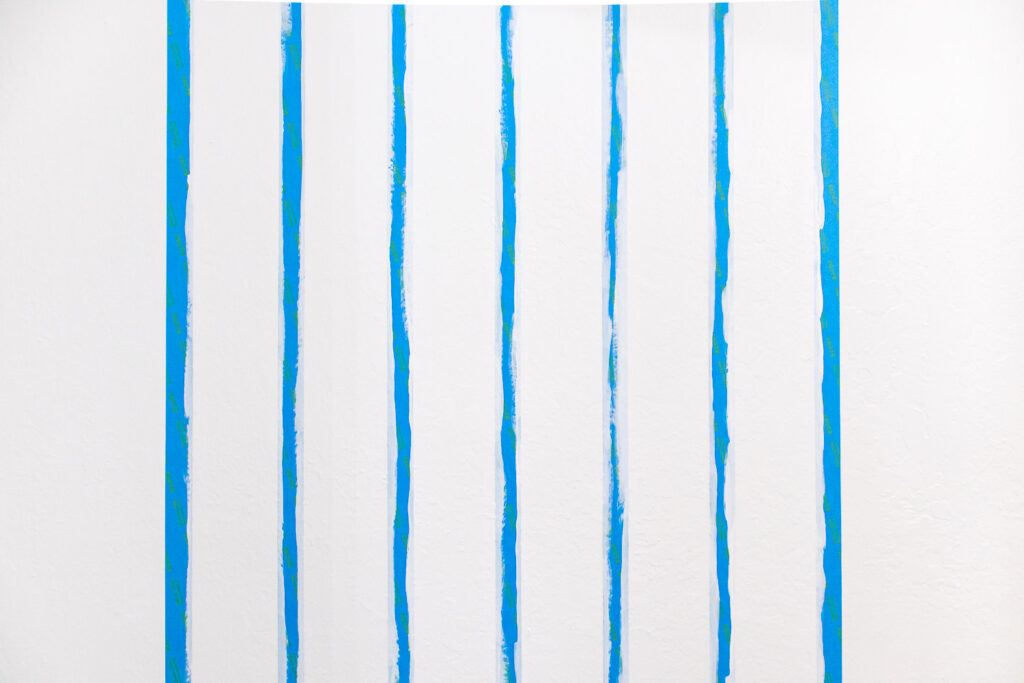
7. Paint stripes
Select your first stripe paint color. Open the jar of paint and mix well with a stirring stick (plastic utensils or wooden chopsticks work great for sample jars). Using a larger paint brush, apply a thin first coat of paint. Wrap paint brush in plastic wrap to prevent paint from drying up. Continue this process with your next paint color until all stripes have been painted and are dry to touch. Then apply a second coat of paint to all stripes and allow to dry to touch. Clean brushes immediately after you’re done painting.
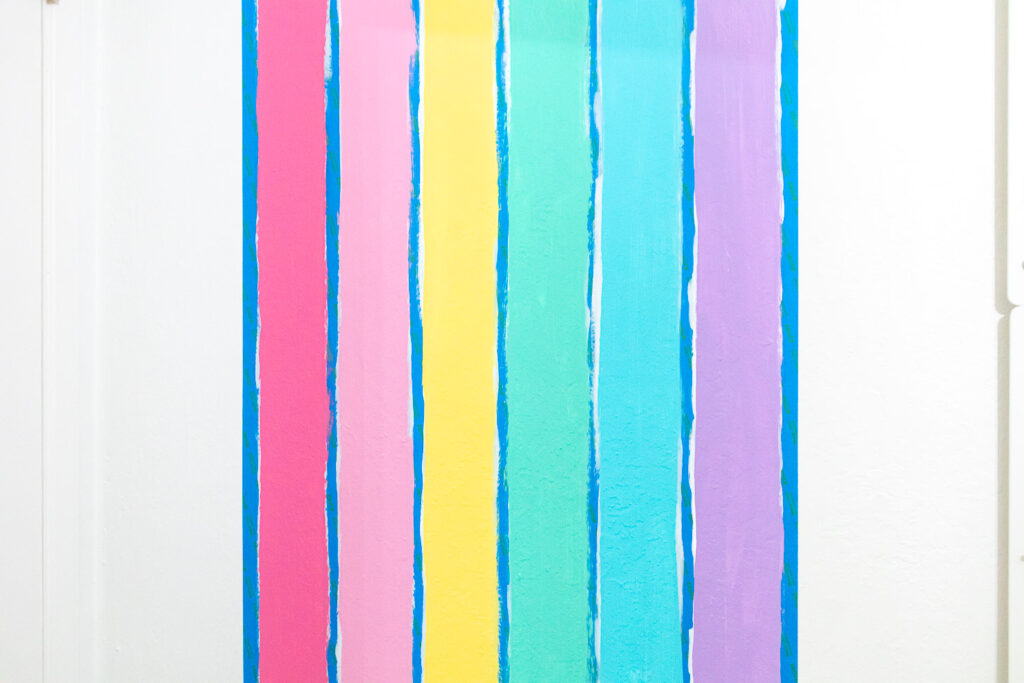
8. Remove painter’s tape
Once all the painted stripes have dried, carefully peel off the painter’s tape. If any areas need touch ups, use a small brush and leftover paint to clean up the edges.
Admire your beautiful rainbow stripe wall!

Save this pin!
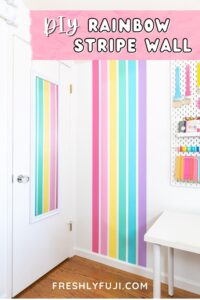
I’m so in love with my new wall and can’t believe I didn’t do this sooner! What do you think of the rainbow stripes? Would you do something similar in your space? If you do, make sure to tag me on Instagram. I would love to see and share your projects.
Head back to my blog for more colorful DIY ideas and inspiration!



Jojo Woll
I love this treatment Blaire. Looks like your blank wall was just waiting for you to do this. It looks so happy!
Blaire
Thank you Jojo! 🙂 It’s such a happy corner now! I wish I had done it sooner!