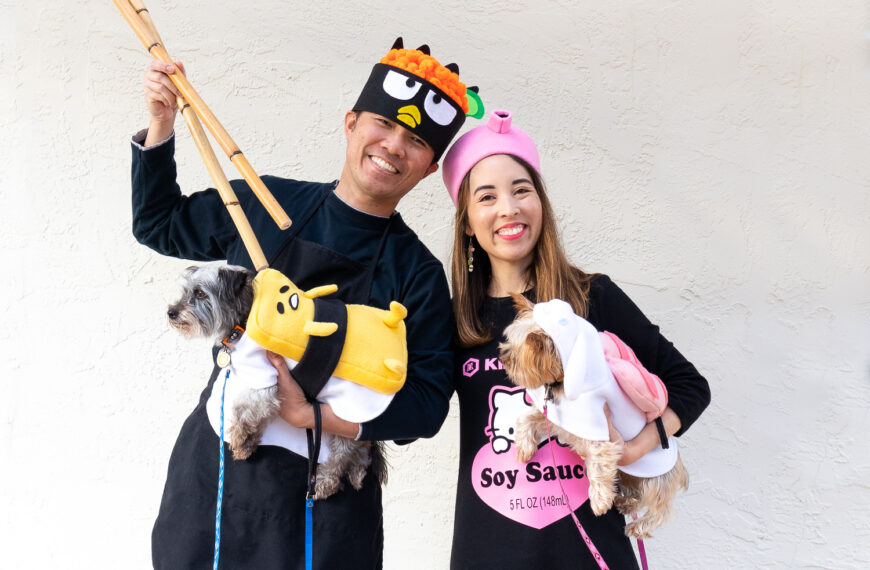
Rainbow Pillbox Costume
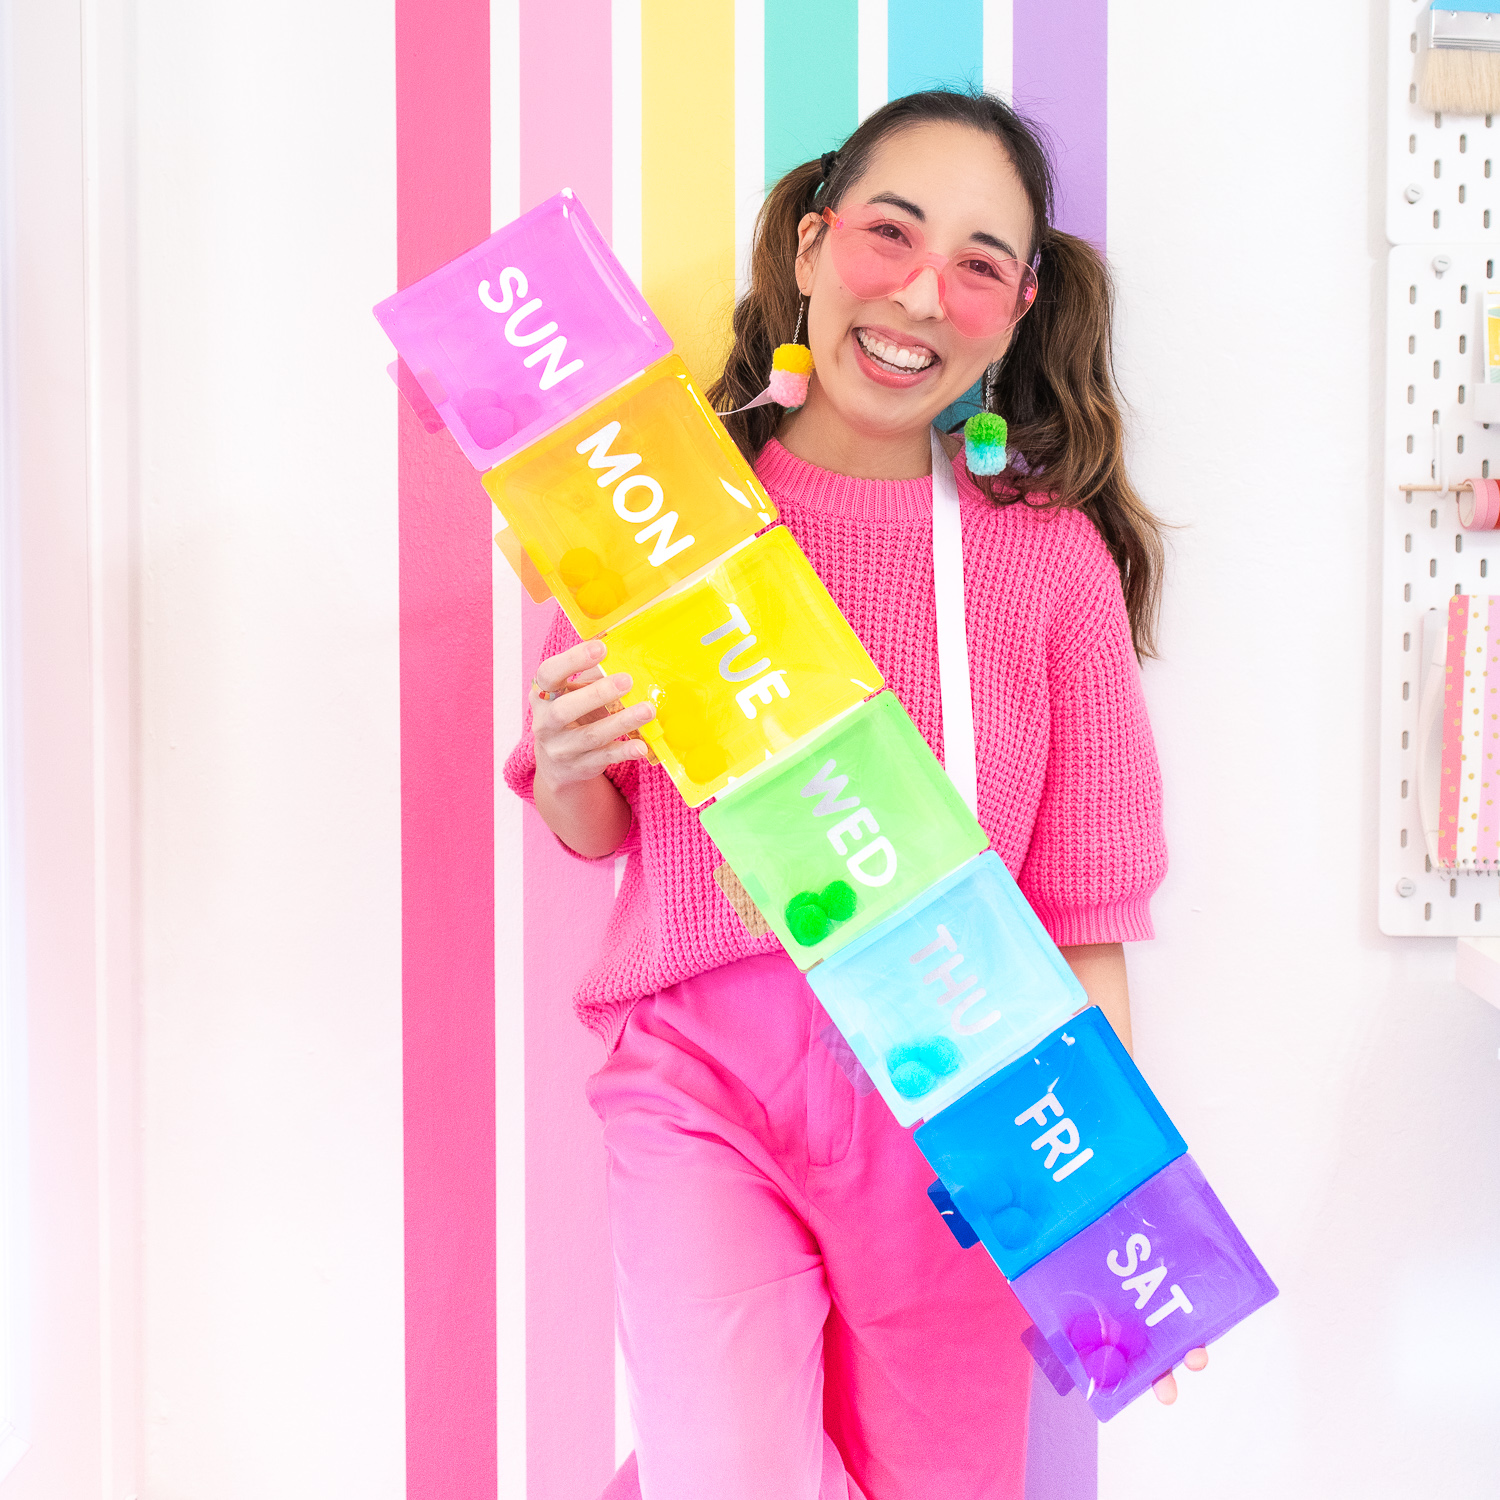
This award-winning rainbow pillbox costume is the ultimate prescription for FUN this Halloween!!
What do you get when colorful crafts and pharmacy collide? This rainbow pillbox costume of course!! For years my pharmacist husband has wanted me to create a pill costume for our dog Frankie and call him Francomycin (a play on the antibiotic, Vancomycin). Last year I finally agreed to do it with the one provision that it HAD to be cute and coordinate with our costumes…because your girl loves a good, cohesive theme! 🤌🏻
Coming up with four cute costumes that went with the pharmacy theme was no easy feat. One day as I was taking my vitamins I realized I had just stumbled upon my costume idea! I could be a rainbow pillbox!! I decided it would be clever and equally hilarious to strut around with a pillbox hanging off of me, with my pill pups in tow.
I immediately went to Amazon to see all the varieties of rainbow pillboxes before deciding on this simple rectangular version. My favorite thing about this costume (aside from the design itself!) is that I actually used old tofu containers to construct it. So technically it is an upcycled costume! 🙌🏻
Keep reading to see my step-by-step tutorial on how to make a rainbow pillbox costume using tofu containers!
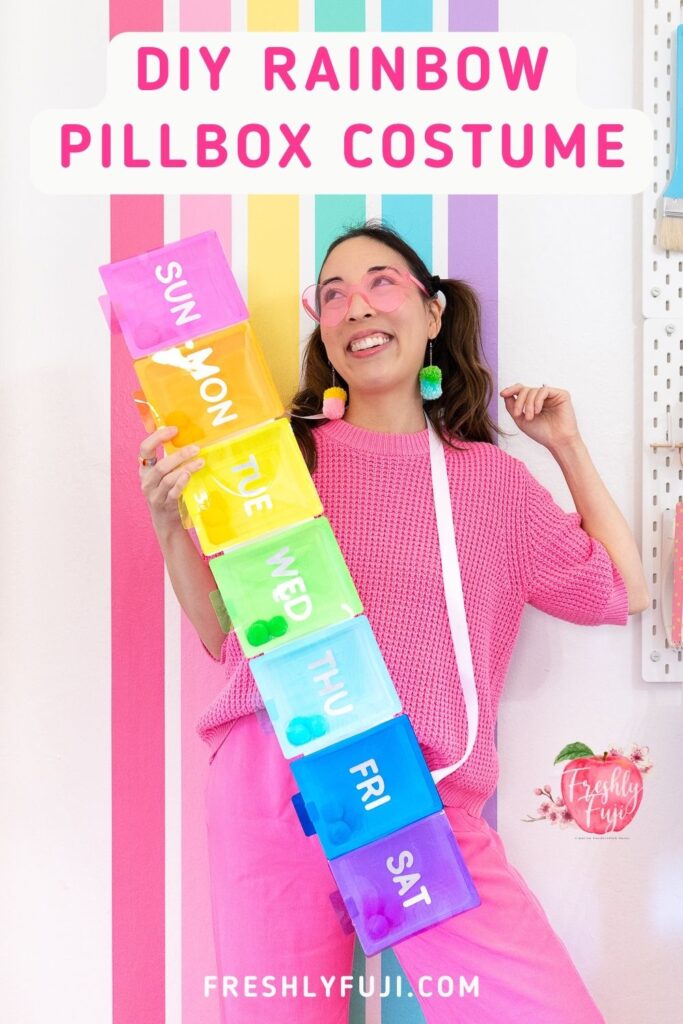
PIN THIS!!
This post contains affiliate links. If clicked, I may make a small commission at no cost to you. As an Amazon affiliate, I earn from qualifying purchases.
MATERIALS
7 empty tofu containers (I used the House Foods brand for consistency)
Sandpaper
PVC vinyl in multiple colors
Vinyl – I used shimmer vinyl in silver
Cricut machine
Wide ribbon
INSTRUCTIONS
1. Prep Tofu Containers
Wash tofu containers and remove the plastic film. If the film doesn’t come off completely, use sandpaper to rub it off. I also used the sandpaper to round off the corners.
2. Cut Out Pillbox Lids
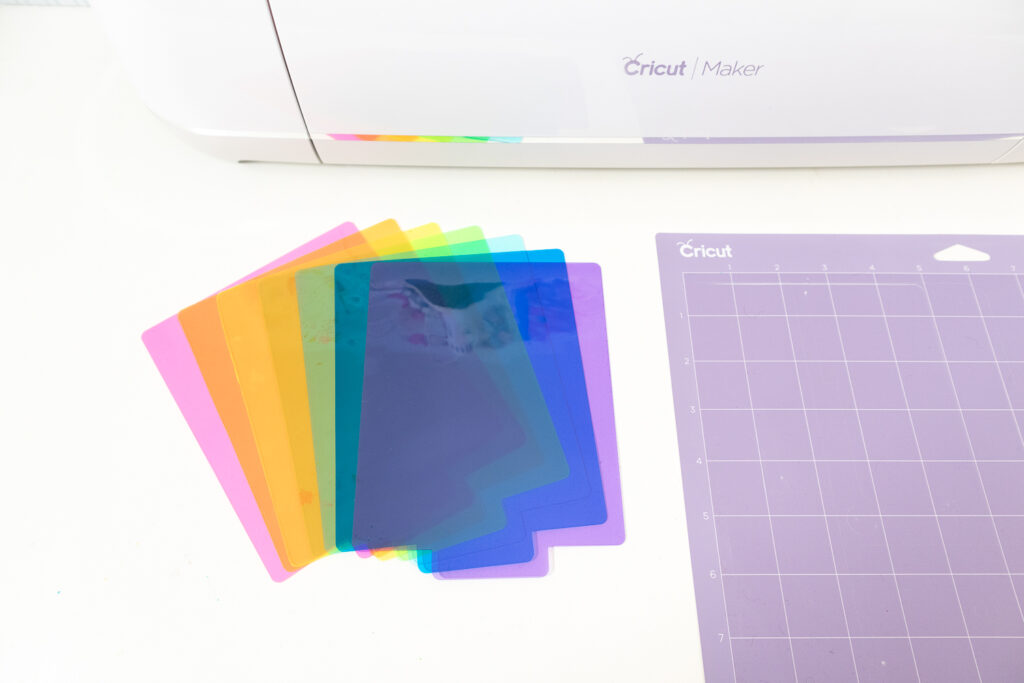
Cut out pillbox lids from colored PVC non-adhesive vinyl. You could use the tofu container as your template and cut the vinyl with scissors. But for best results, I would recommend using your Cricut (or another cutting machine) to cut them out using my SVG cut file! (Please note that the cut file was specifically designed for House Foods brand tofu containers and may not fit other tofu brands.)
You can purchase the SVG file for the lid HERE:
How to Cut Non-Adhesive Vinyl with Cricut Machine
1. Open a New Project in Cricut Design Space. Upload the SVG file to your canvas, checking that the dimensions match your tofu container. Click Make It and allow your machine to connect.
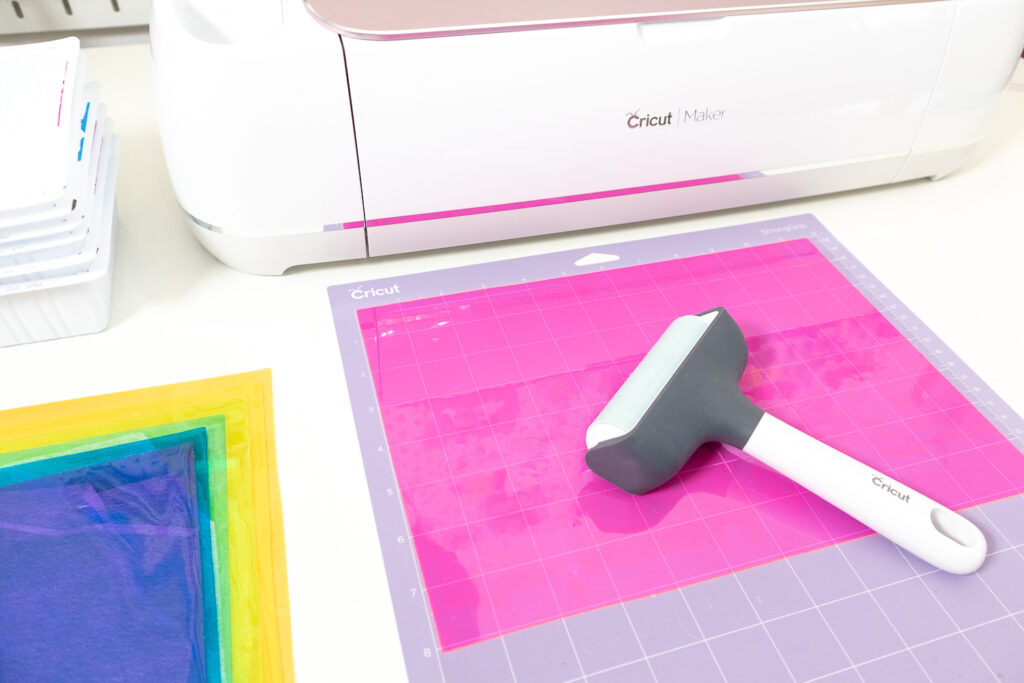
2. Place one sheet of non-adhesive vinyl onto your cutting mat. Use a brayer to roll out any bubbles.
3. Set your base material to “Non-Adhesive Vinyl – 20 Gauge” and set pressure to “More”. (**The pressure may vary depending on the thickness of your non-adhesive vinyl, so consider doing a test cut of a small shape before cutting the lid shape.) Load the fine point blade into Clamp B.
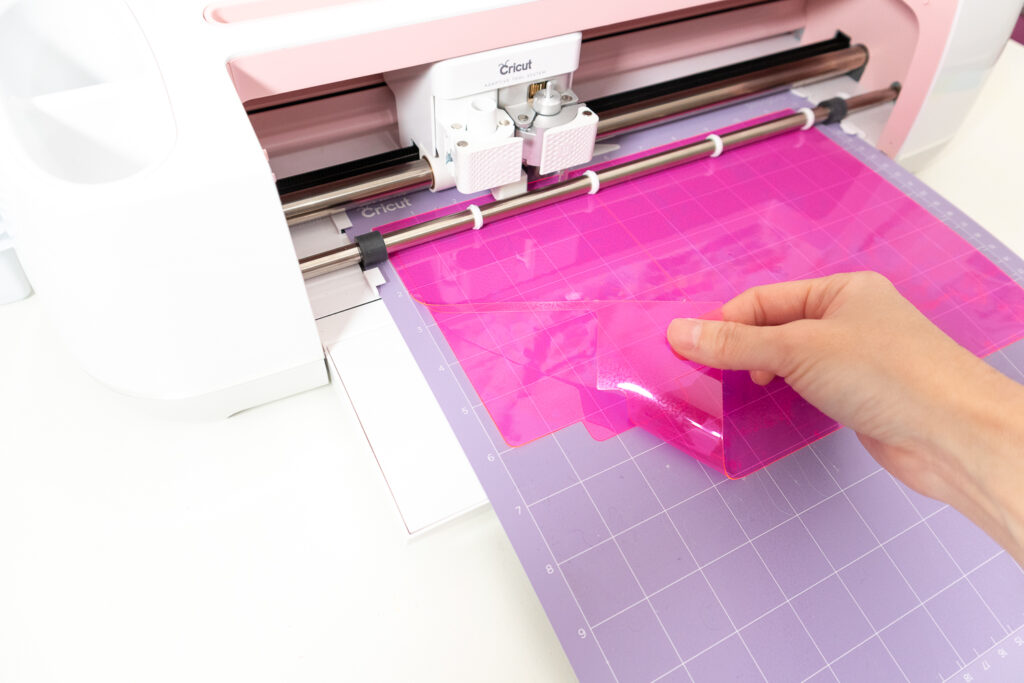
4. Load the mat into your machine and press Go to begin cutting. After the cut is complete, lift up a corner to make sure it cut through all the way before pressing the unload button.
5. Carefully peel the cut lid off of your cutting mat.
6. Continue this process until all 7 lids have been cut out!
3. Add Days of the Week to Lids
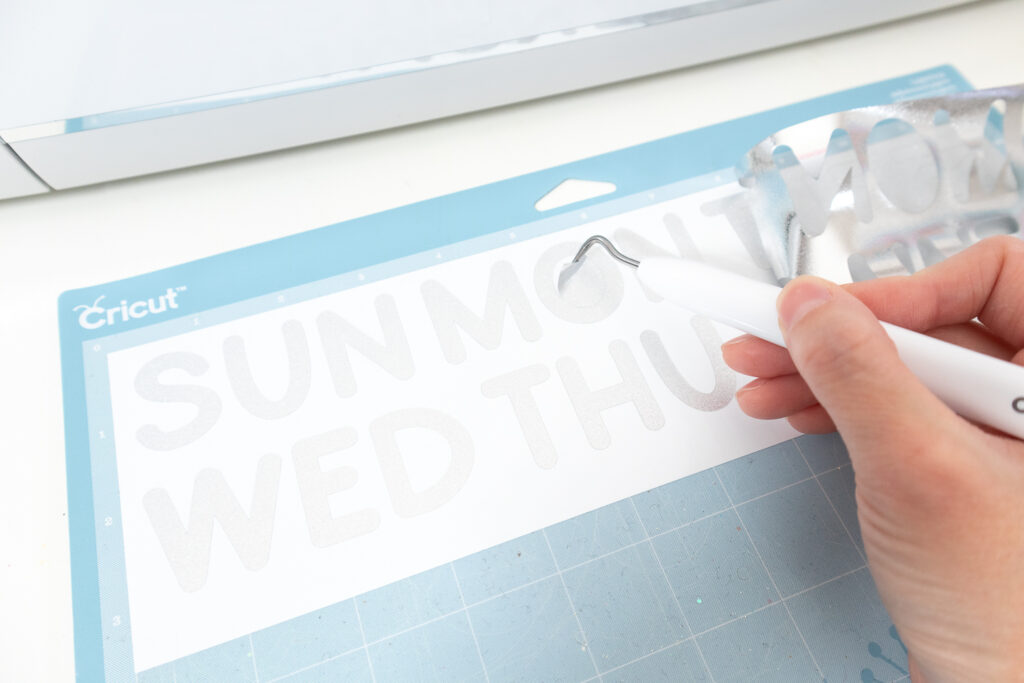
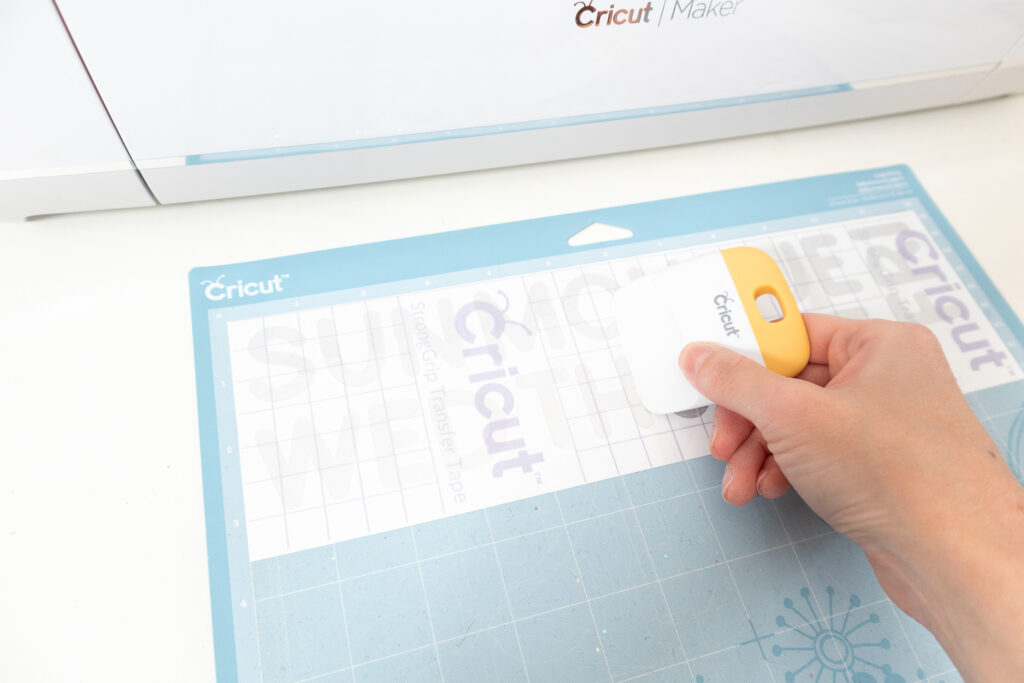
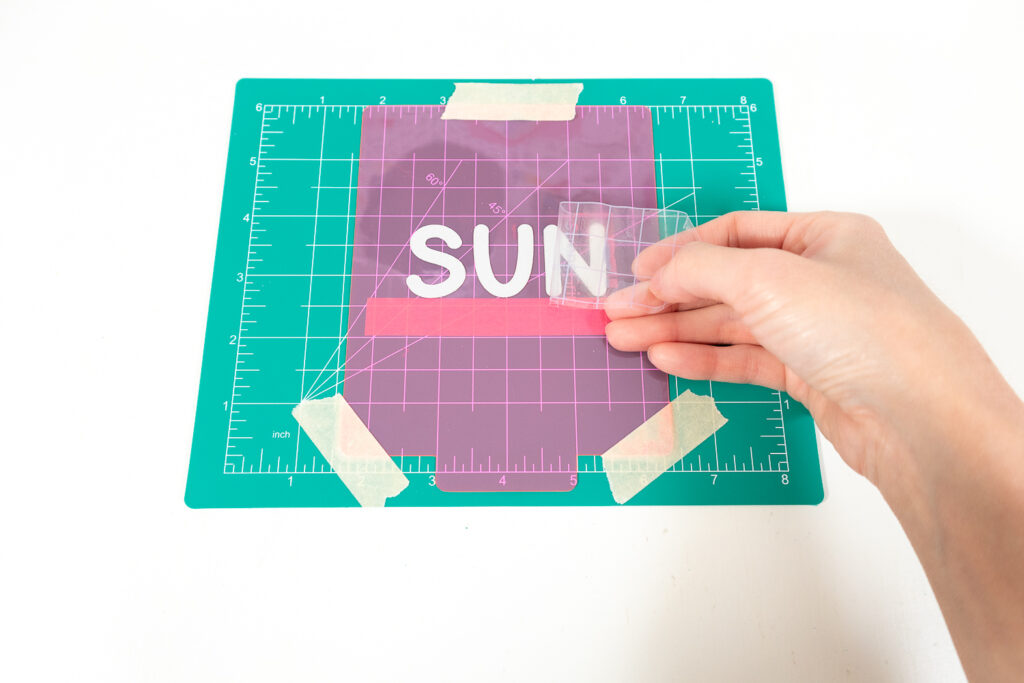
Cut out the days of the week abbreviations (SUN, MON, TUES, THU, FRI, SAT) from vinyl. I used Cricut’s BFC Third Grade font in size 103. Weed the excess vinyl from around the letters. Apply transfer tape over the letters and use the scraper tool to burnish the tape onto the vinyl. Trim around each day then place it in the center of the corresponding lid. Once it’s placed, burnish the letters onto the non-adhesive vinyl and carefully peel off the transfer tape.
Tip: It helps to arrange the colored lids and days in order before you commit to applying them. You can use a gridded cutting mat for extra precision!
4. Attach Lids to Tofu Containers
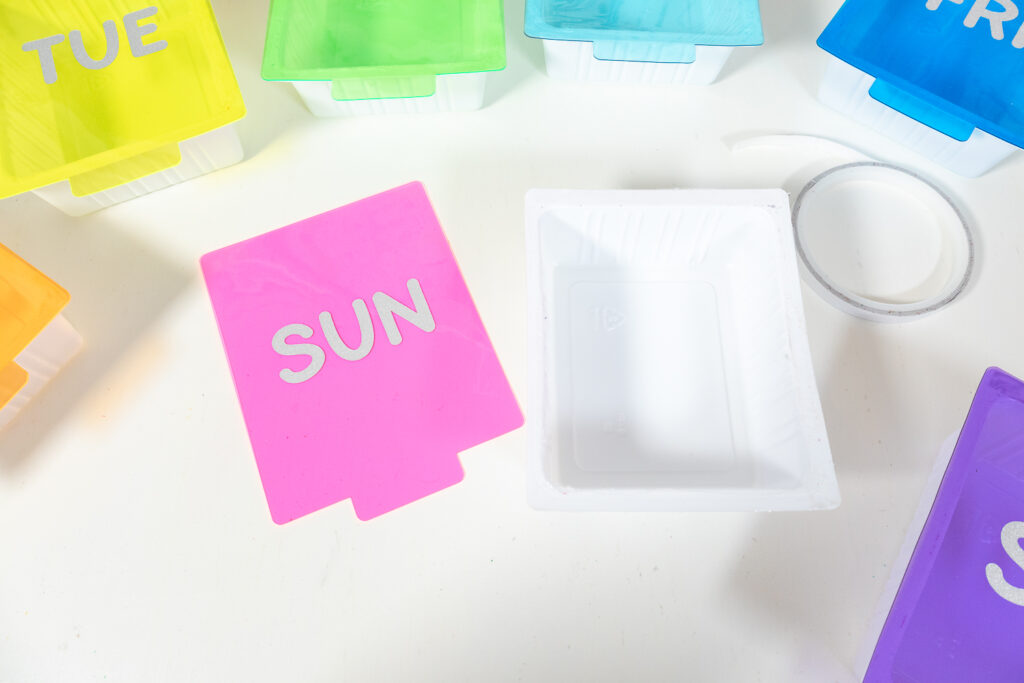
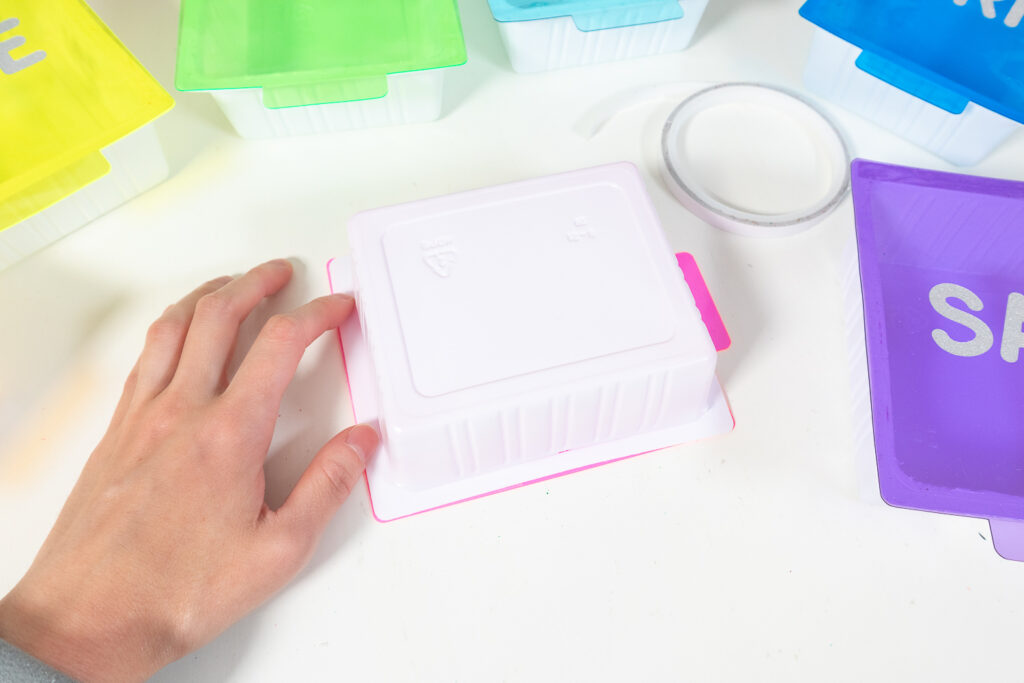
Apply a strip of double sided tape onto the short edge of the tofu container. Remove the liner strip, then flip it over onto the back of one of the vinyl lids. Align and press firmly. Repeat for all of the lids.
5. Attach Velcro Strips
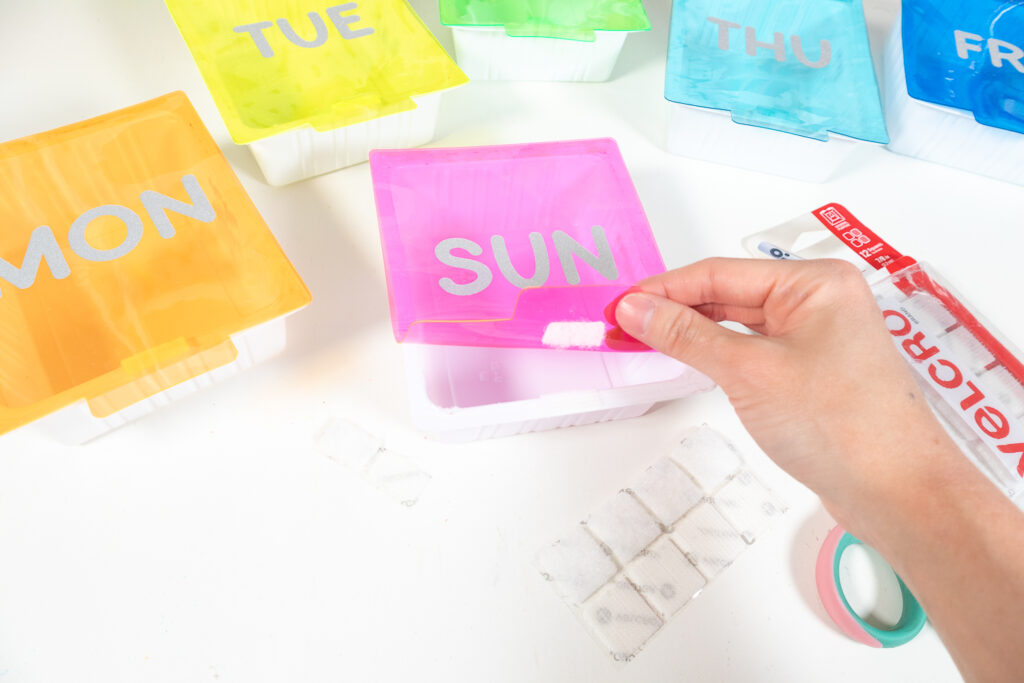
Cut a square of velcro into small rectangles. Stick one side of the velcro to the bottom lip of the tofu container and stick the reverse side to the bottom of the lid. They should meet when you “close” the lid. Repeat for all of the lids, until you have 7 completed pill compartments.
6. Assemble Rainbow Pillbox
Place the completed pill compartments side by side in order. Using a craft knife, cut a piece of foam board into a rectangle, slightly smaller than the size the compartments occupy. Hot glue each compartment onto the foam board, making sure the sequence is correct. Finally, measure a length of ribbon and hot glue it behind the foam board so you can wear it around your neck. You’re done!
CHECK OUT OUR PHARMACY FAMILY COSTUME!
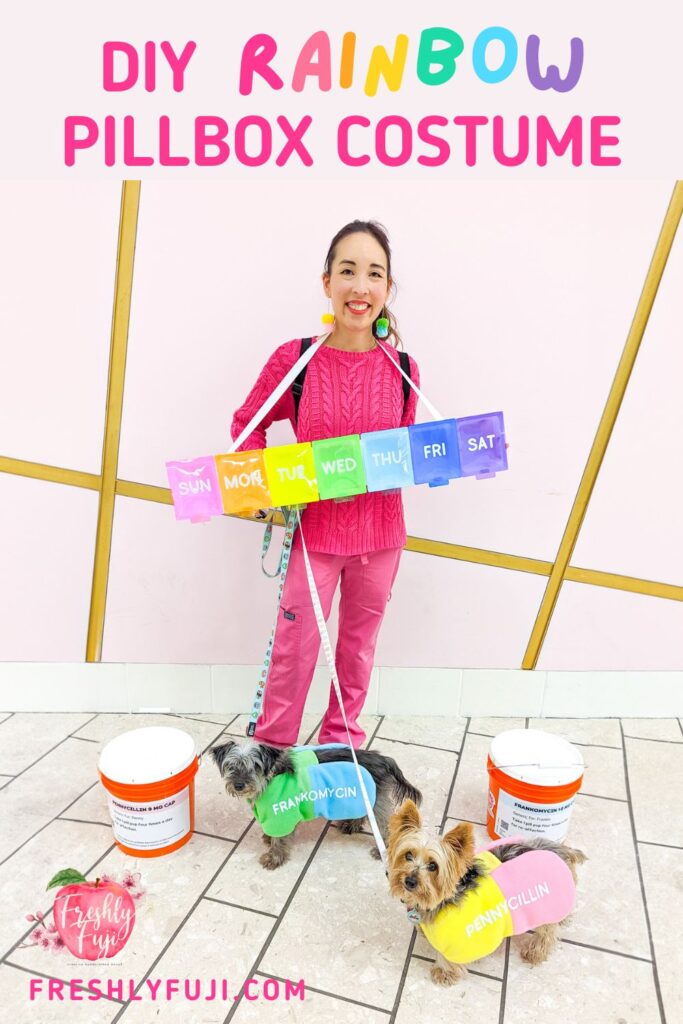
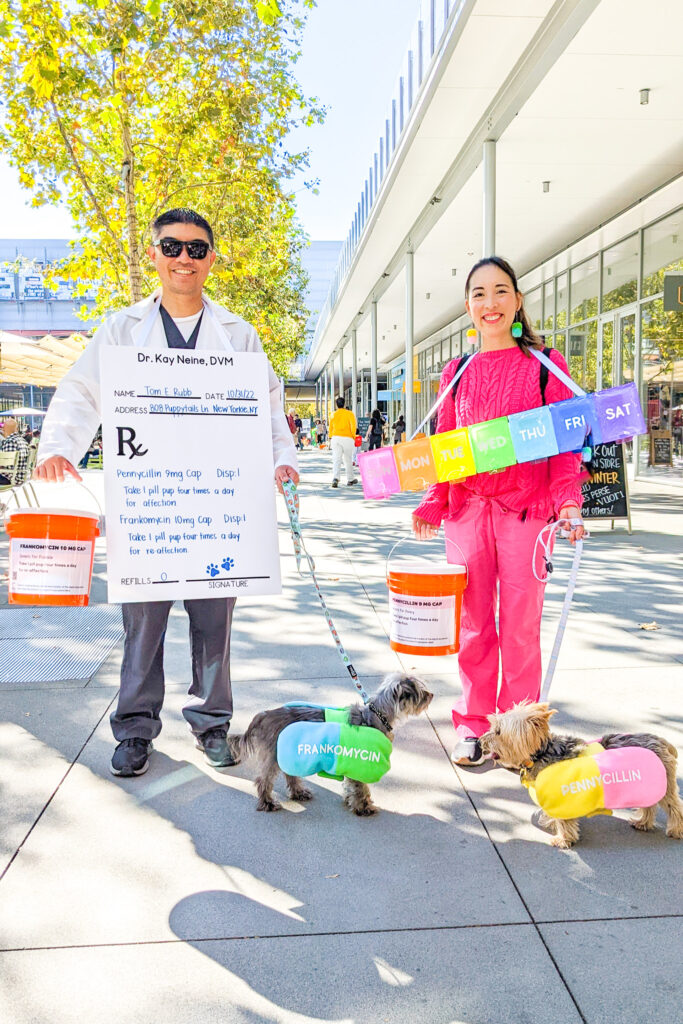
I wore my rainbow pillbox costume with my husband and pups in 2022. My husband was a pawscription (prescription) pad and my dogs were pills – Frankie was Francomycin and Penny was Pennycillin! 😆 The whole costume was handmade and we even carried trick-or-treat buckets designed to look like prescription bottles! I had so much fun adding special details about our dogs to the prescription labels on our buckets.
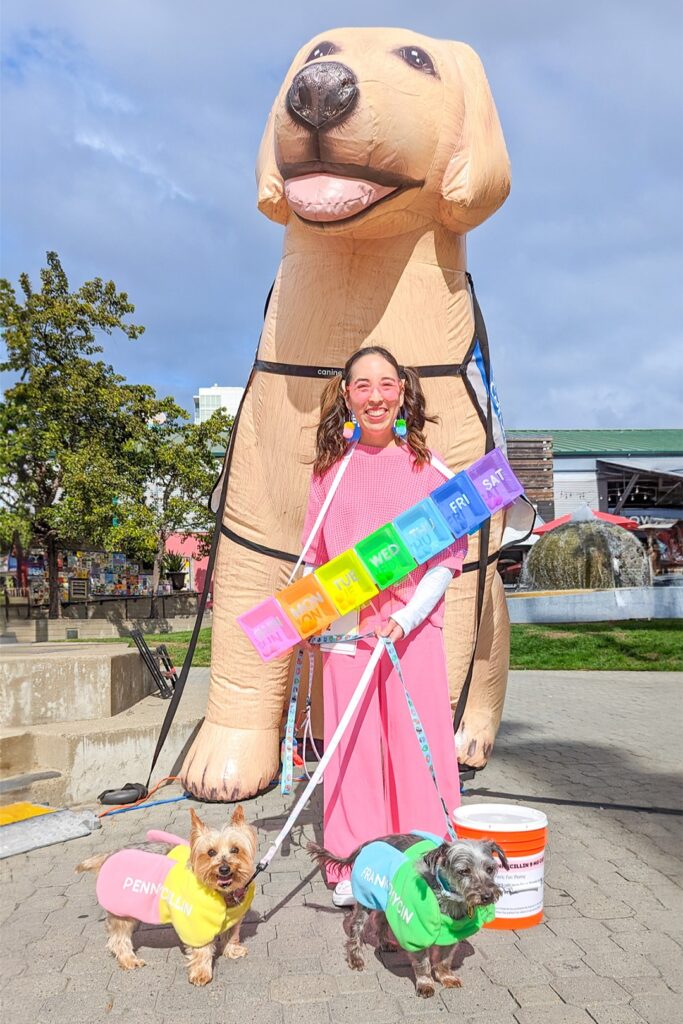
This year (2023), I wore my costume to DogFest Bay Area hosted by Canine Companions! I made a few adjustments to my outfit and hairstyle and decided to add colored felt balls (for pills!) into the pillbox compartments for more fun. My pups and I entered their very popular costume contest and were overjoyed to win FIRST PLACE in the Most Creative category and the GRAND PRIZE for Best Costume!! 🙌🏻 I loved that I got to showcase my original, handmade costumes and made lots of people smile along the way.
Do you love this rainbow pillbox costume as much as I do? I’m so glad I decided to wear it multiple times and share joy with others! If you end up making this costume or something similar, tag me on Instagram so I can see it! Happy crafting!!
