DIY Colorful Family Costume for Halloween

Since I can remember Halloween has been one of my favorite holidays because I get to dream up new DIY costumes! It’s the perfect time to use your imagination and get creative. I love the idea of taking something as simple and inexpensive as foam board and transforming it with a little paint. Recently I was inspired by all the beautiful paint colors from COLORSHOT and wanted to showcase them in an artsy way! I came up with these four colorful family costume ideas (two are pet friendly) that are sure to make a fun statement this Halloween. The best part is you can customize them to fit family members (and fur babies) of all sizes! Keep reading for the step-by-step instructions and watch a video of the process (dog puns included!).
This colorful family costume DIY tutorial and video is kindly sponsored by COLORSHOT. As always, the concept and content are all my own. A few of the below links are affiliate links. As an Amazon Associate I earn from qualifying purchases.
Watch this video to see how I made my colorful family costume!
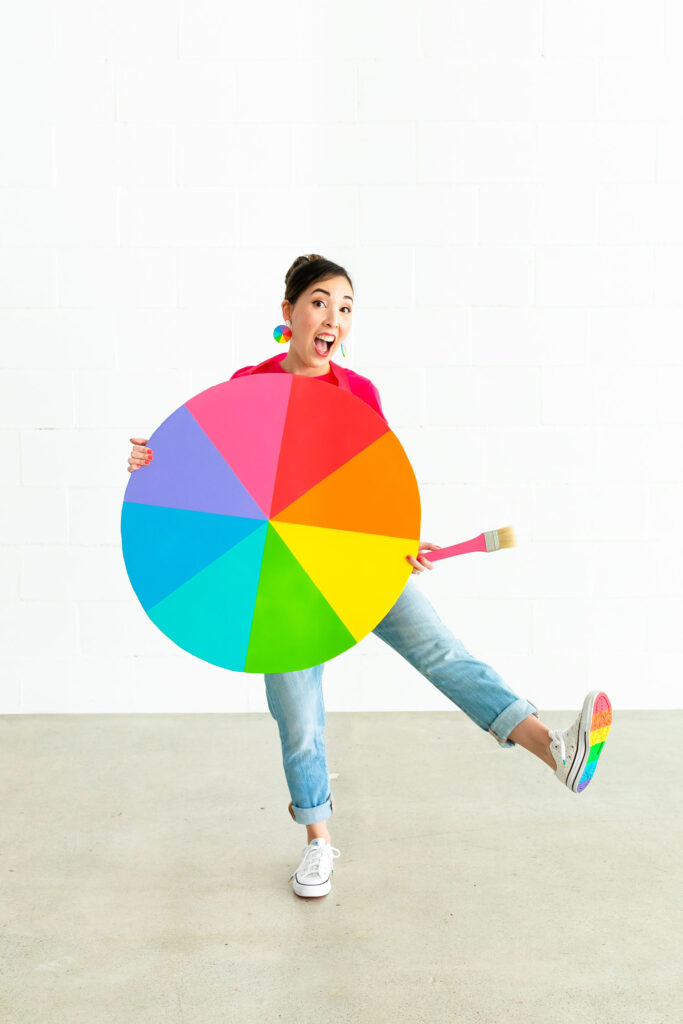
Color Wheel Costume
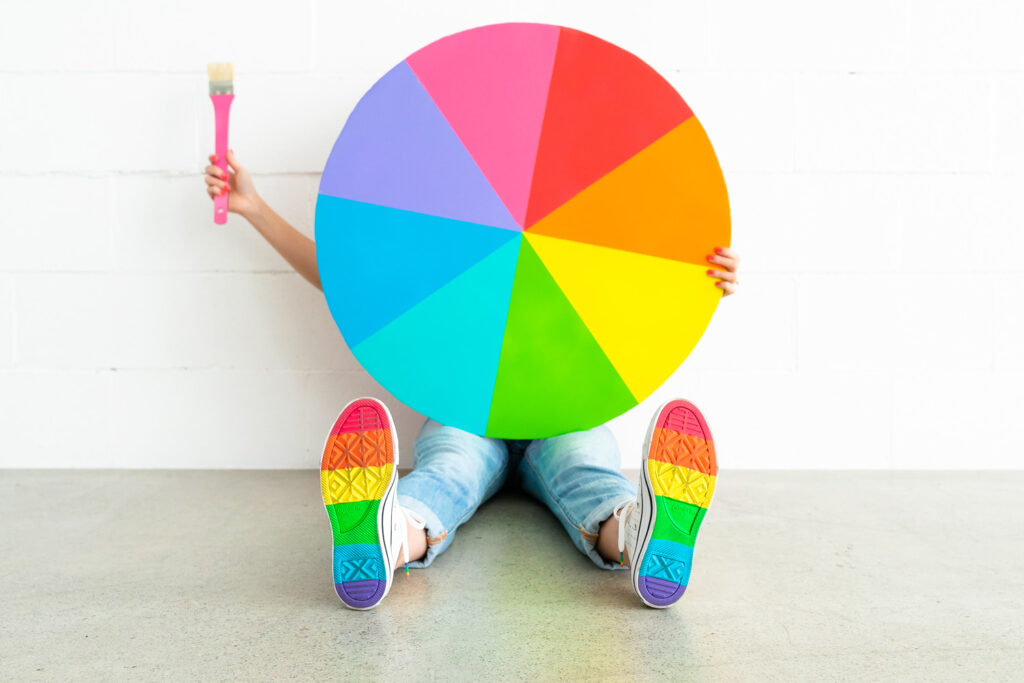
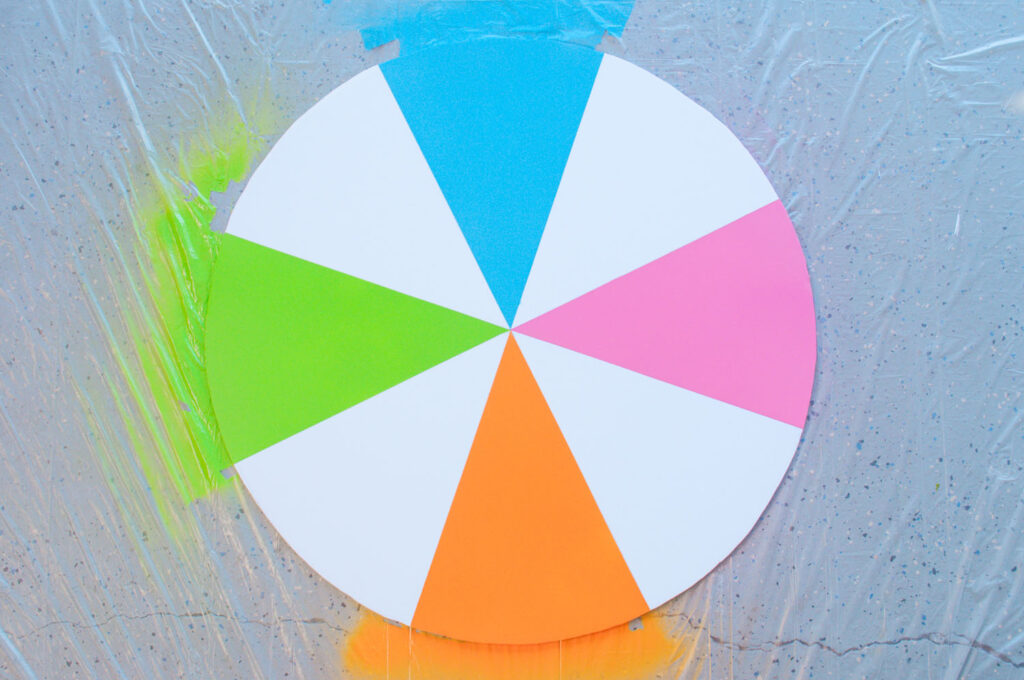
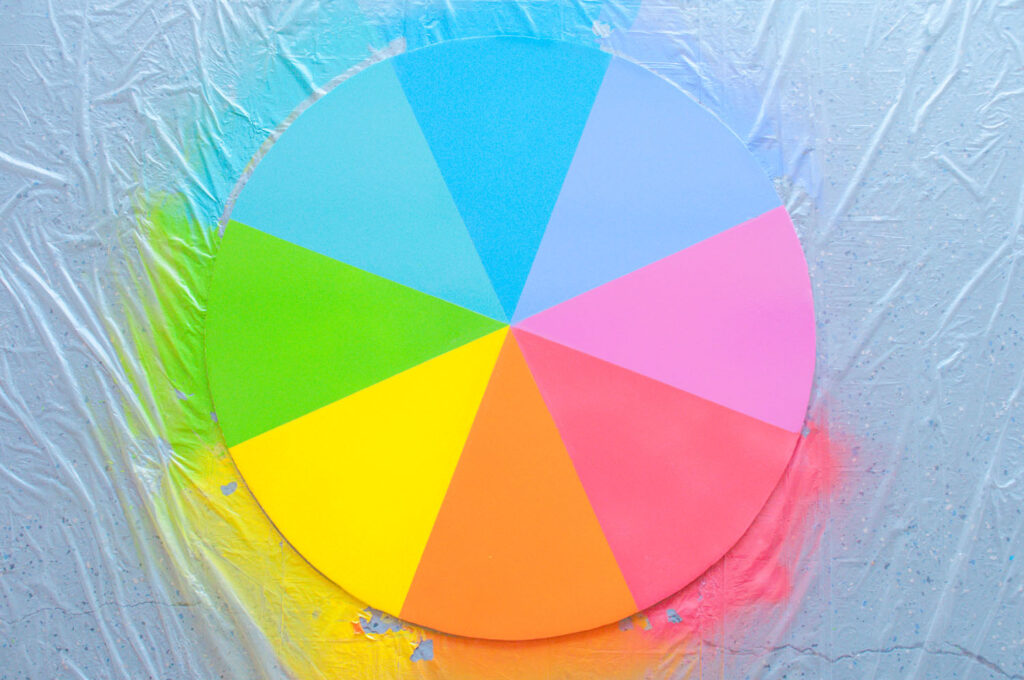
This color wheel costume makes my rainbow heart so happy! I just love how vibrant the colors are! Make this requires a bit of patience, but it’s so worth the effort! I used 8 of my favorite COLORSHOT Spray Paints to cover the sections of the color wheel. Feel free to pick your own colors for a color wheel that’s uniquely YOU!
Materials
- COLORSHOT Spray Paint – Farmer’s Daughter, Orange Slice, Emoji, With a Twist, Island Girl, Splash, Aromatherapy
- White foam board
- Pencil, string and tape
- Box cutter
- Sand paper
- Rag
- Protractor
- Yard stick
- Kraft paper
- Delicate surface tape
- Colored ribbon
- Hot glue gun
- Hook and loop fastener
- Drop cloth or protective plastic covering
- Gloves & face mask
Instructions
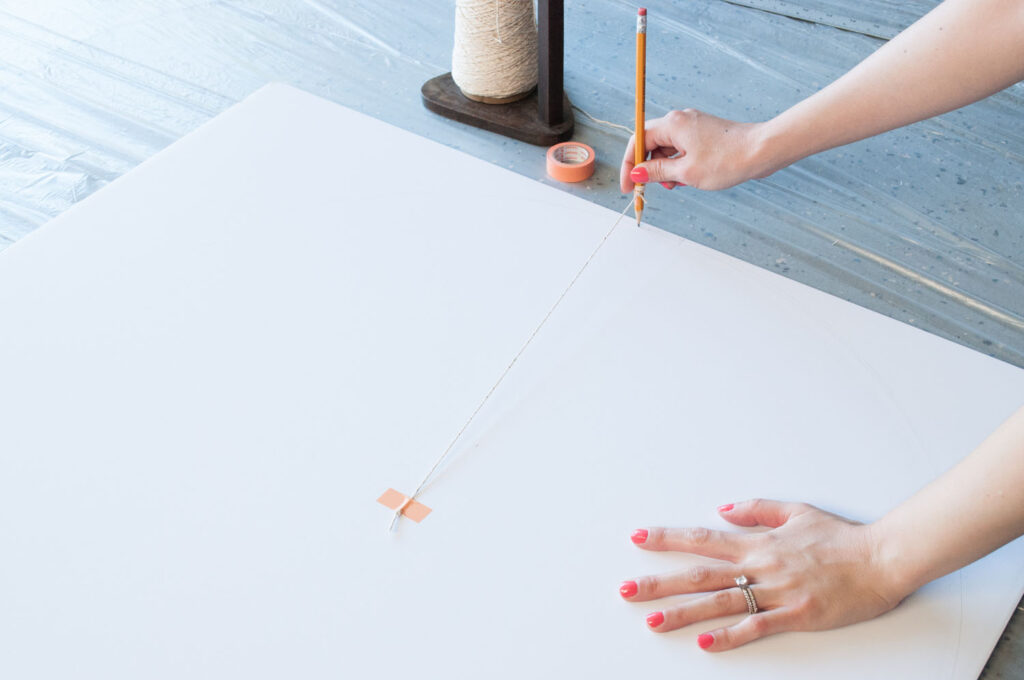
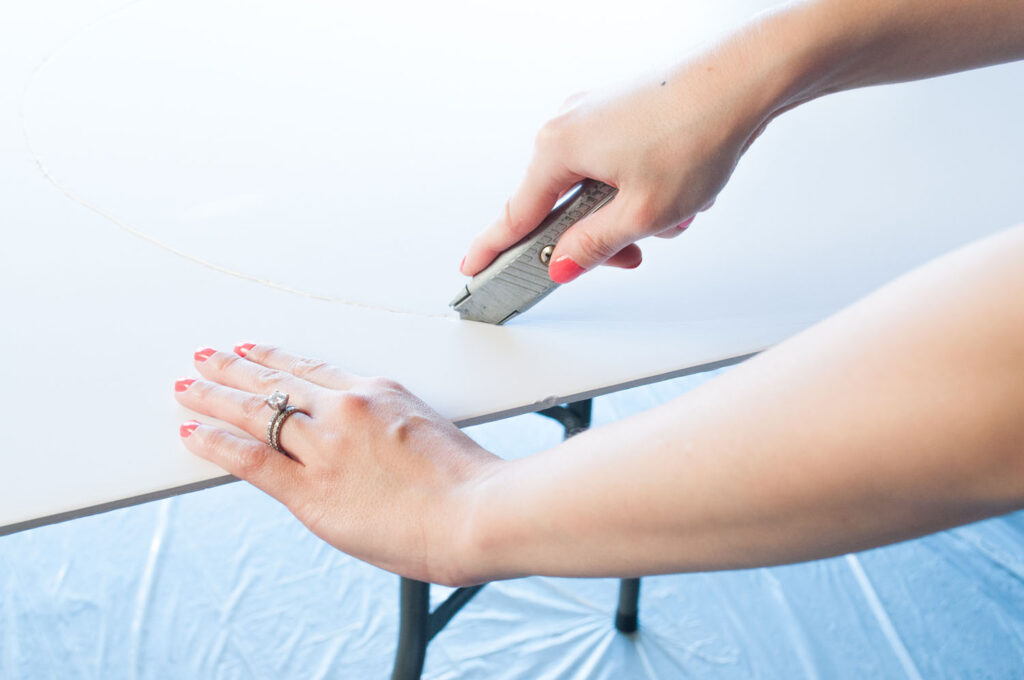
1. Create a circle out of foam board. Draw a large circle on the foam board. (I made a DIY compass made from string, washi tape and a pencil.) Cut out the circle using a box cutter. Sand the edges and wipe off dust.
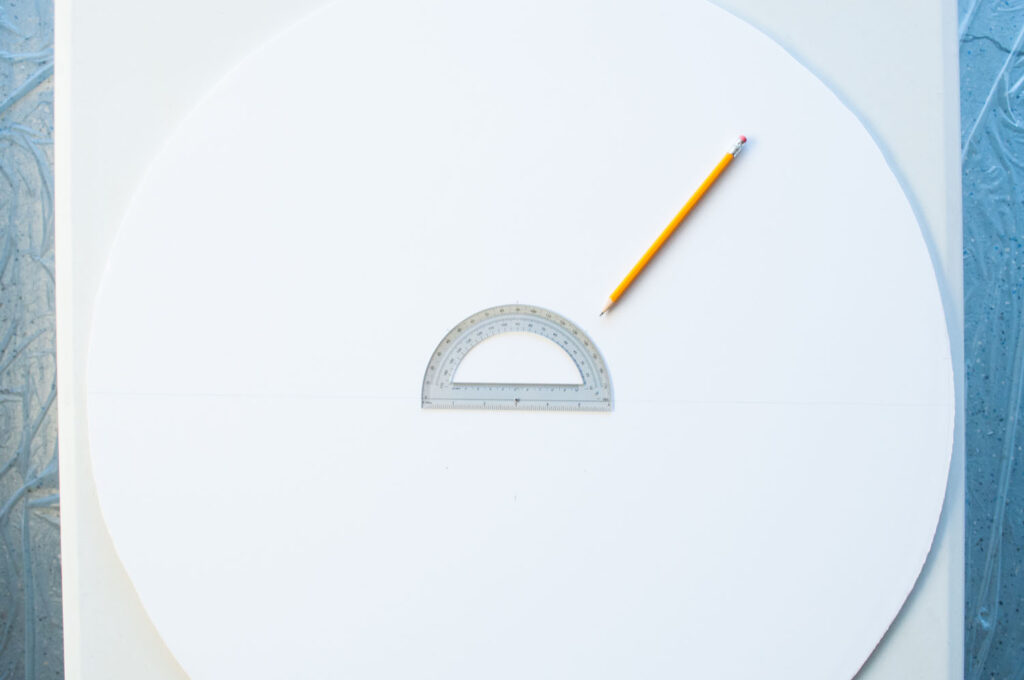
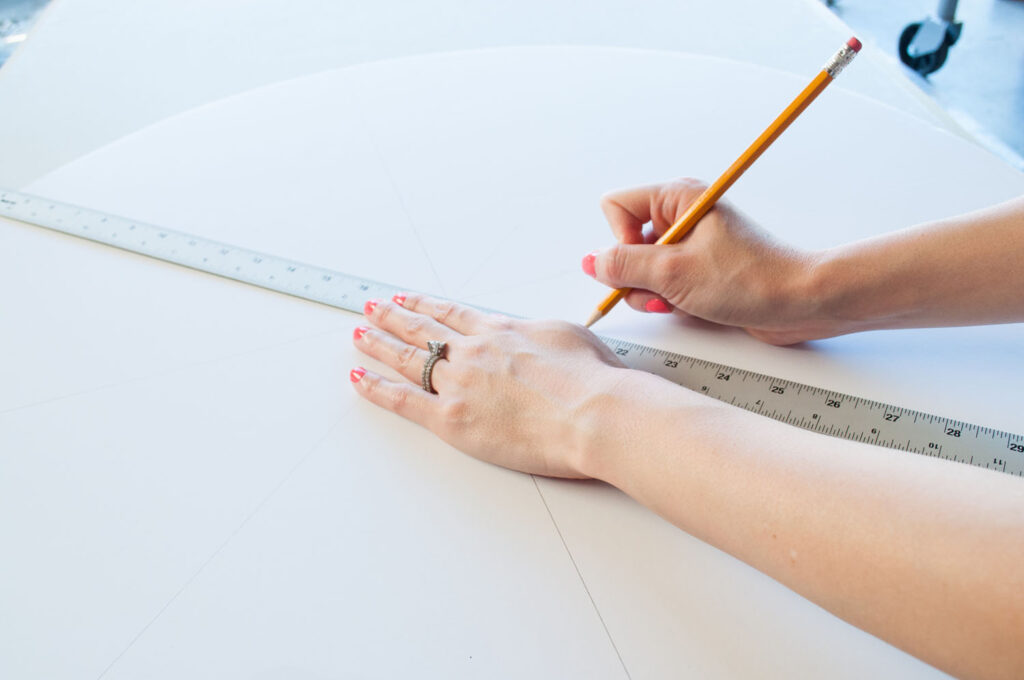
2. Divide the circle into 8 sections. Draw a straight line through the center of the circle. Place the protractor in the center along this line and make markings at 45°, 90°, and 135°. Place the protractor on the other side of the line and do the same. Using these markings, draw three straight lines using the yard stick.
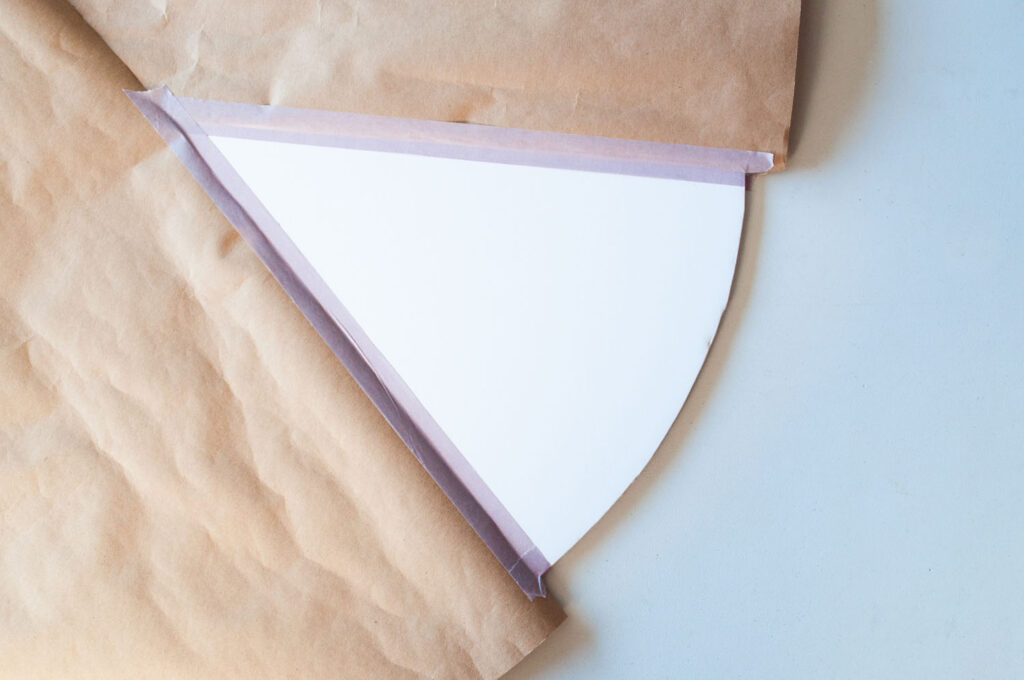
3. Prep and spray paint color wheel. Use kraft paper to cover all sections of the color wheel except for one. Tape off one section close to the lines you created. Select your first spray paint can and shake for 1 minute. Apply spray paint in a sweeping motion. Allow to dry for a few minutes before applying a second coat. Allow to dry for 10 more minutes and peel off tape. Skip the adjacent section and repeat this process for every other section (3rd, 5th, and 7th colors). This gives the paint a bit more time to dry. Repeat the same process for the remaining sections (2nd, 4th, 6th and 8th colors). Allow to dry overnight.
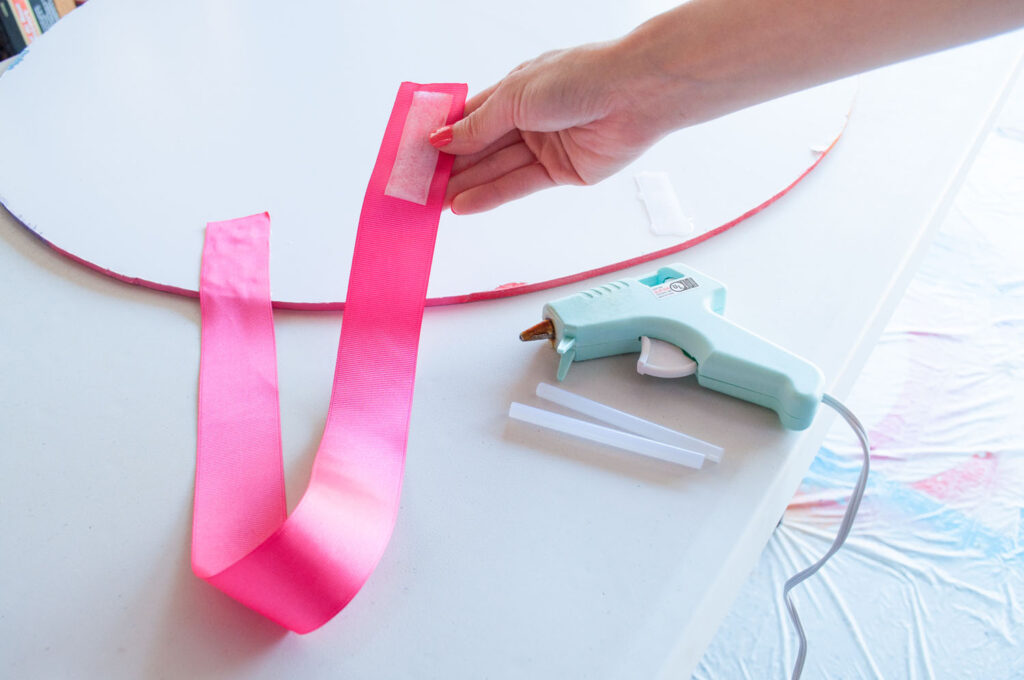
4. Attach neck loop. Cut a length of ribbon long enough to go behind your neck. Mark the placement of the ribbon on the back of the color wheel. Hot glue one end to the first marking. Separate the hook and loop fastener. Hot glue one side of it to your second marking. Hot glue the other side to the end of your ribbon.
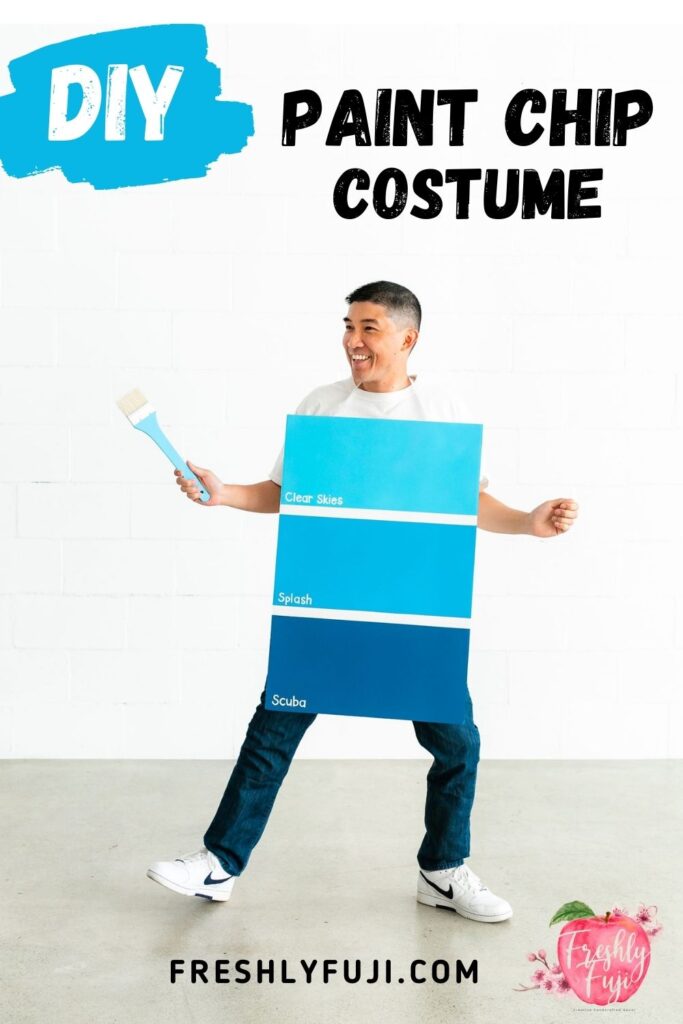
Paint Chip Costume
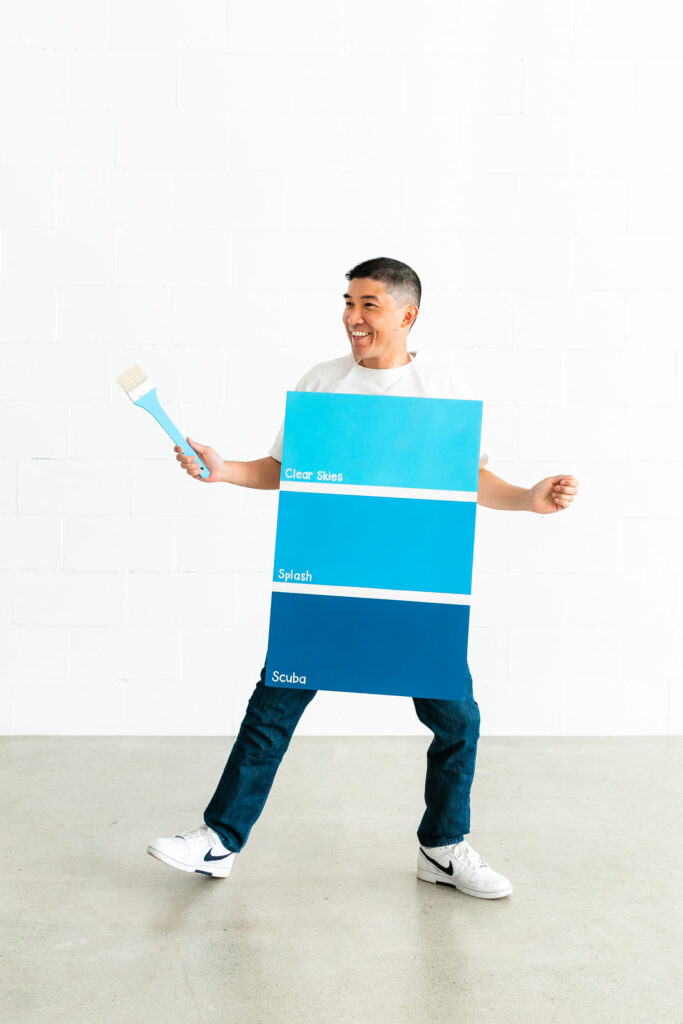
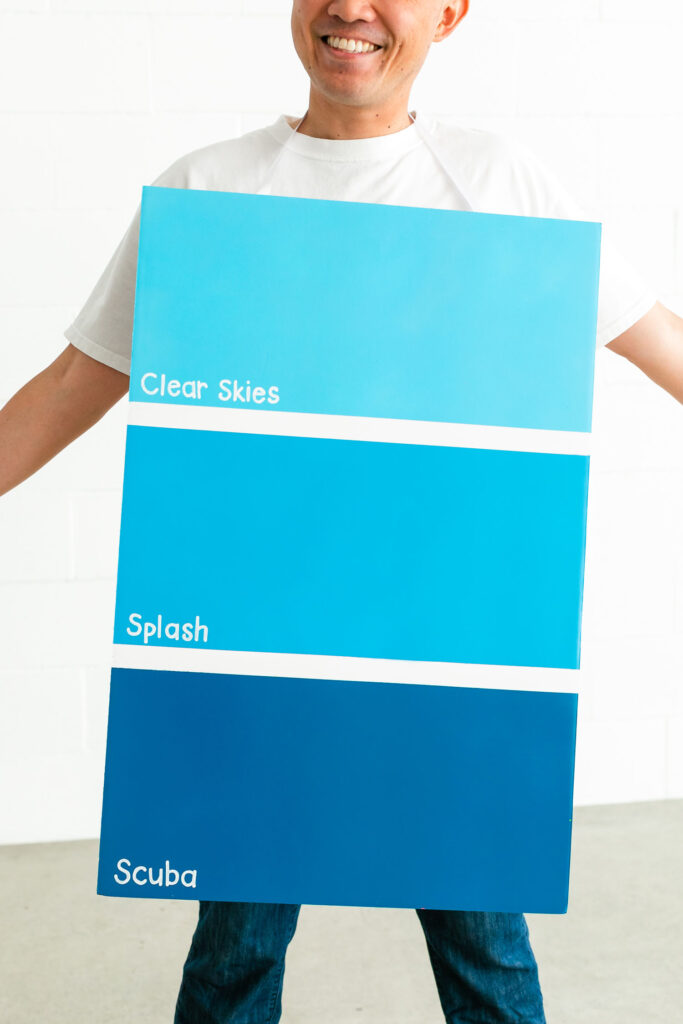
My husband’s paint chip costume was so easy to make, but still packs a lot of punch! You can customize yours by choosing your favorite COLORSHOT colors and inventing your own paint names. Even better, have each member of your family be a different color paint chip!
Materials
- COLORSHOT Spray Paint – Clear Skies, Splash, Scuba
- COLORSHOT Chalk Marker – Marshmallow
- White foam board 20” x 30”
- Kraft paper
- Delicate surface tape
- Pencil
- Yard stick
- Ribbon
- Hot glue gun
- Hook and loop fastener
Instructions
1. Divide your foam board into 3 equal sections. Measure 9.5 inches for each section, leaving a 1 inch strip in between. Cover two sections with kraft paper and tape over the strip.
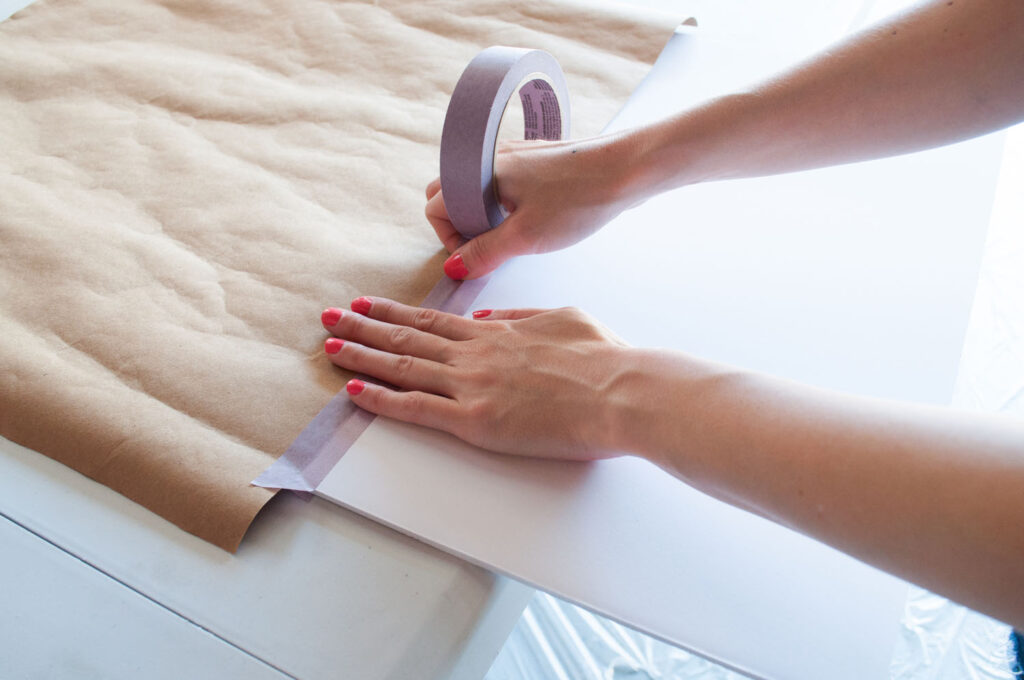
2. Prep and spray paint. Select your first spray paint can and shake for 1 minute. Apply spray paint in a sweeping motion. Allow to dry for a few minutes before applying a second coat. Allow to dry for 10 more minutes and peel off tape. Then move your paper covering to expose the next section. Repeat the process for the remaining two sections, making sure to leave the 1 inch strips in between unpainted. Allow to dry overnight.
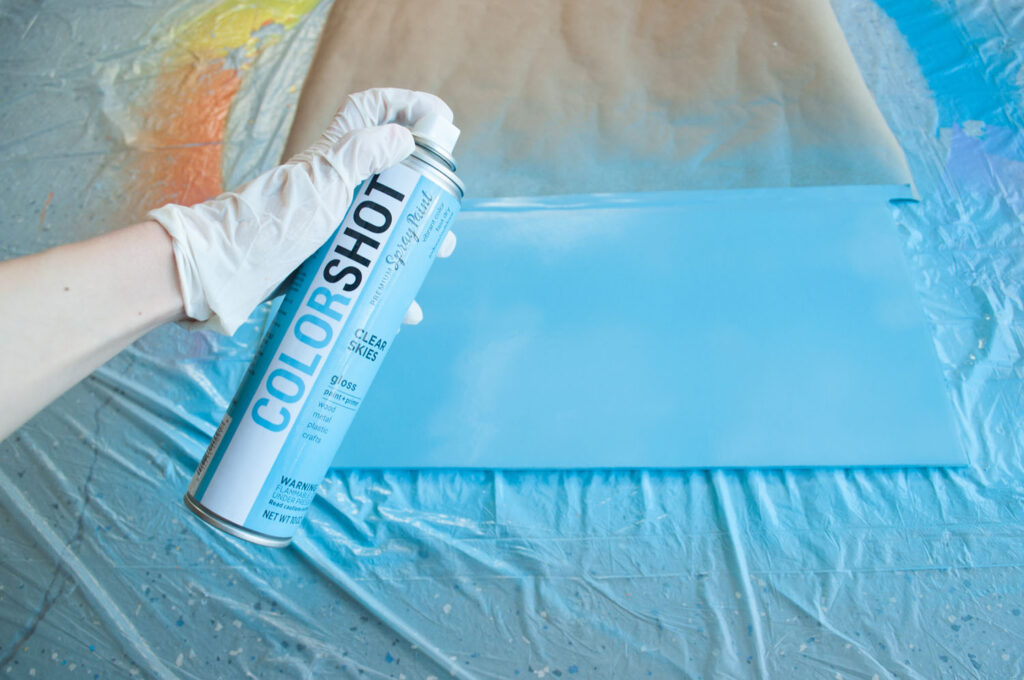
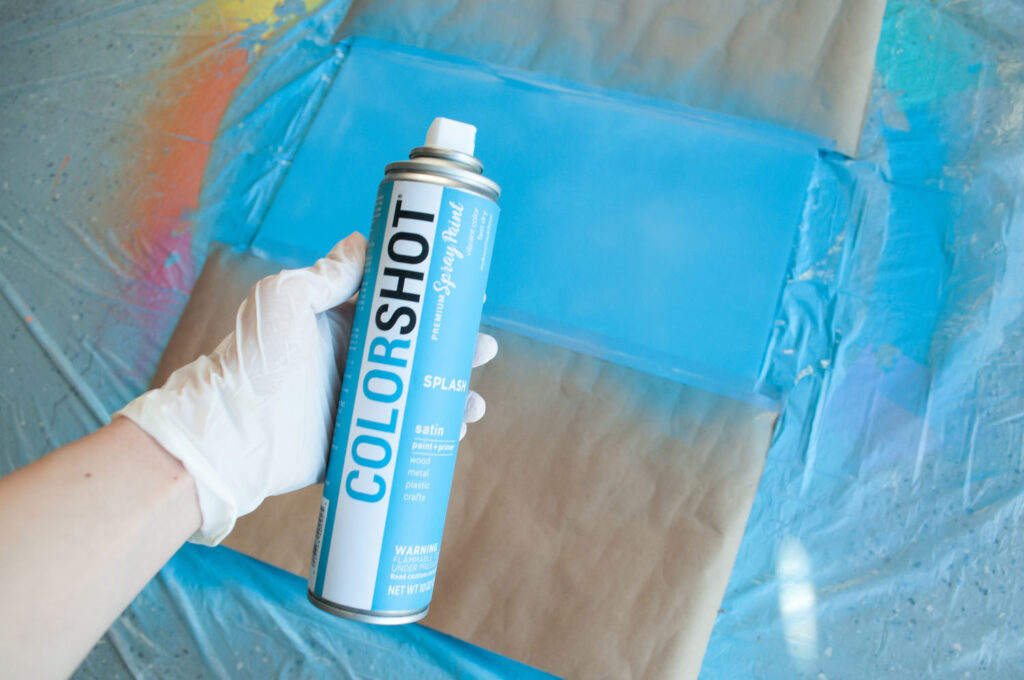
3. Write paint color names. Sketch the names of your paint colors on the left bottom corner of each section. Trace over them with the chalk marker.

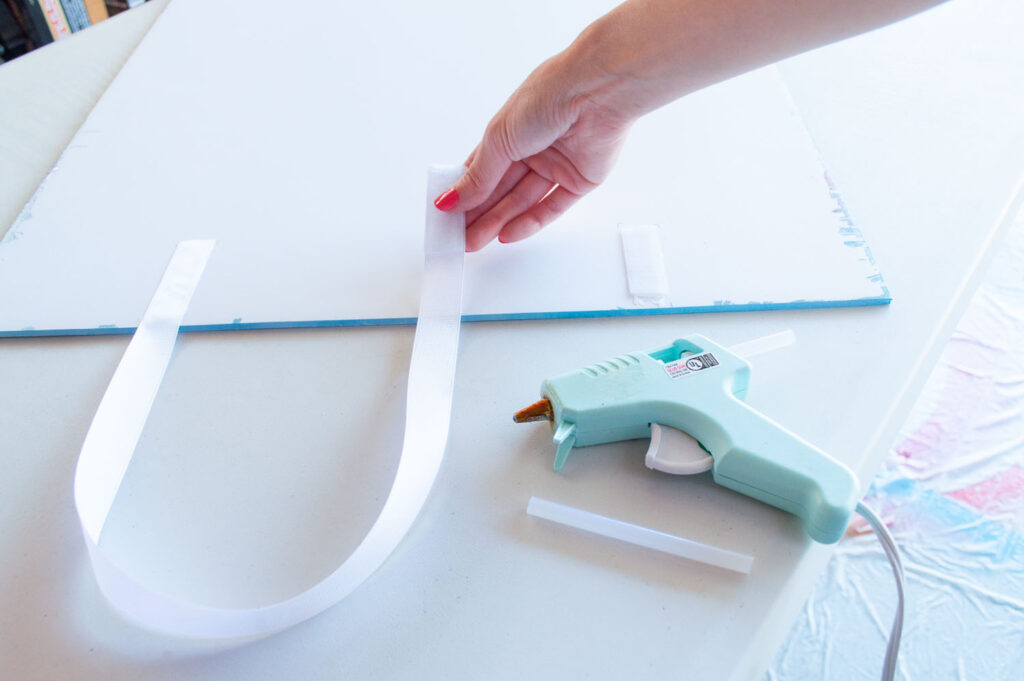
4. Attach neck loop. Cut a length of white ribbon long enough to go behind your neck. Mark the placement of the ribbon on the back of the paint chip. Hot glue one end to the first marking. Separate the hook and loop fastener. Hot glue one side of it to your second marking. Hot glue the other side to the end of your ribbon.
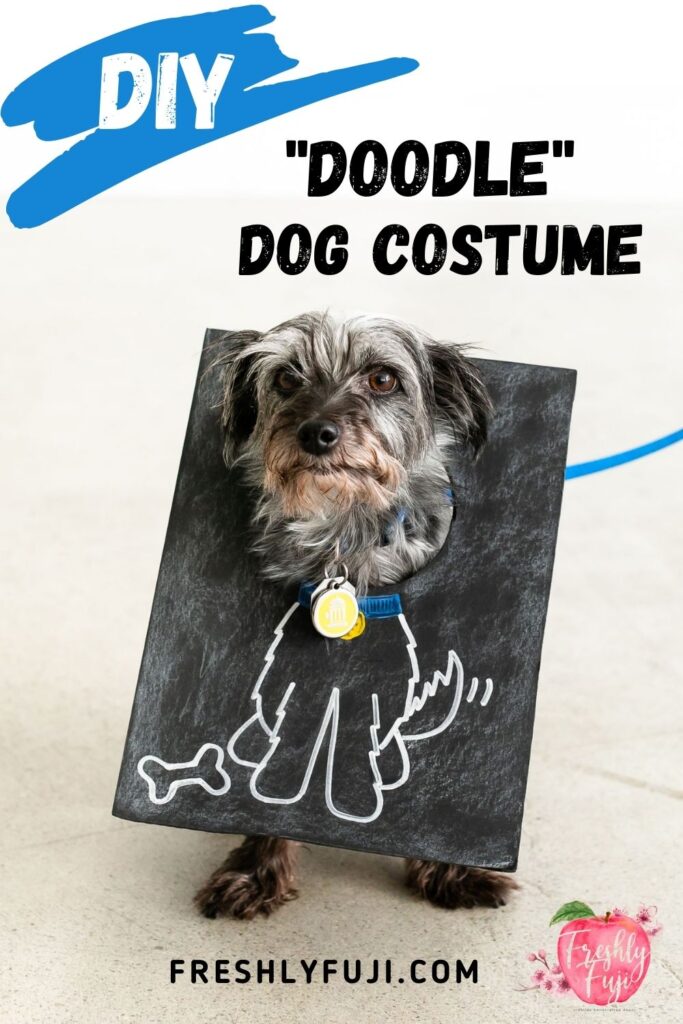
Doodle Dog Costume
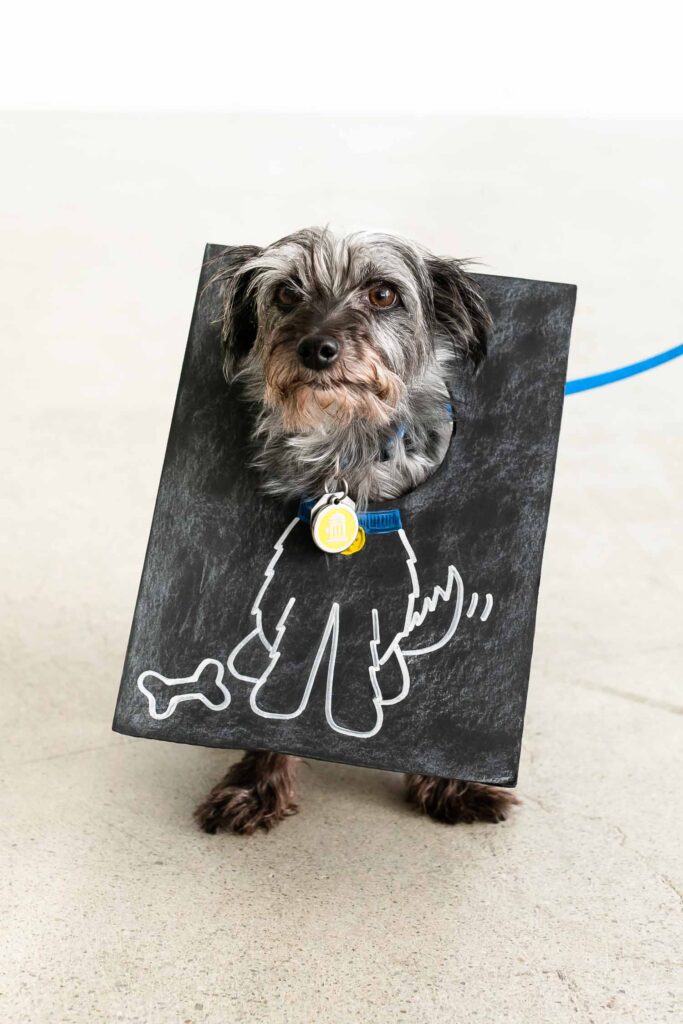
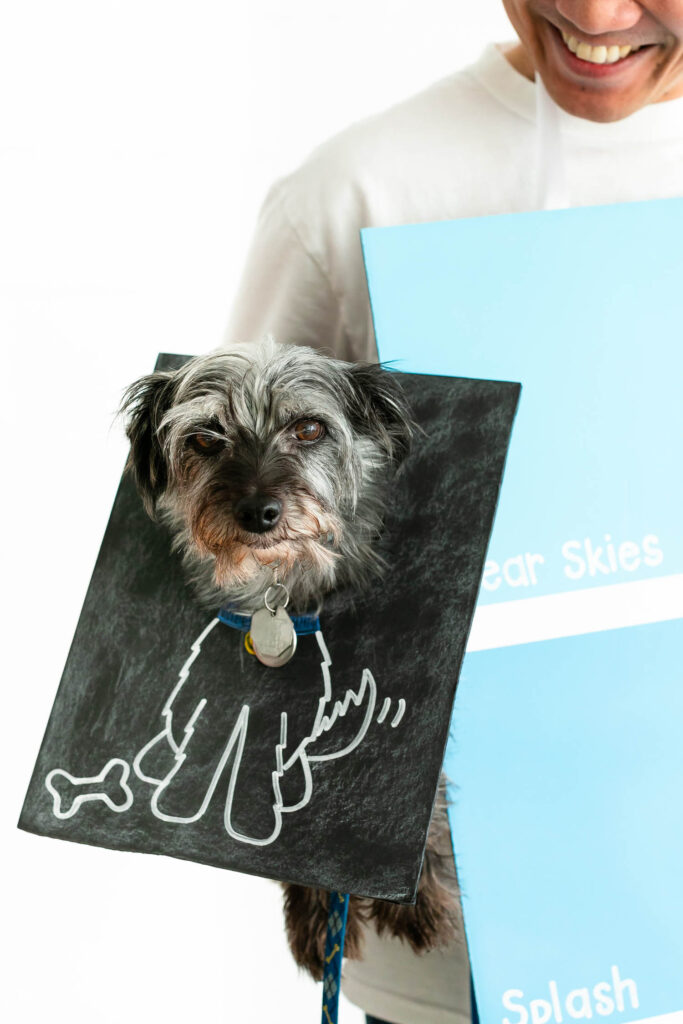
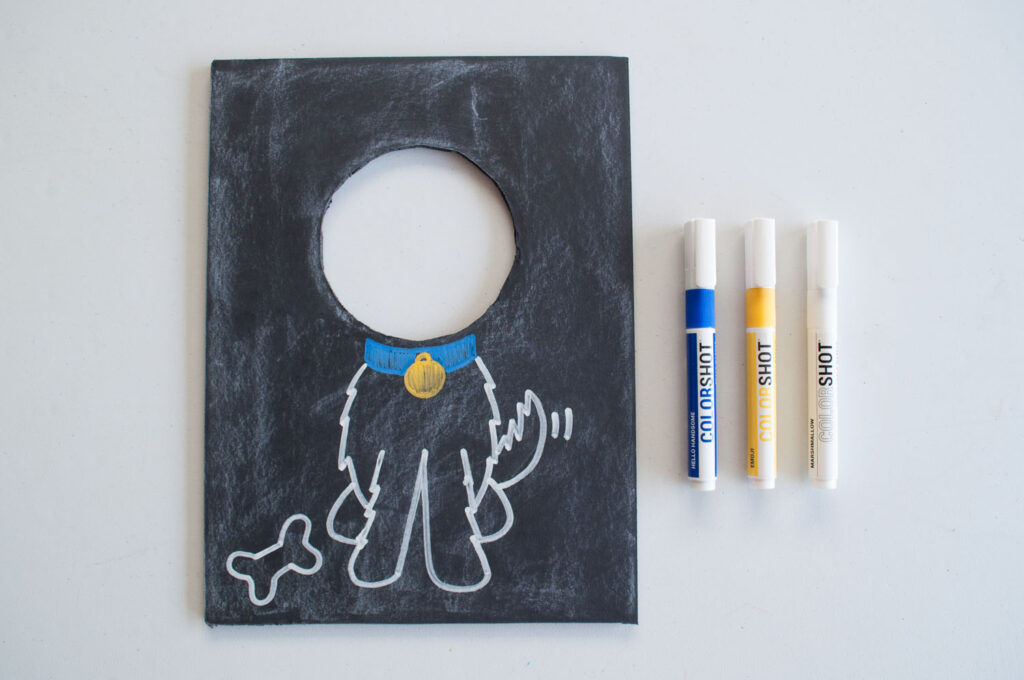
I love a good dog pun and costumes are no exceptions! I made this chalkboard “doodle” costume for my dog Frankie. This is as easy as it gets friends! Just doodle your dog’s body (or another creature of your choice) and get ready for all the tricks and treats! 😉
Materials
- COLORSHOT Chalk Markers
- Black foam board
- Pencil
- Ruler
- Compass
- Box cutter
- Chalk
- Rag
Instructions
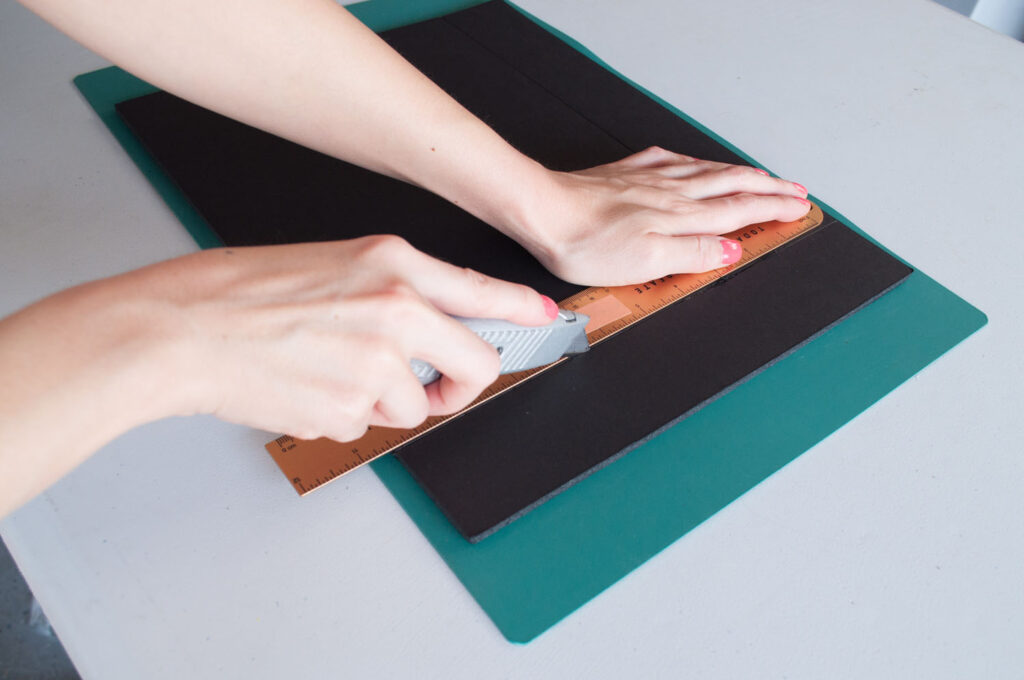
1. Cut foam board. Trim foam board into a rectangle shape that matches the size of your dog. Measure the width of your dog’s head. Using your compass, draw a circle slightly larger than his/her head on the top portion of the foam board. Use a box cutter to cut out the circle. Sand the edges if needed.
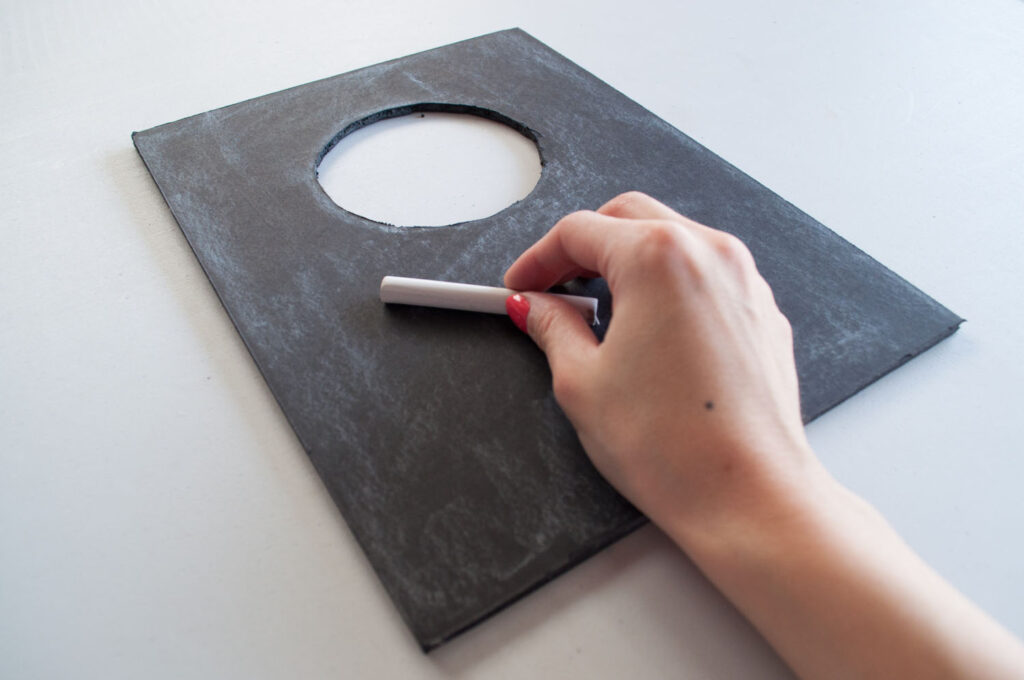
2. Add chalkboard effect. Rub the side of the chalk all over the board. Use a rag to wipe off some of the chalk.
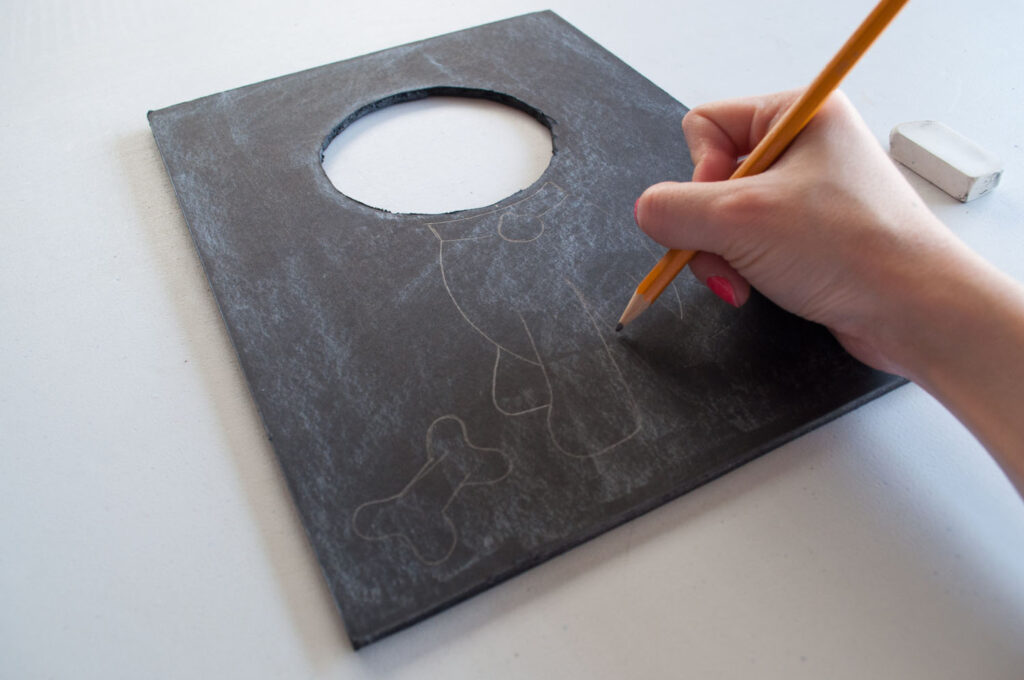
3. Draw doodle. Draw your doodle using a pencil. Trace over your drawing with chalk markers.
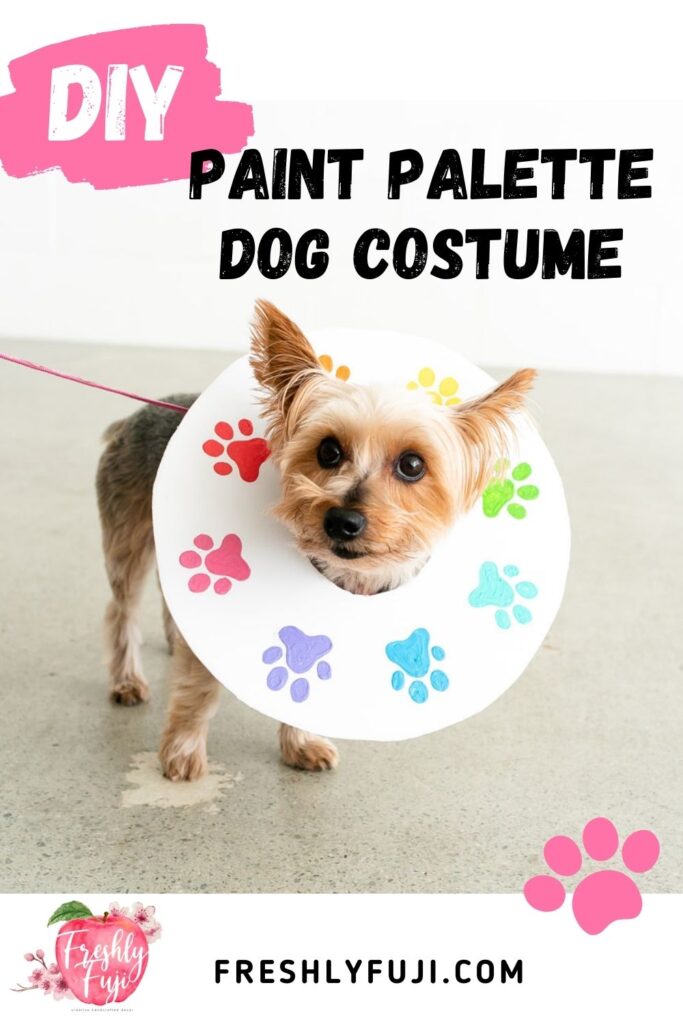
Paint Pawlette
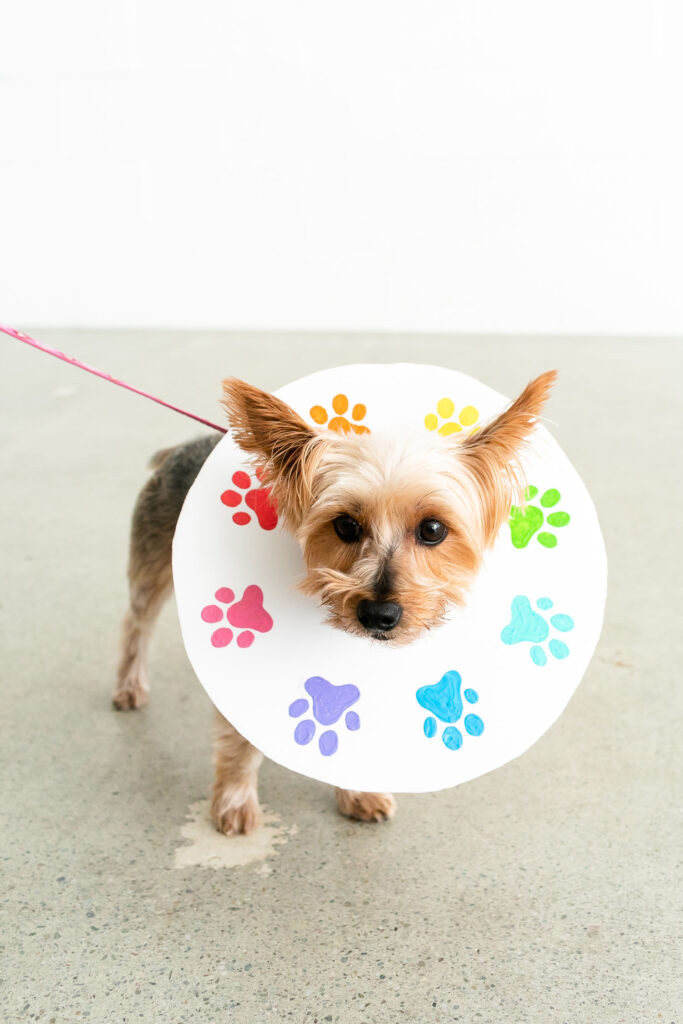
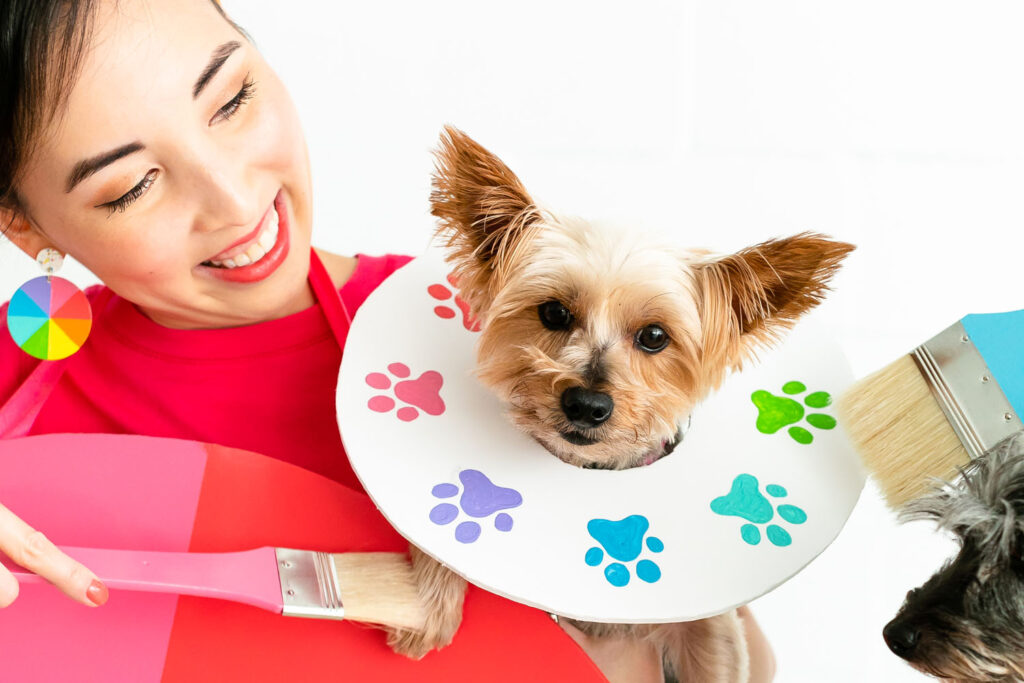
I turned my dog Penny into a paint pawlette (palette)! I used the COLORSHOT Acrylic Paints (in the same colors as my color wheel!) to create paw-shaped paint splotches all around her little head. Isn’t she pawsitively adorable?
Materials
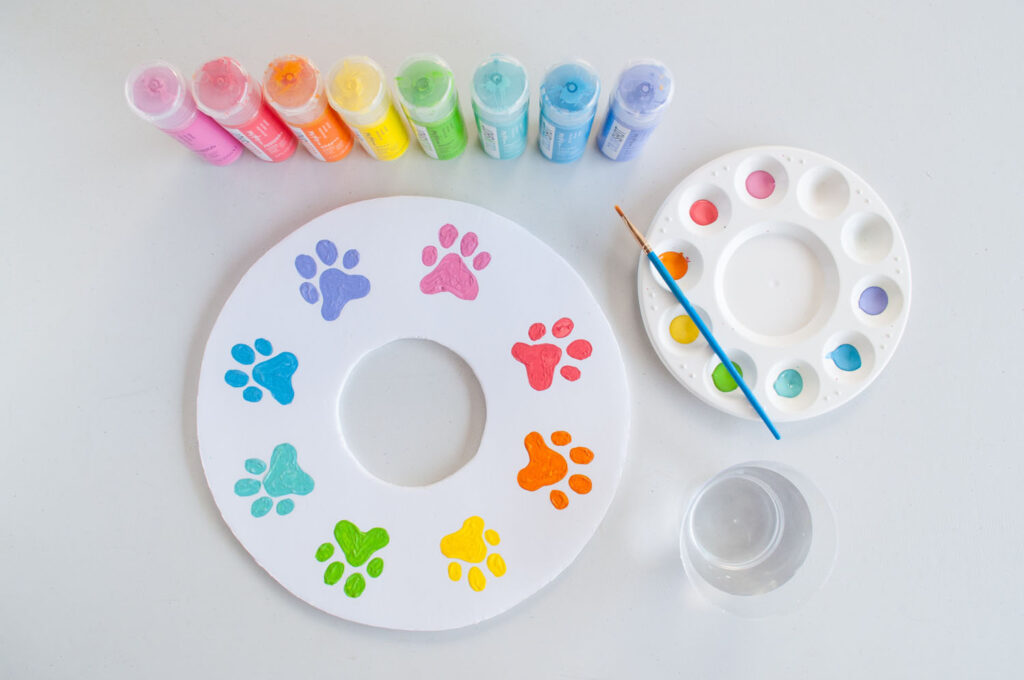
- COLORSHOT Acrylic Paint – Farmer’s Daughter, Orange Slice, Emoji, With a Twist, Island Girl, Splash, Aromatherapy
- White foam board
- Compass
- Box cutter
- Pencil
- Small paint brush
- Water
Instructions
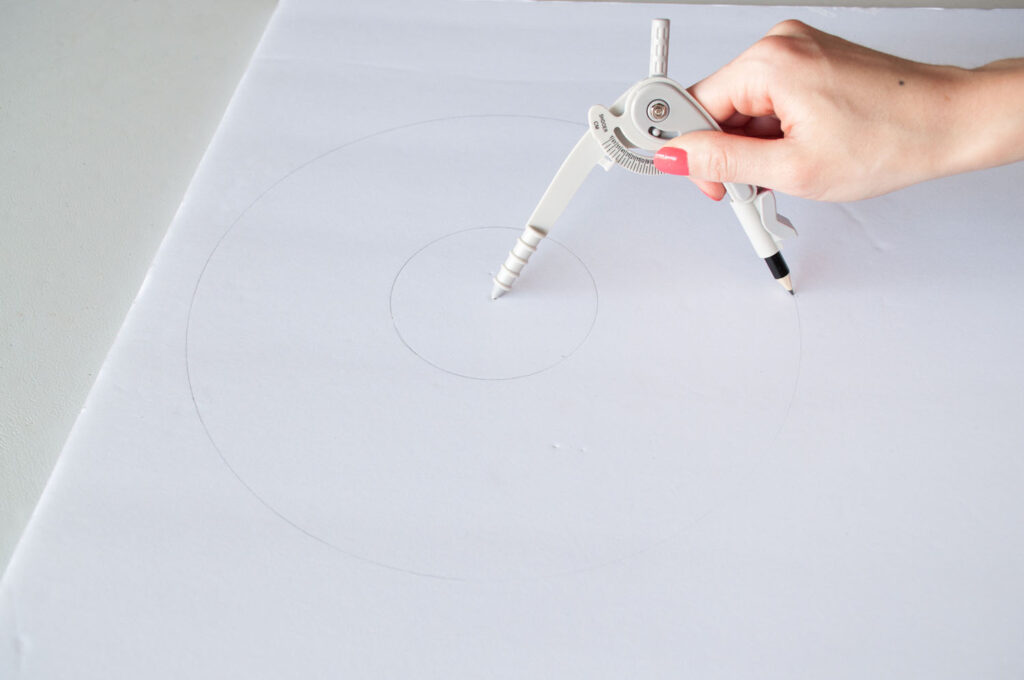
1. Cut foam board into palette shape. Measure the width of your dog’s head. Using your compass, draw a circle slightly larger than his/her head on the foam board. Draw a larger circle around the smaller circle. Use a box cutter to cut the outer and inner circles. Sand the edges if needed.
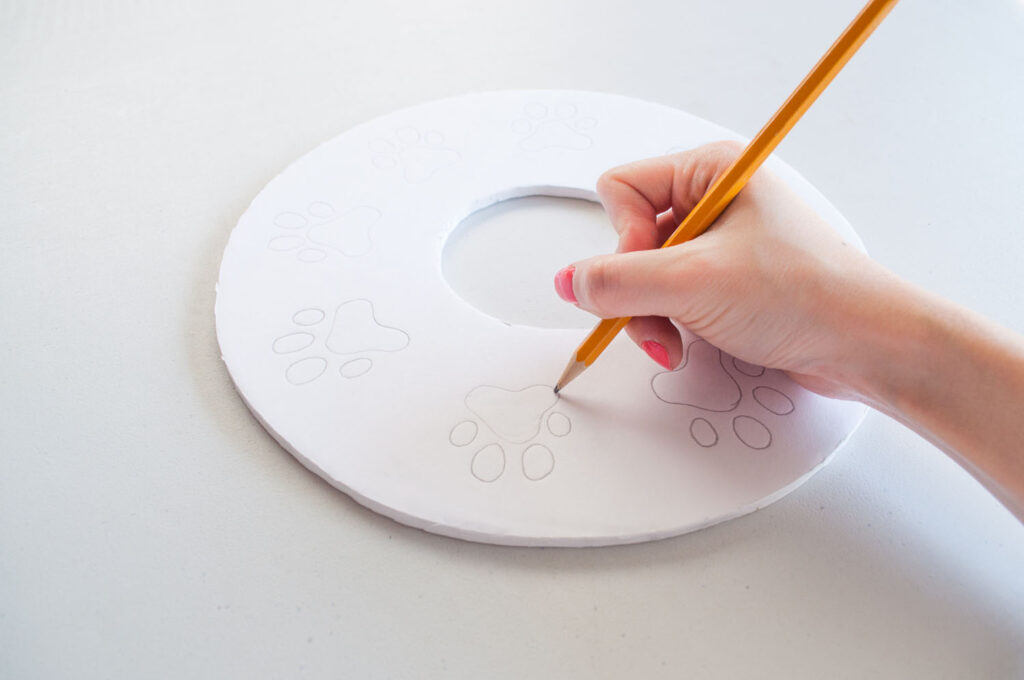
2. Sketch paw prints onto the paint palette.
3. Paint. Use acrylic paint to fill in the paw prints. Allow to dry before putting on your dog.
Put on your costumes and your best smile!

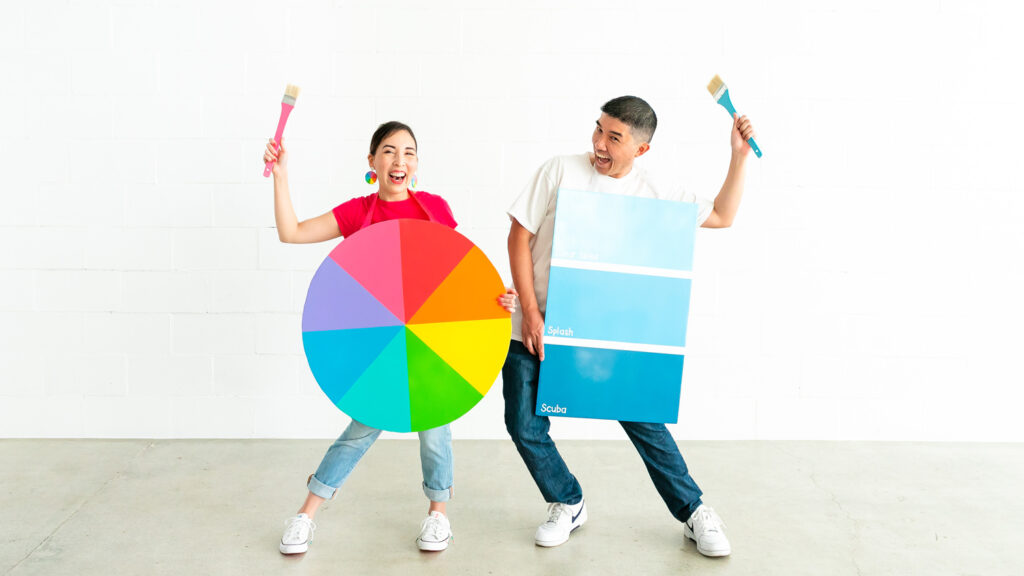
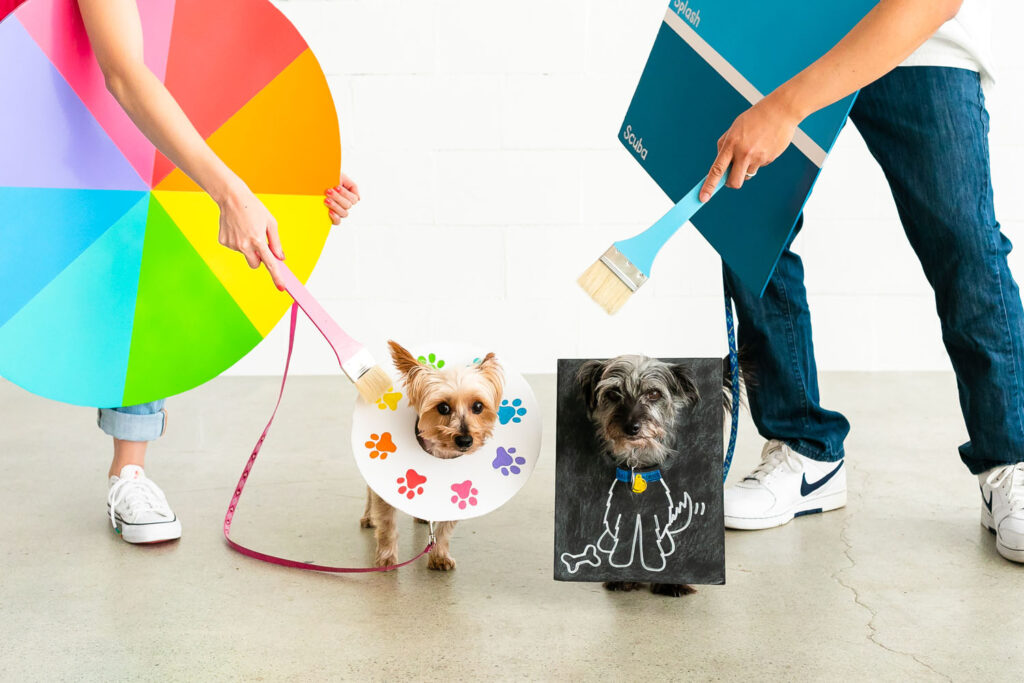
What do you think of my colorful family costume? Are you planning to DIY your family and pet costumes this year? Tag me on Instagram or Facebook if you decide to make something similar OR if you make something else totally awesome! I would love to share them in my stories. 🙂
Pin these costume ideas!
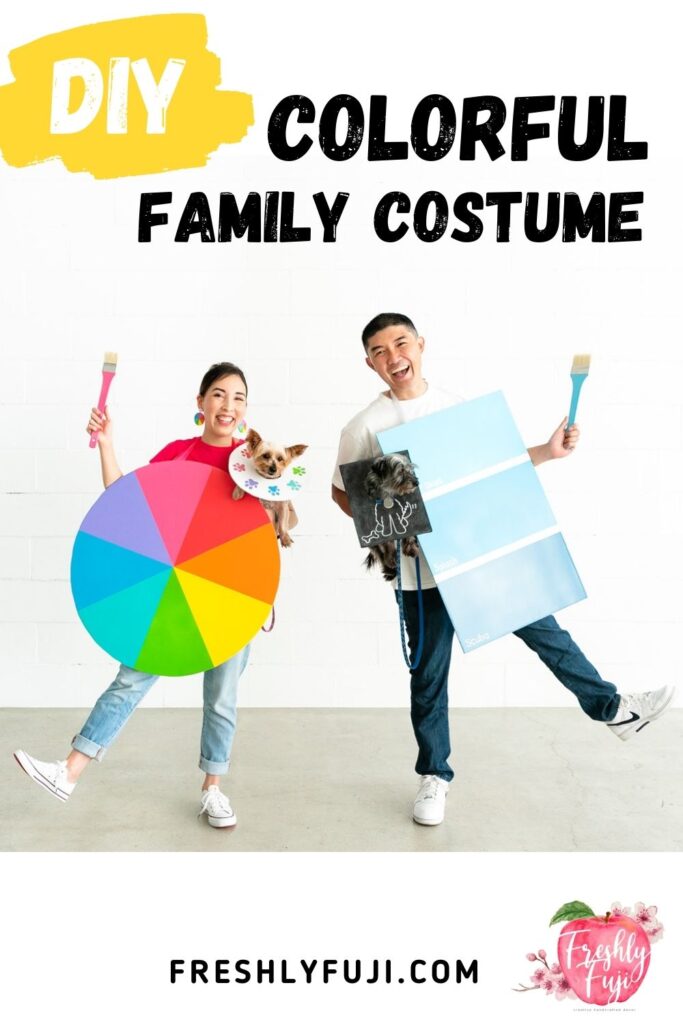
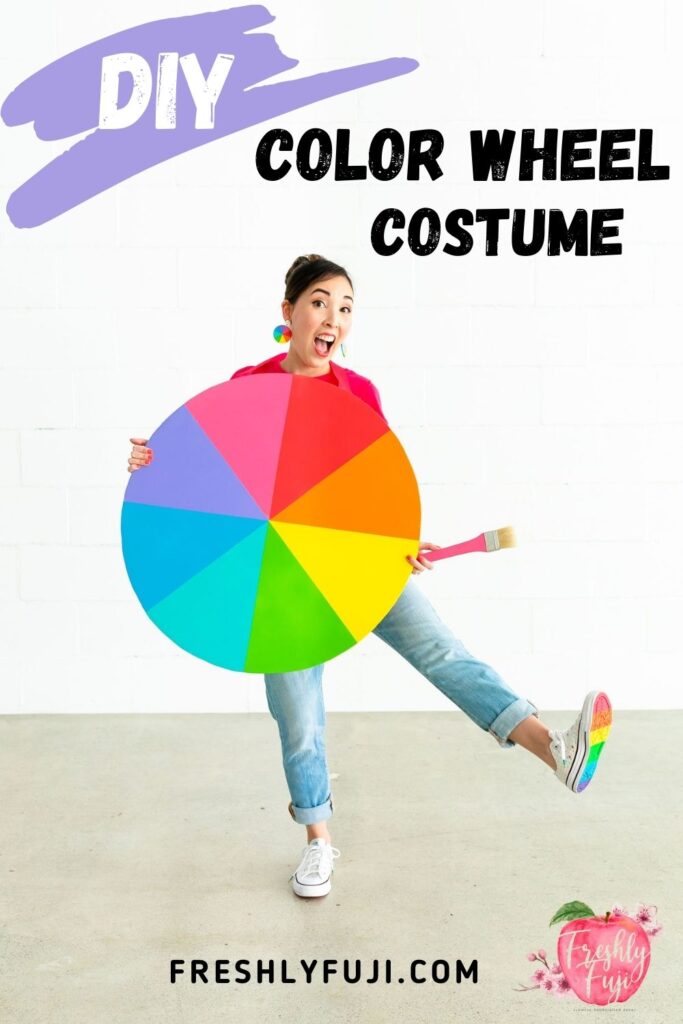
If you loved this colorful family costume, check out my tutorial on how to make your own Ms. Frizzle Dress and this post about our Magic School Bus x Bill Nye Costumes.
For more paint projects and inspiration, visit mycolorshot.com!
Finished costume photos by Sarah Eichstedt Photography, taken at Creative Space Studios.
