Personalizing a Pet Bandana and Matching Hair Tie with Cricut Joy
This post is in partnership with Cricut and may contain affiliate links. Concept and content are all my own.
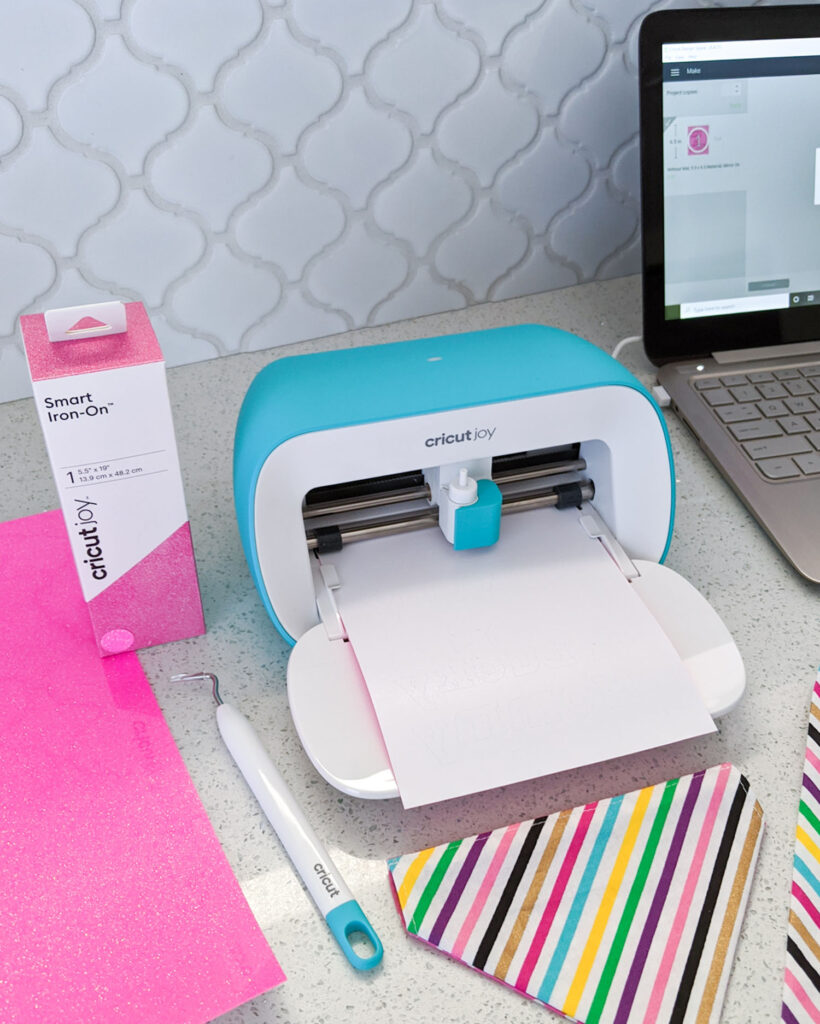
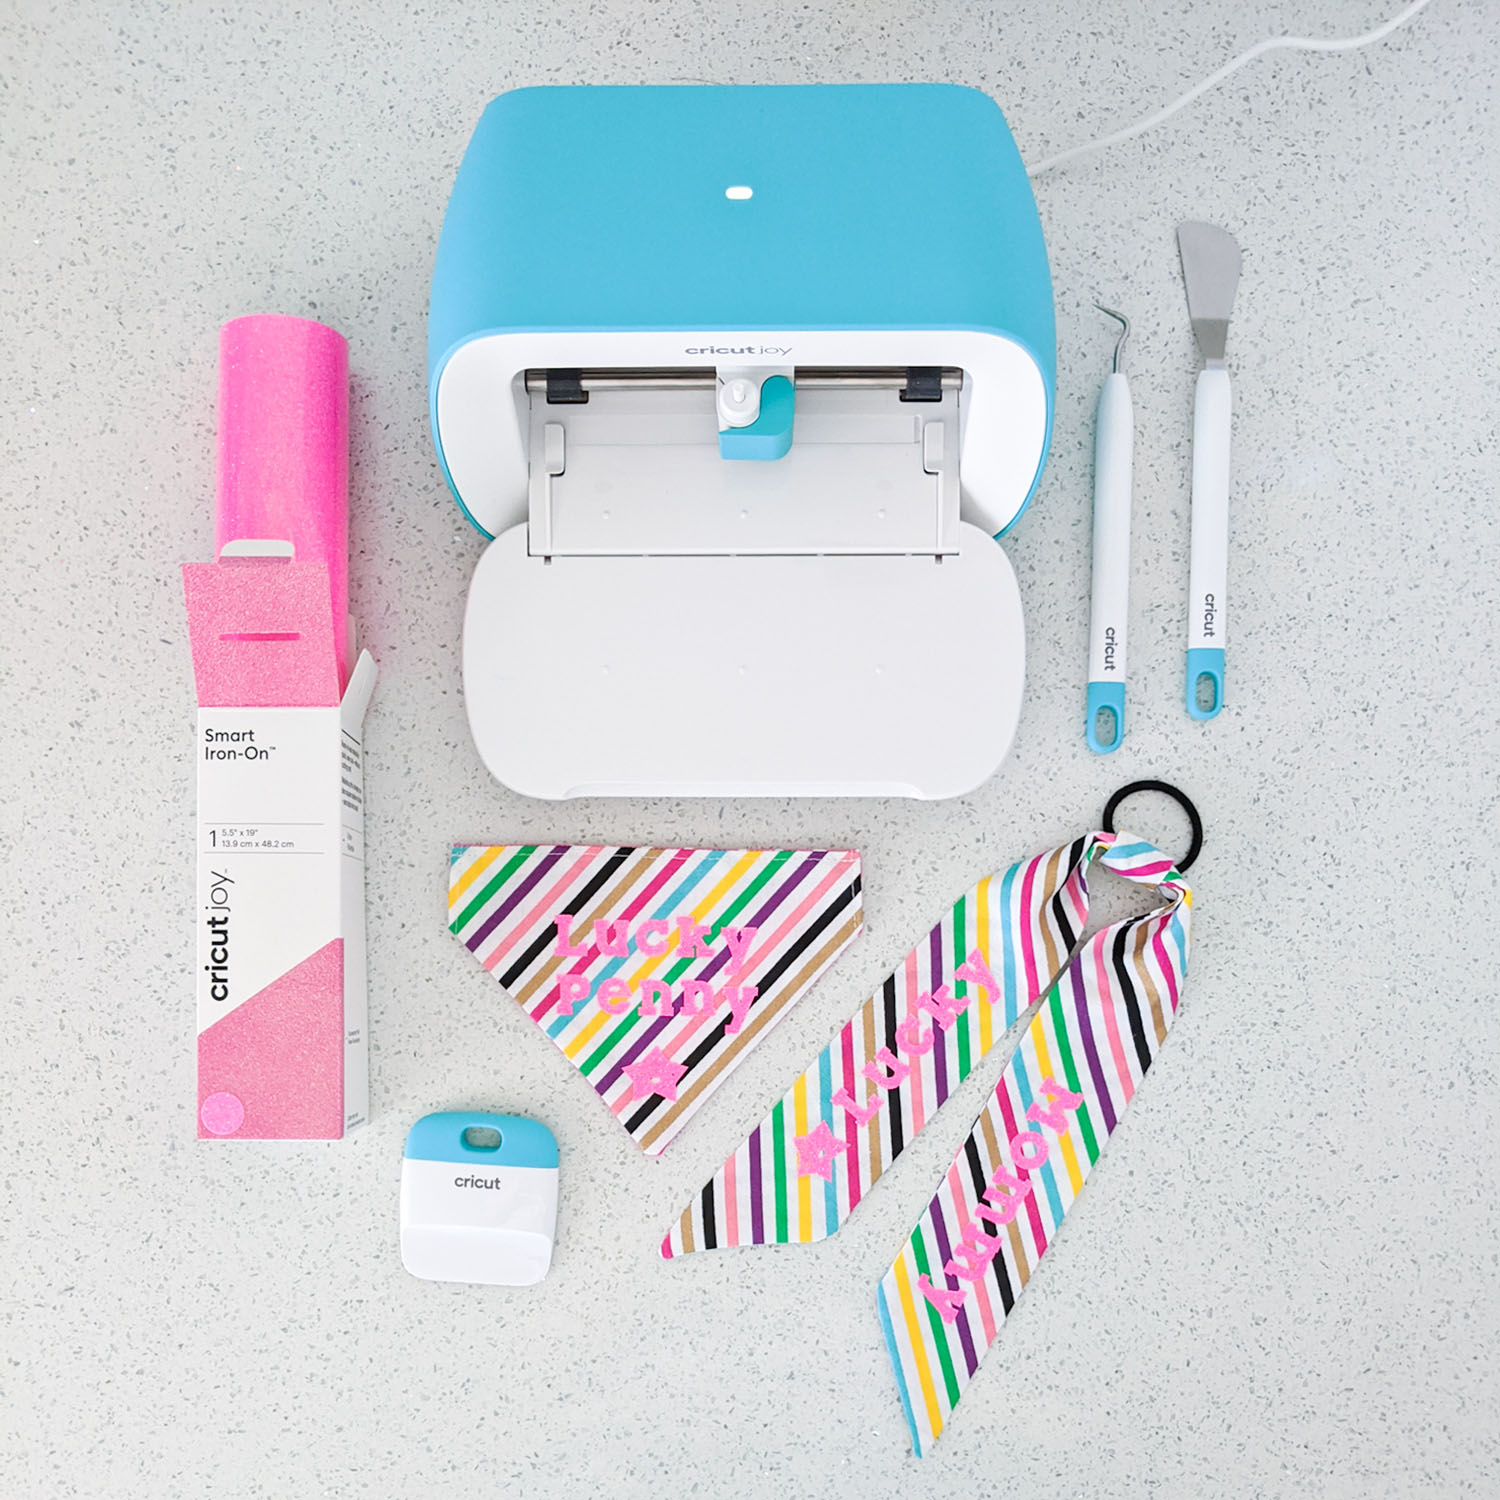
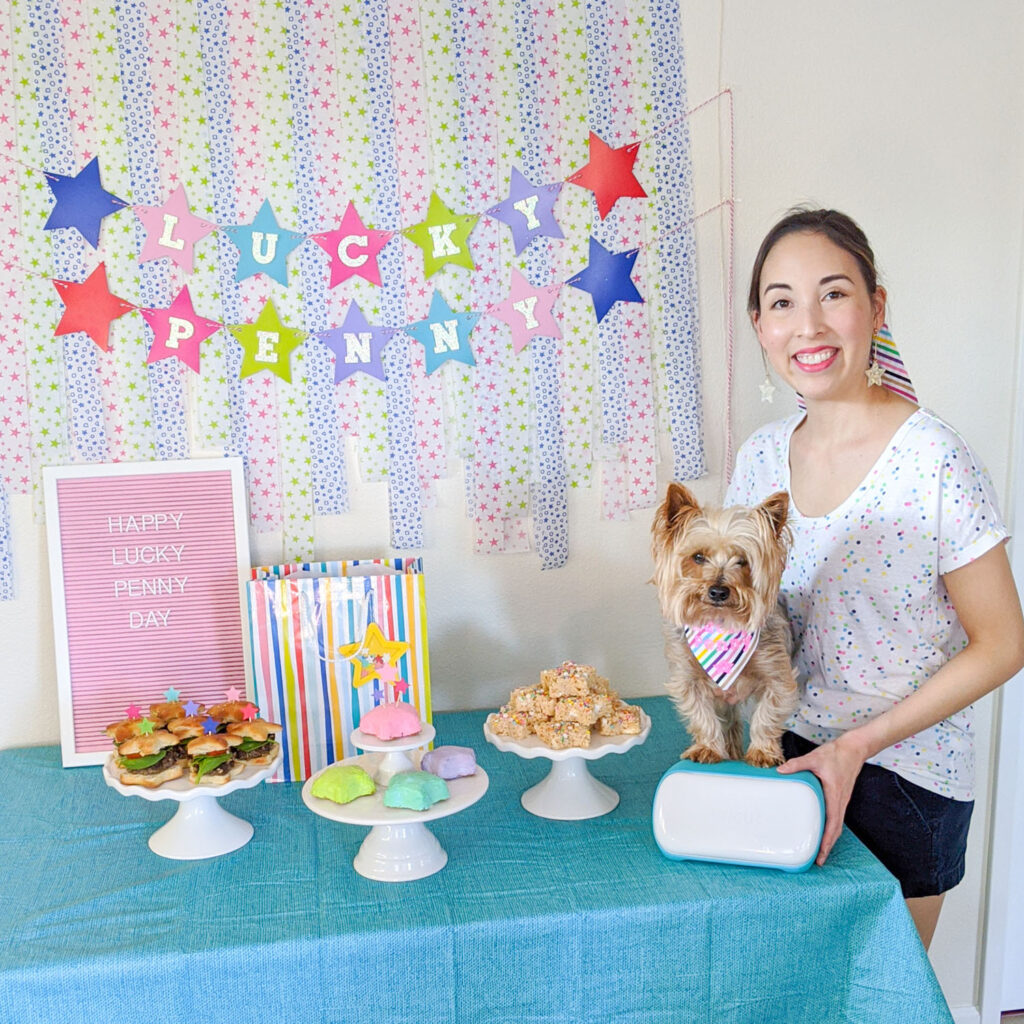
Last Saturday was National Lucky Penny Day so in true dog mom fashion, I decided to make my dog Penny and me something special LUCKY to celebrate! I partnered with my friends at Cricut to show you how to personalize a pet bandana and matching hair tie using my brand new Cricut Joy and EasyPress 2. The Cricut Joy is the newest kid on the block. It’s petite but packs a lot of punch! It’s compact size means it fits almost anywhere and I can craft wherever I want (as long as there’s wifi and an outlet!). It’s great for creating cards, personalizing gifts, and labeling almost anything in your home. I’m personally enjoying how I can whip up quick projects using my paper and vinyl scraps!
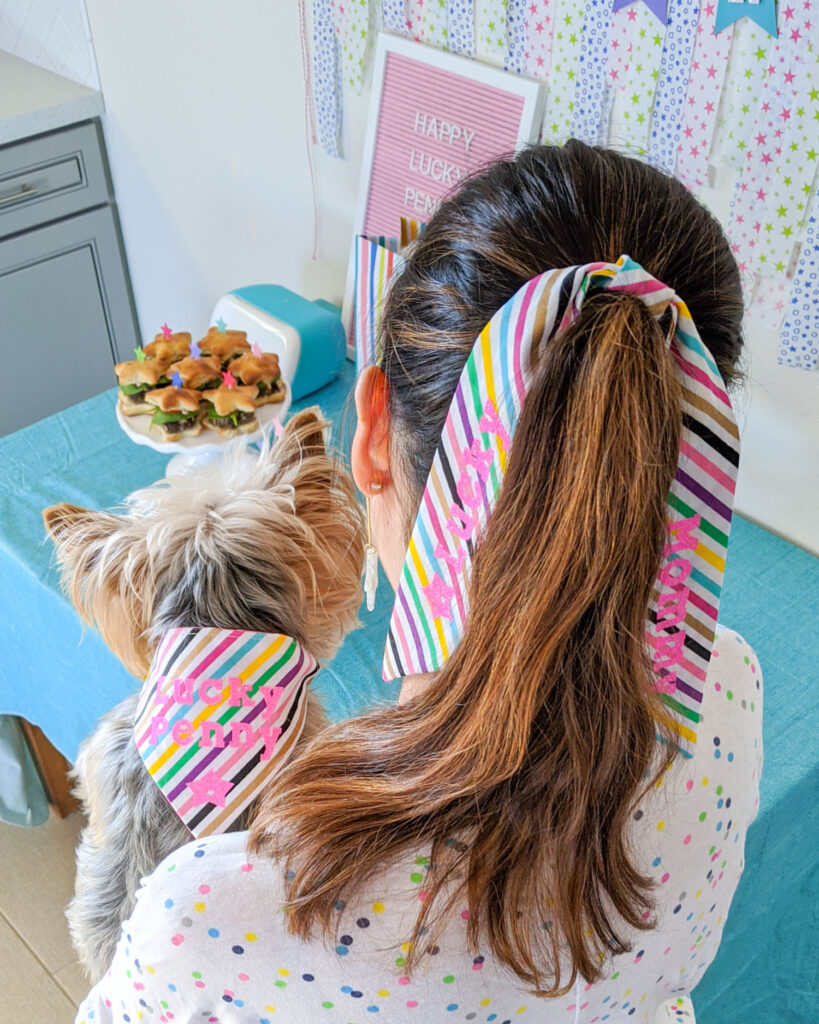
For this project I used Smart Iron-On Glitter specifically designed for the Cricut Joy. The fluorescent pink glitter was a perfect match for the bandana and hair tie I sewed. If pink glitter doesn’t match your project, there are tons of other Smart Iron-On options for you to choose from and the best part is, they can all be cut without a mat! Follow the steps below to create your very own matching set.
Materials
– Cricut EasyPress Mat or fluffy beach towel
– Smart Iron-On Glitter (I’m using Fluorescent Pink)
– 100% cotton pet bandana
– 100% cotton hair tie
Instructions
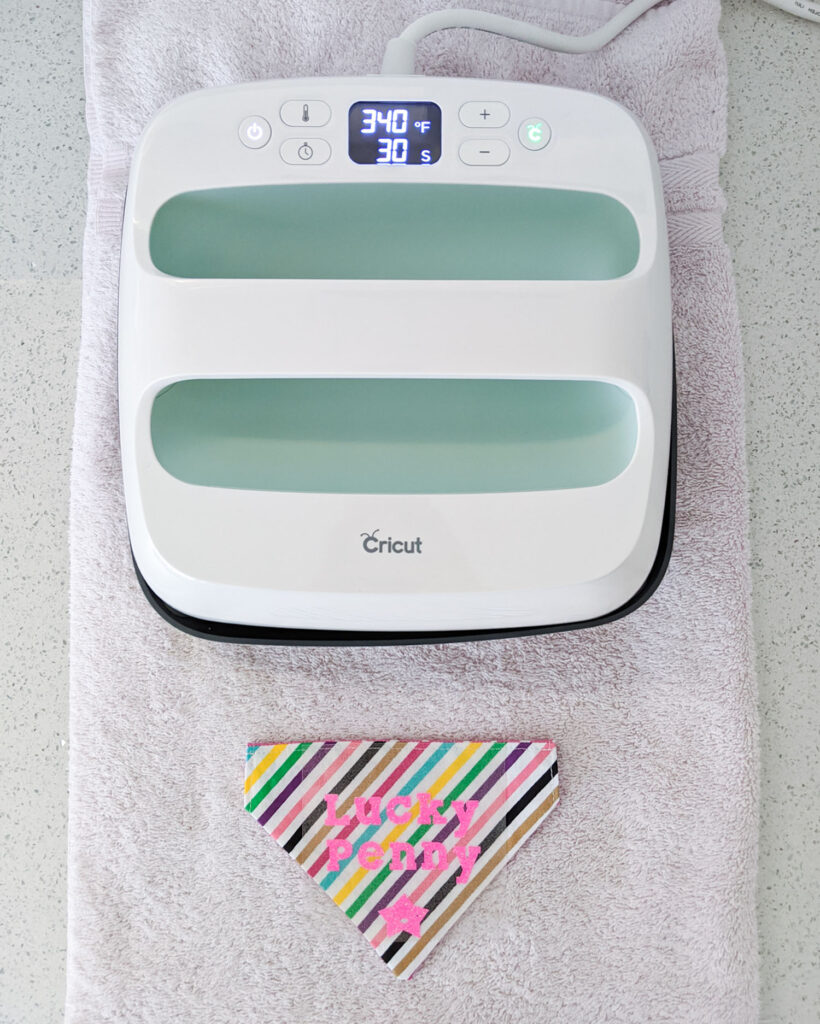
Design
1. Open Lucky Pet Bandana and Matching Hair Tie project in Design Space. You will need Cricut Access to access the fonts and images for this project. Measure your pet bandana and adjust the size of the bandana on your canvas using the arrow. This will serve as a temporary template.
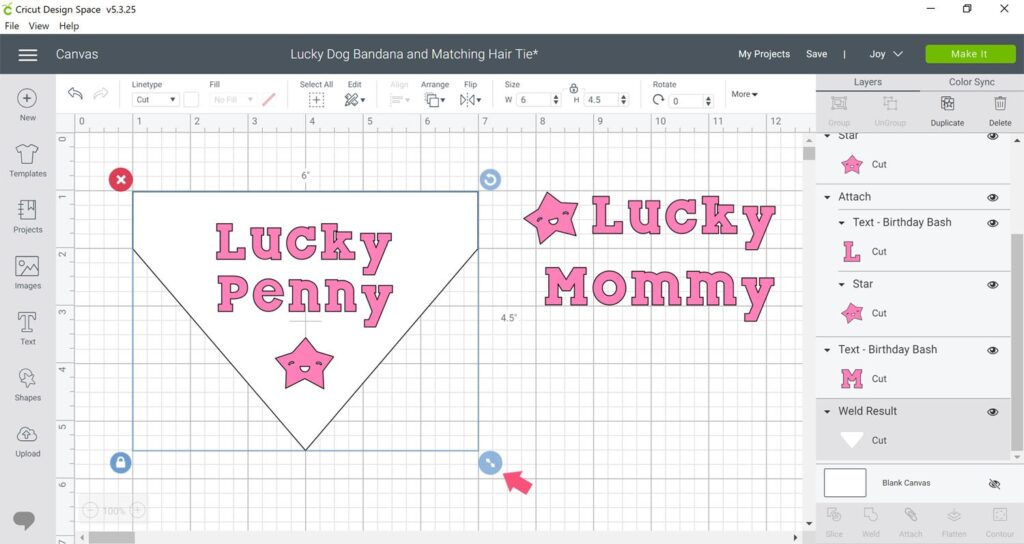
2. To customize pet name, first click on “Lucky Penny” layer. Then click on Detach to separate all three layers (Lucky, Penny and the star). Double click on “Penny” and change the name to your pet’s name. Now adjust your design to fit the bandana template by typing in a new font size or by using the arrow to increase or decrease size.
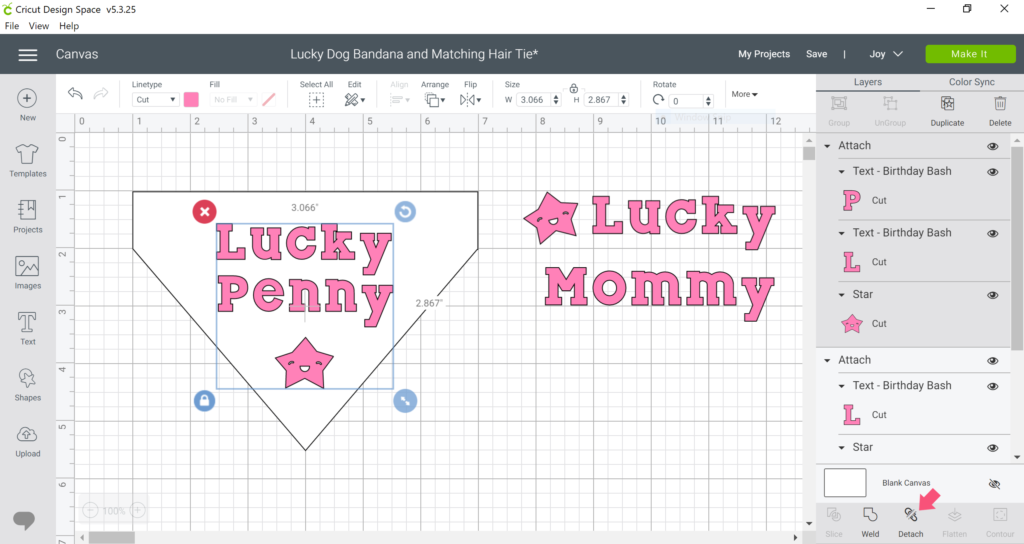
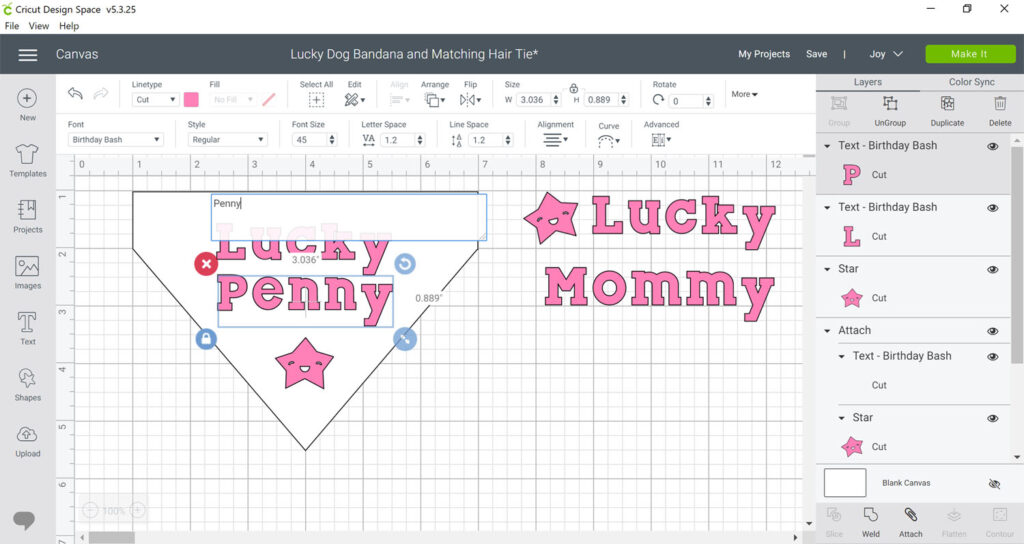
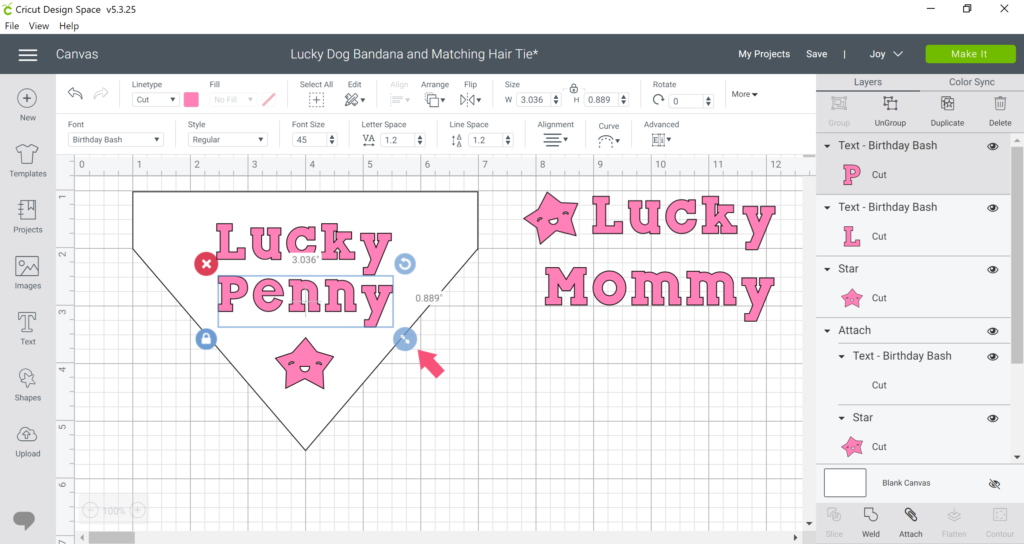
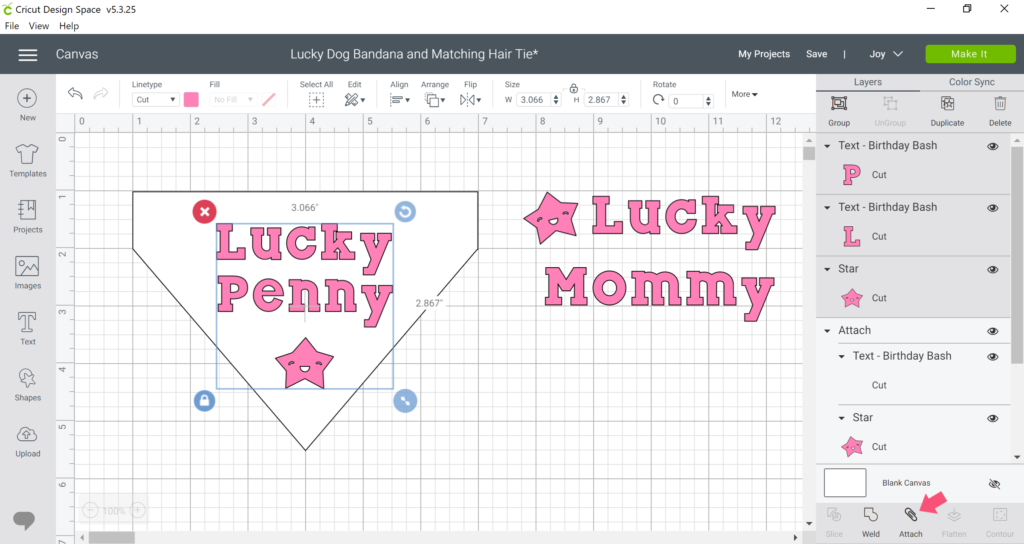
3. Hold down the shift key and select all three layers again. Click on Attach. This ensures all three layers will cut in this exact arrangement (Otherwise Cricut may separate items in order to conserve space). Repeat the above steps for the hair tie layers if needed.
Cut and Weed
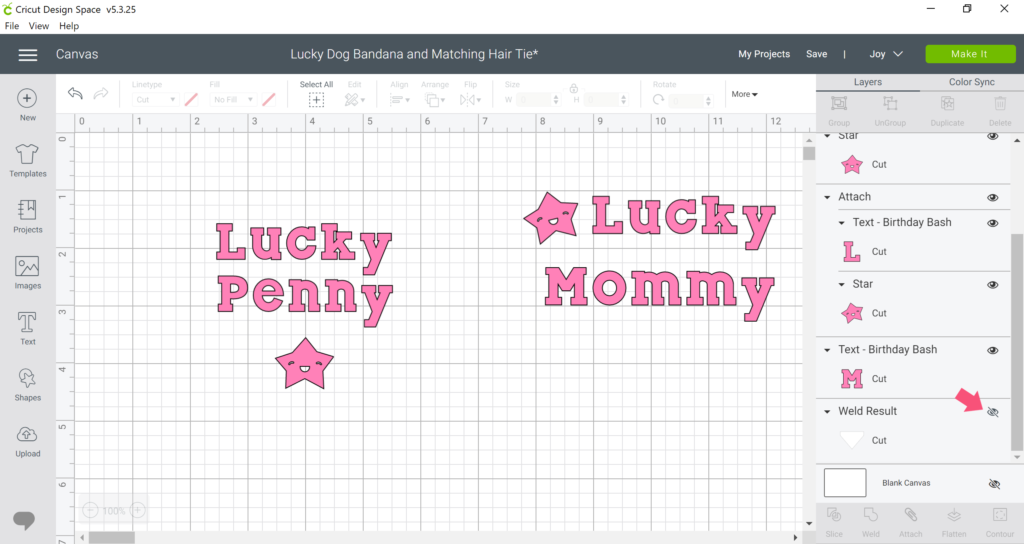
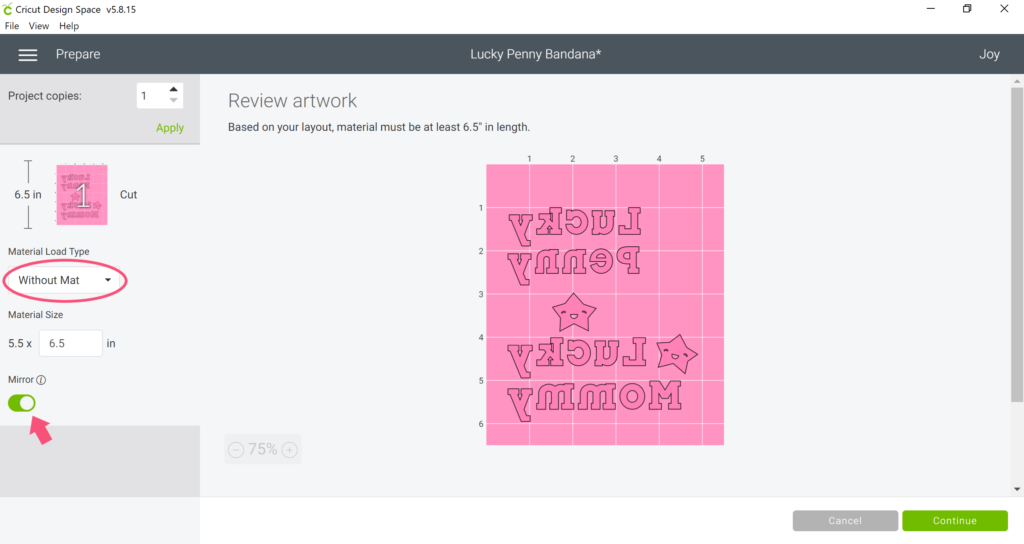
4. Hide bandana template then click Make It button. Change type to Without Mat and turn on the Mirror feature. Hit continue and allow Cricut Joy to connect via bluetooth.
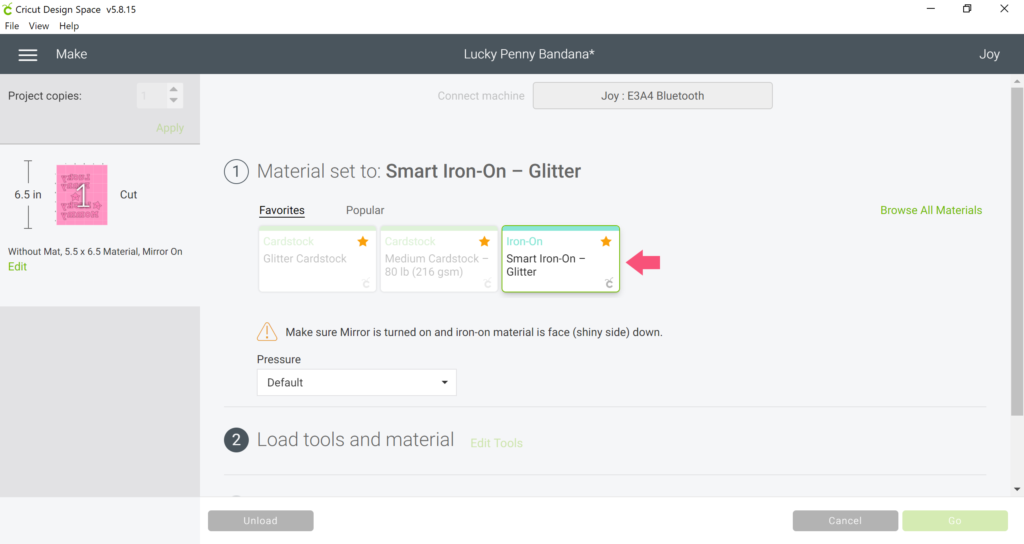
5. Set material to Smart Iron-On Glitter or click Browse All Materials to select another Smart Iron-On material.
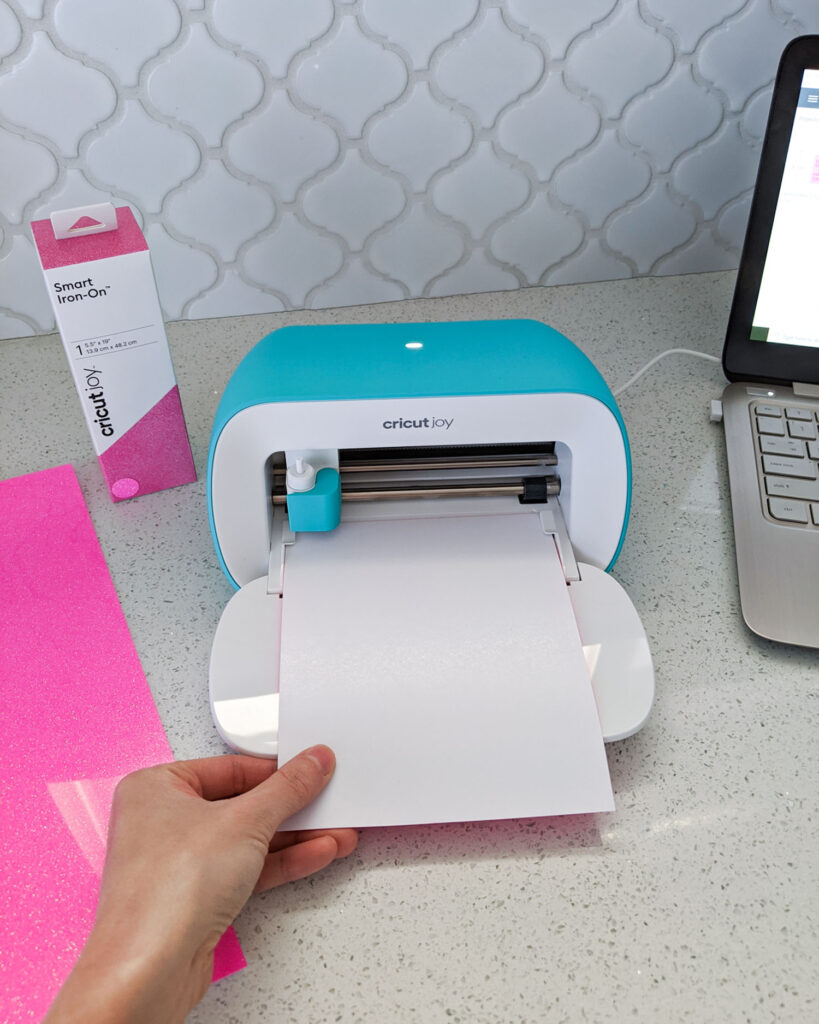
6. Make sure Cricut Joy Blade is inserted and load the Smart Iron-On Glitter shiny side down. The machine will automatically pull in the material and measure it to make sure you have enough to complete your project.
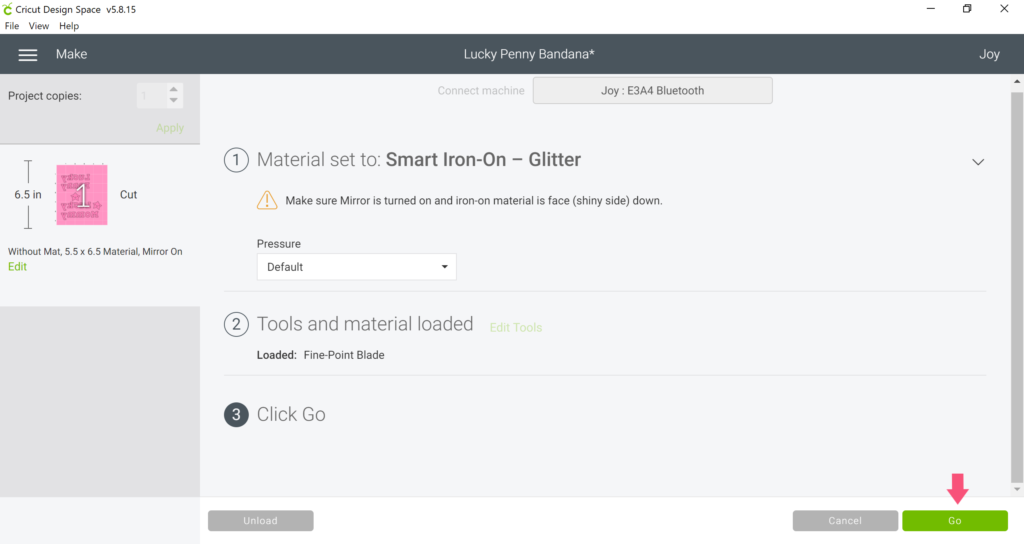
7. Click Go button and your machine will begin cutting. Once cut is complete, click Unload to release the material.
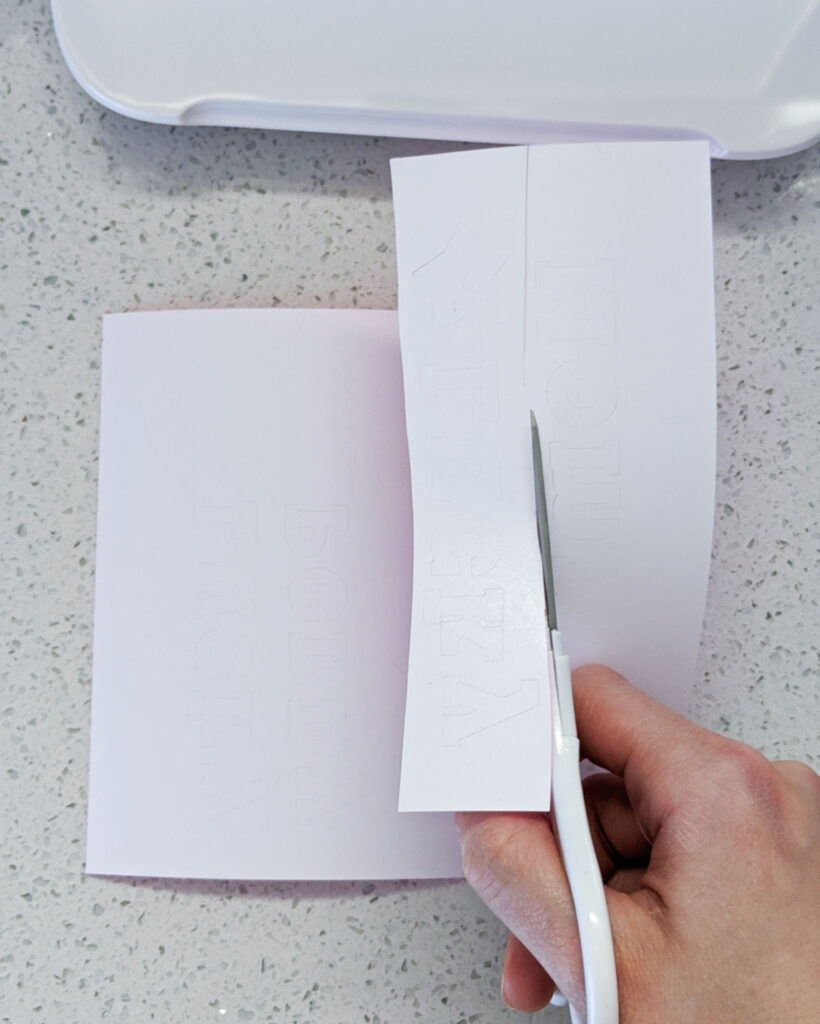
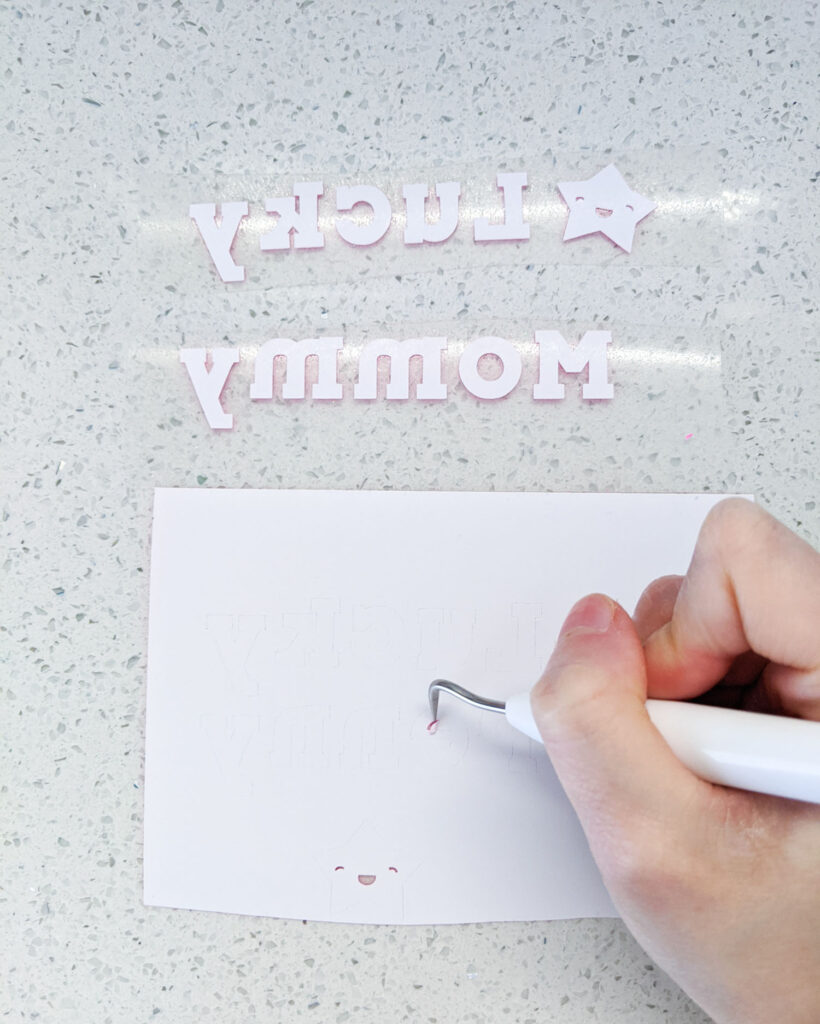
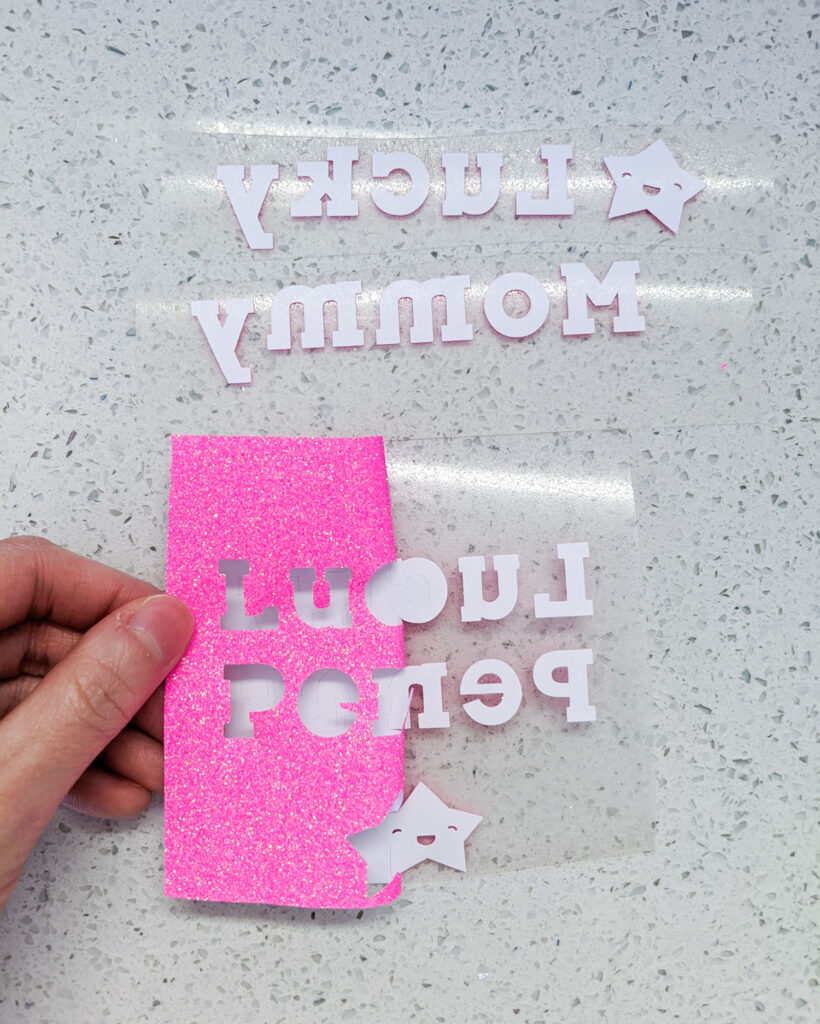
8. Cut your iron-on into the pieces needed for each project. Weed out the smaller inner pieces using the weeder tool. Then carefully peel back the rest of the iron-on to reveal your design.
Apply
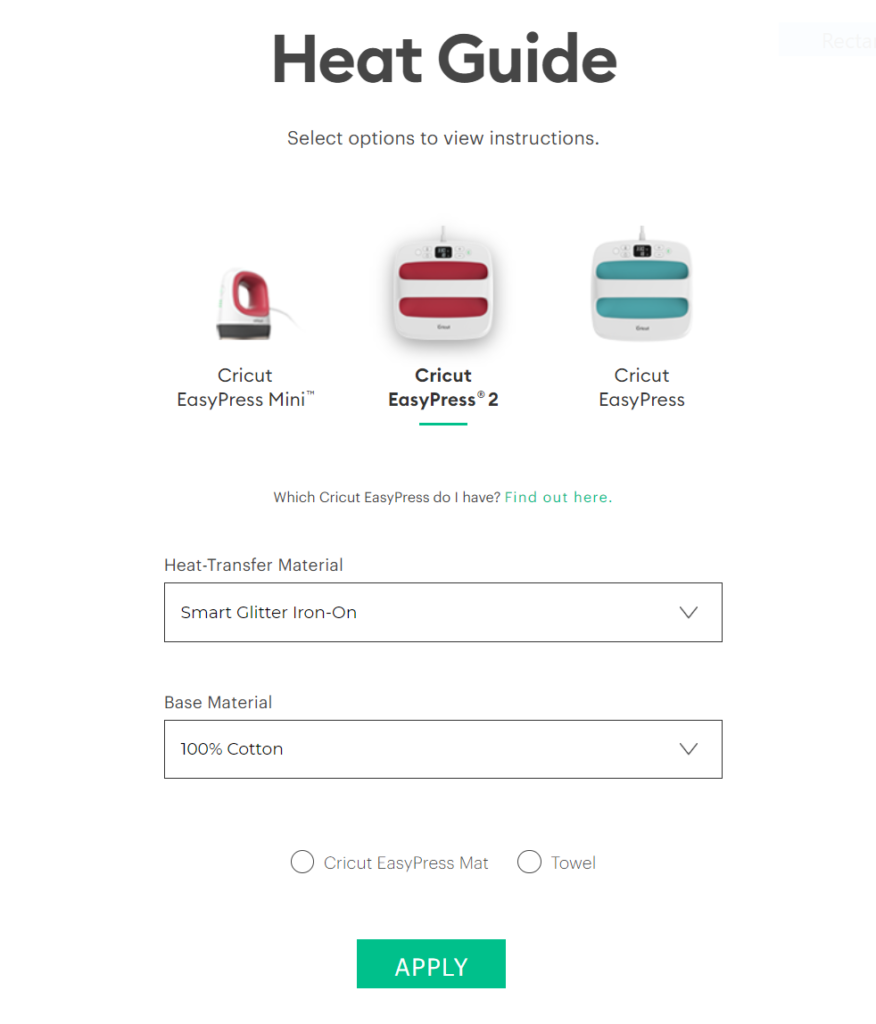
9. Refer to the Heat Guide to determine your settings for your EasyPress 2. Select your heat-transfer material (Smart Iron-On Glitter), base material (100% cotton) and iron on surface (towel), then click Apply. The site will provide you with specific instructions.
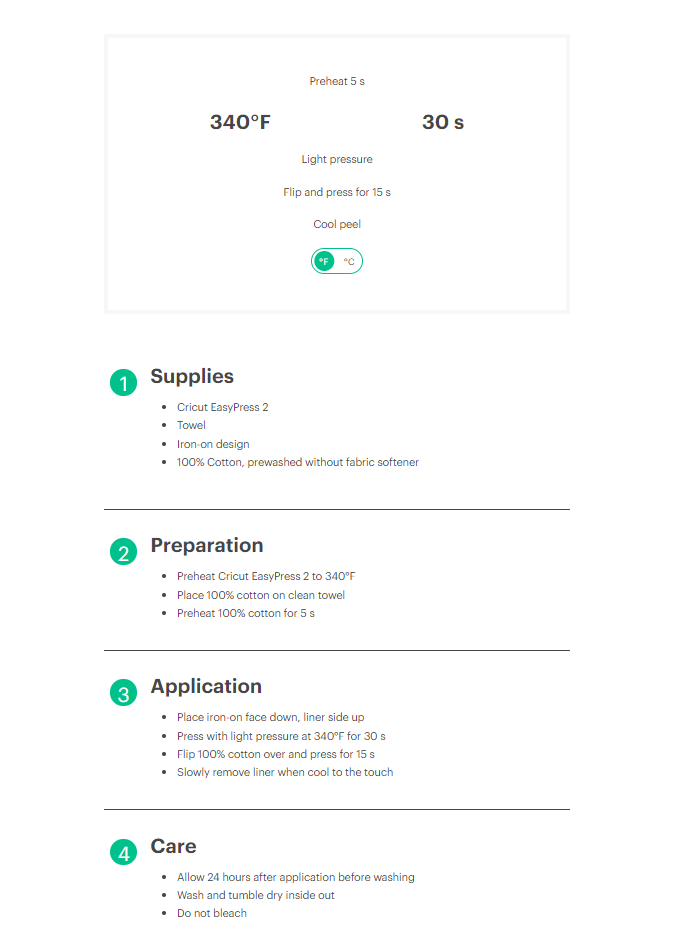
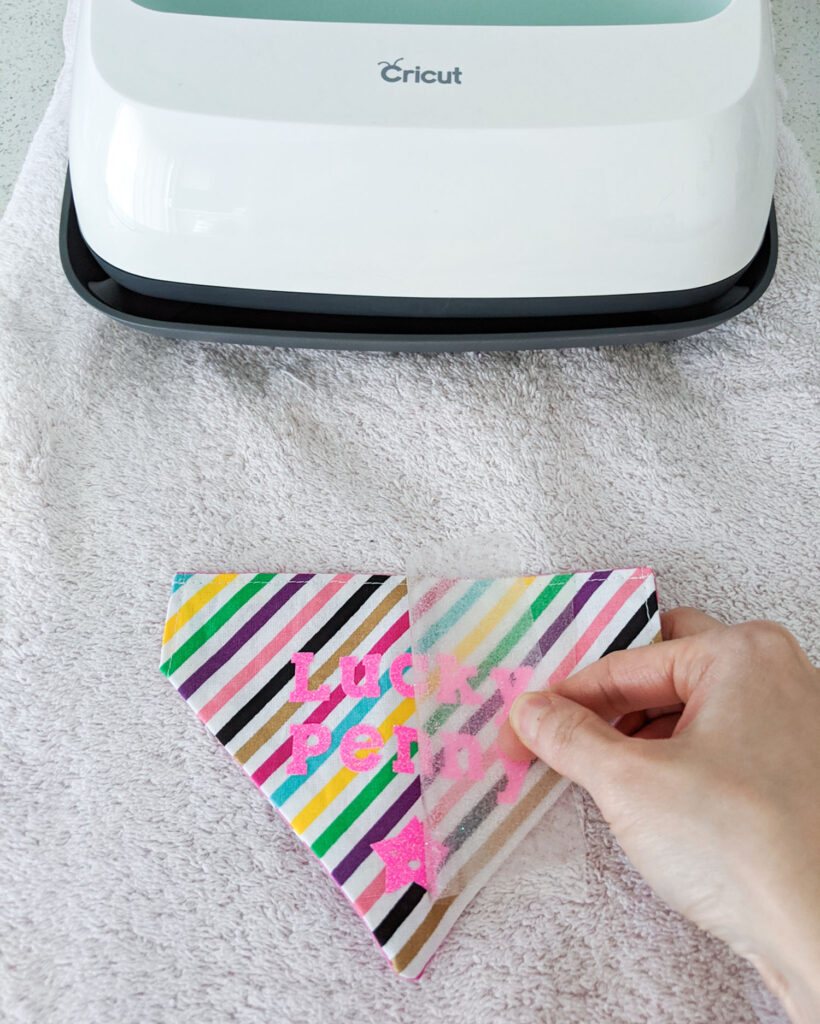
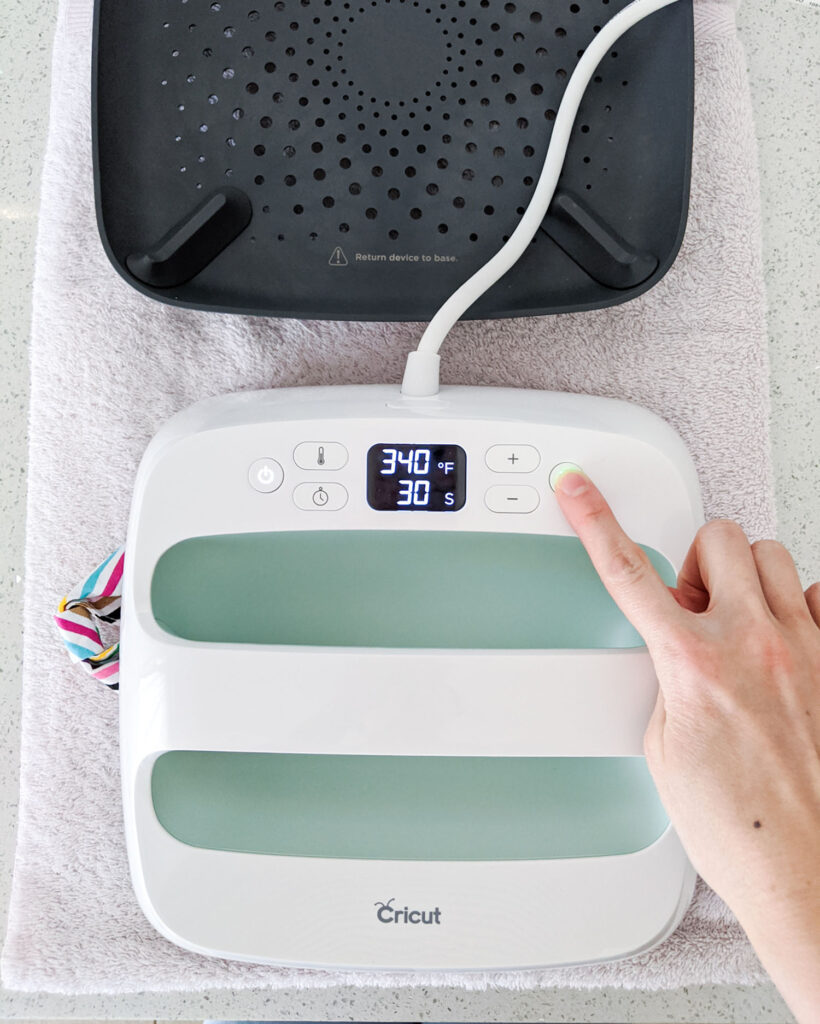
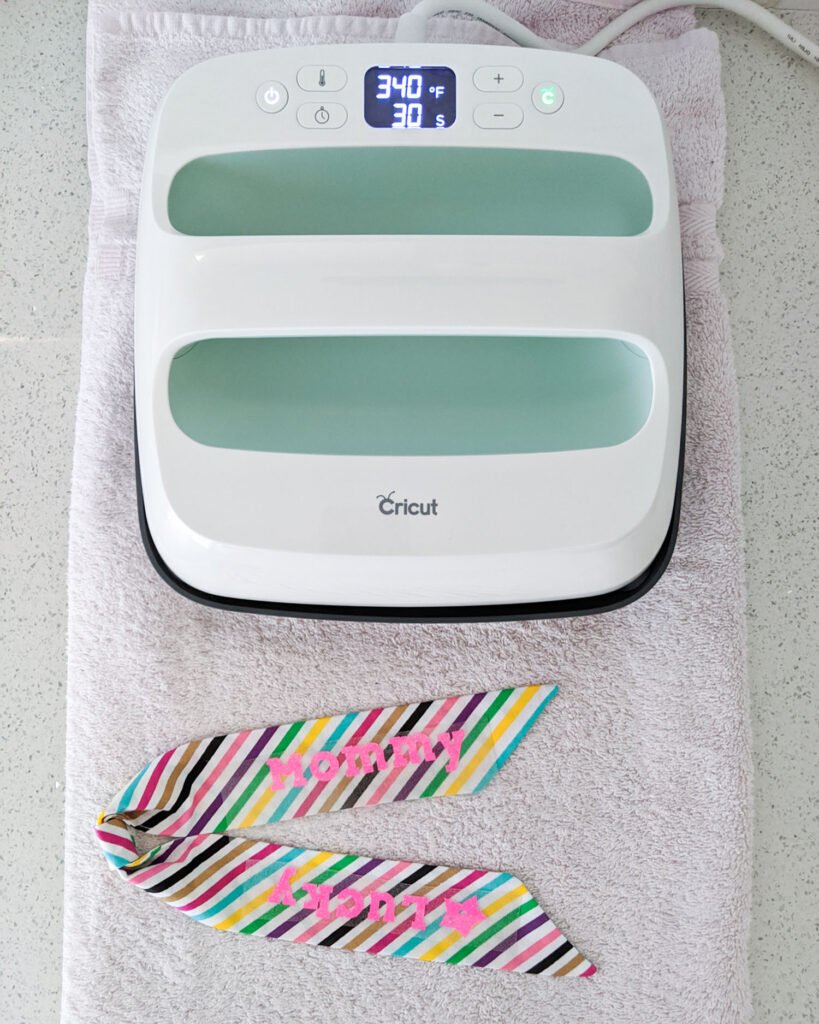
10. Turn on EasyPress 2 and preheat to 340oF. Apply heat to bandana for 5 seconds. Position iron-on onto bandana, face down with liner side up. Press for 30 seconds. Flip bandana over and press for 15 seconds. Allow to cool before removing the liner. Repeat the process with the hair tie.
Wear and enjoy!
To learn more about Cricut Joy and all the things you can create with it, click here. Consider getting a Cricut Access Subscription so you can gain unlimited access to even more images, fonts, and awesome projects! Happy crafting!
