Holiday Gift Wrap Hacks
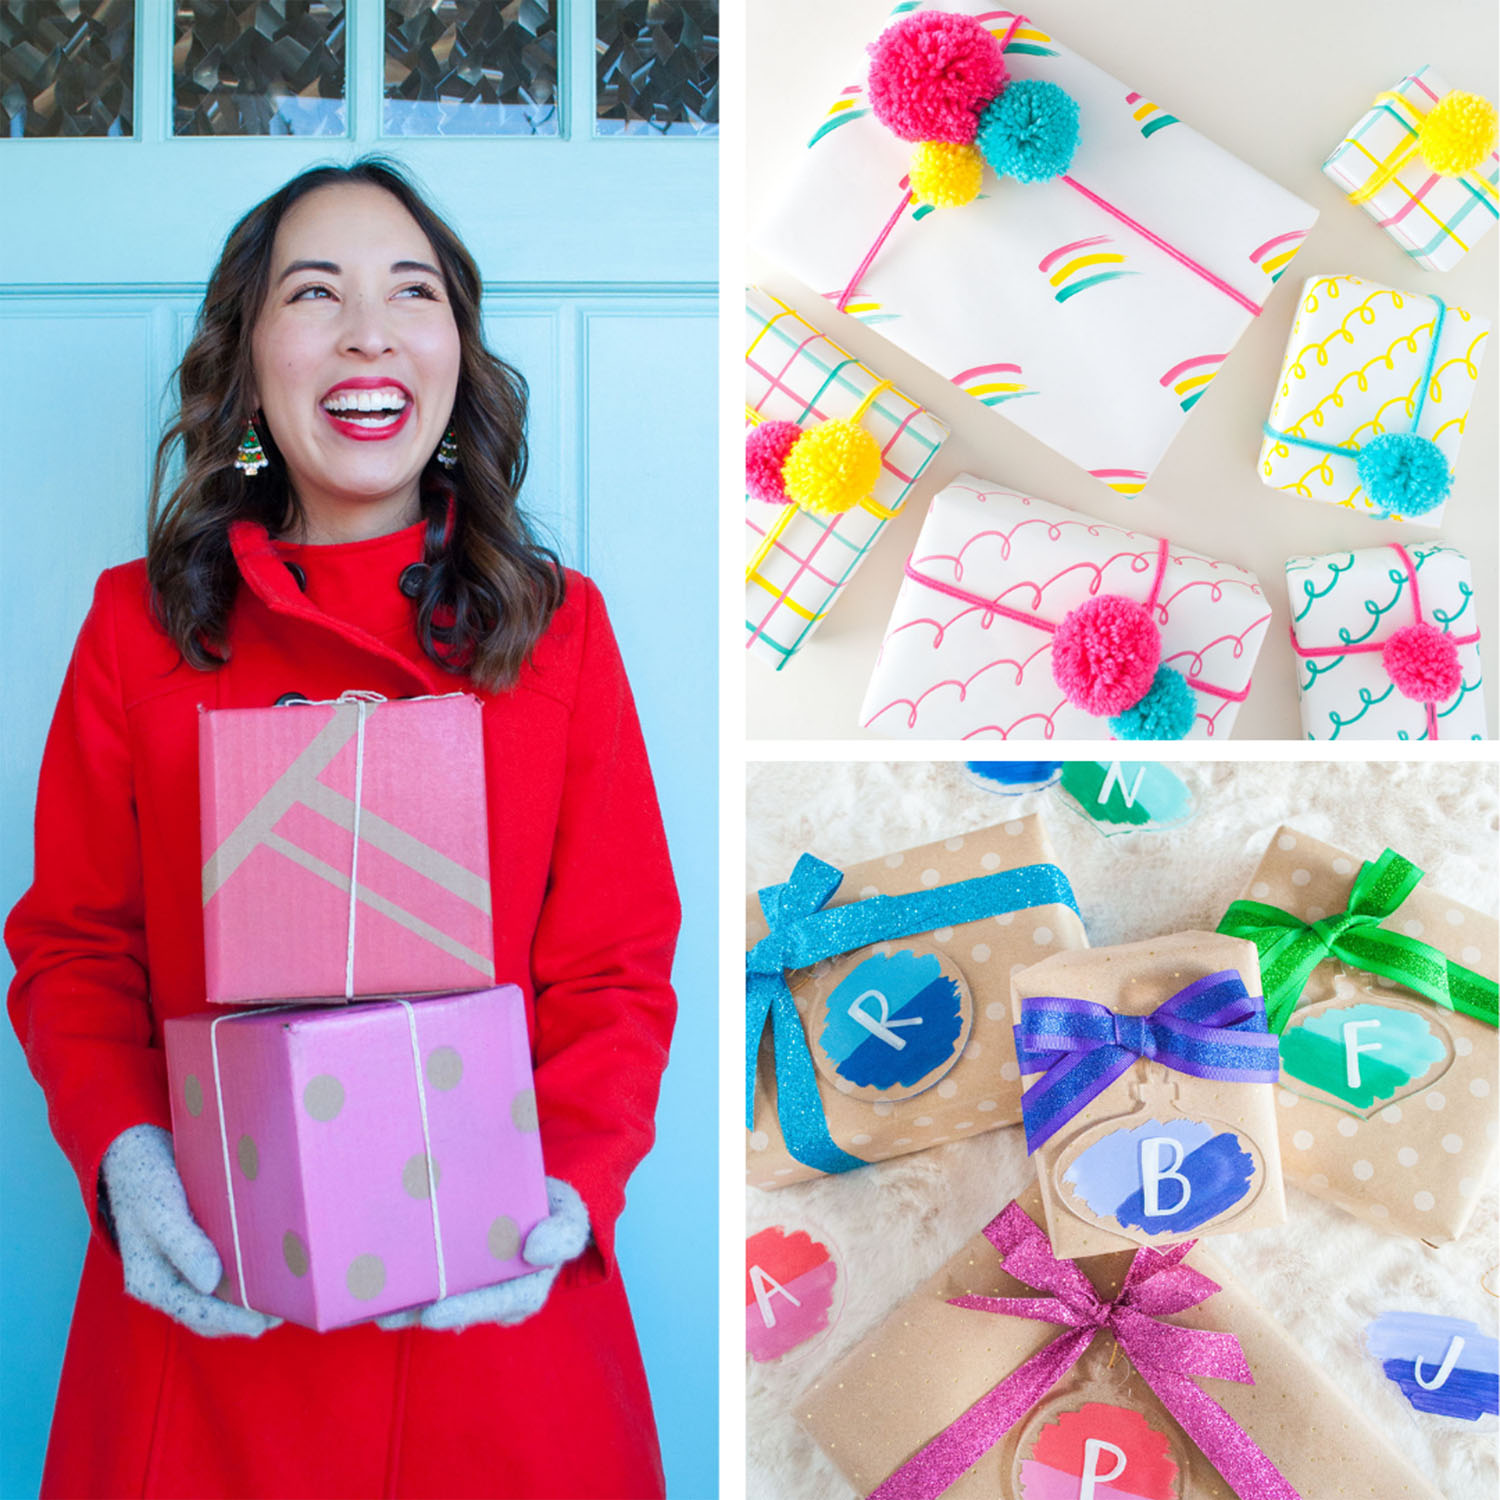
Christmas is just around the corner and if you’re looking for creative ways to hack your holiday gift wrap, you’re in the right place! As much as I enjoy shopping for the perfect gifts, I have just as much fun wrapping them. I love adding thoughtful, handmade details to show my friends and family that I care. Christmas gifts become even more special when wrapped in gift wrap made by YOU! I’m sharing three gift wrap hacks that are sure to add some extra holiday cheer to your gifts this year. All three hacks use paint products from COLORSHOT and are so much fun to make. Keep reading for the step-by-step instructions and video tutorial!
This gift wrap tutorial and video was created in partnership with COLORSHOT. As always, the concept and content are all my own. Some of the below links are affiliate links and if clicked, I may make a small commission at no cost to you. As an Amazon Associate I earn from qualifying purchases.
Watch my Gift Wrap Hacks Video Tutorial Here!
#1: Paint Resist Shipping Box
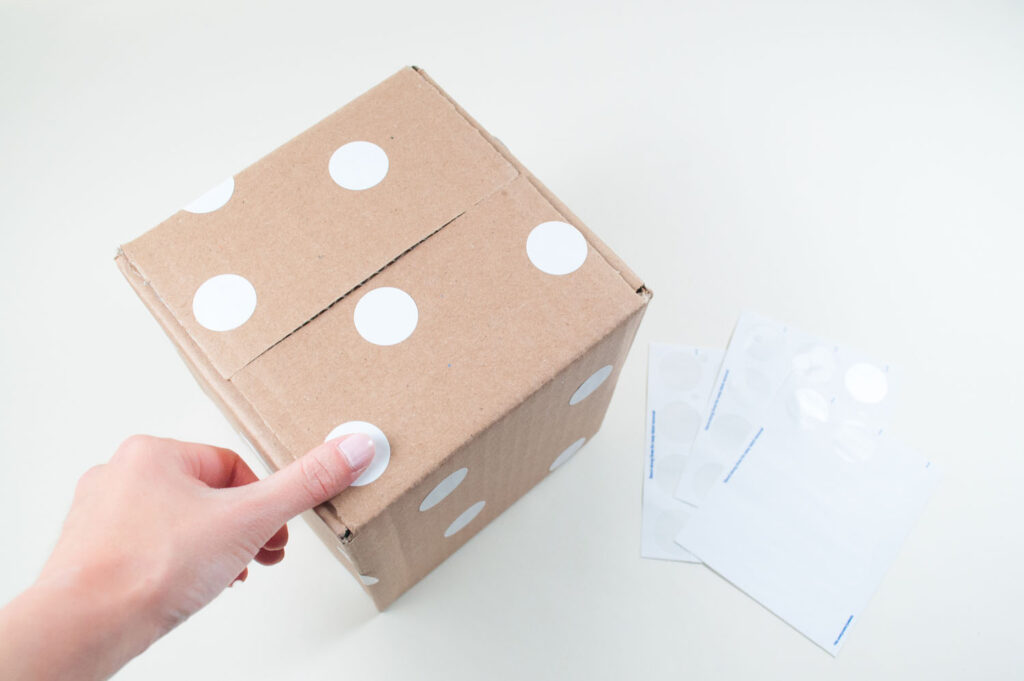
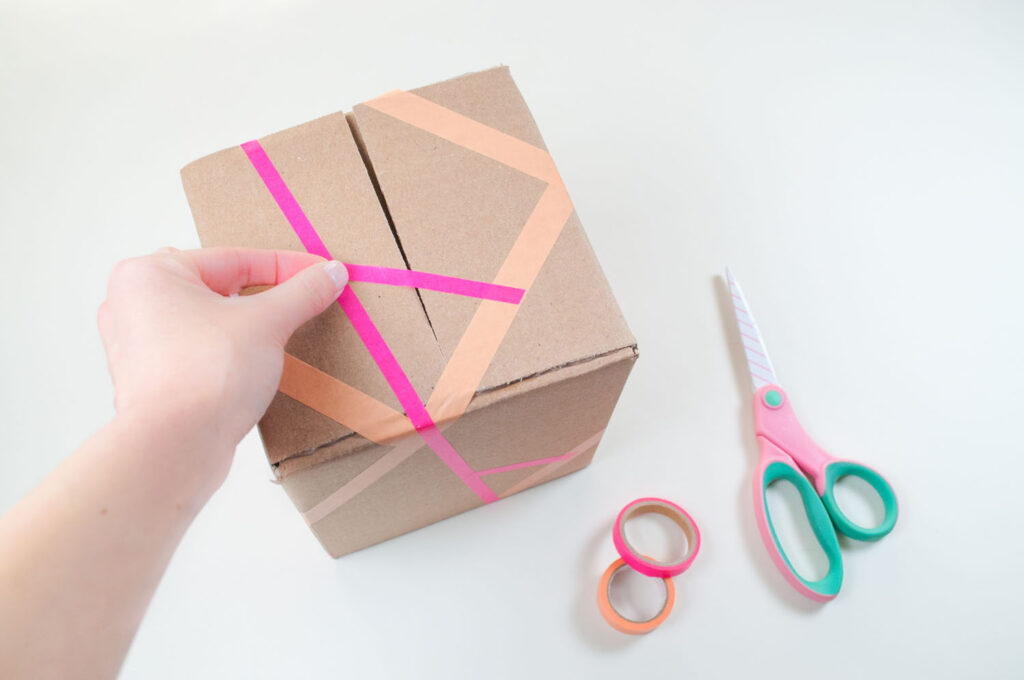
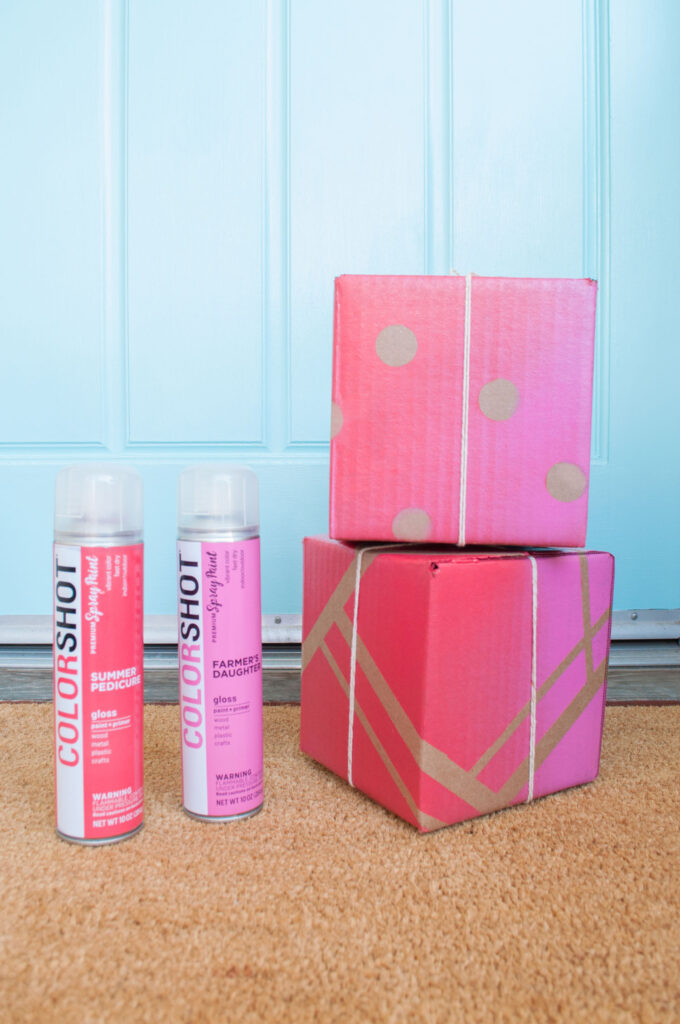
This paint resist gift wrap hack is a great way to reuse those cardboard boxes from your holiday orders! No wrapping paper needed! What exactly is paint resist? It’s a technique where you temporarily apply material such as tape to a surface. Paint is applied on top and when the tape is removed, the negative space it leaves behind creates an awesome design. For this project we’ll be using round stickers, washi tape and COLORSHOT spray paint to create a gift box that’s totally irresistible! 😉
Materials
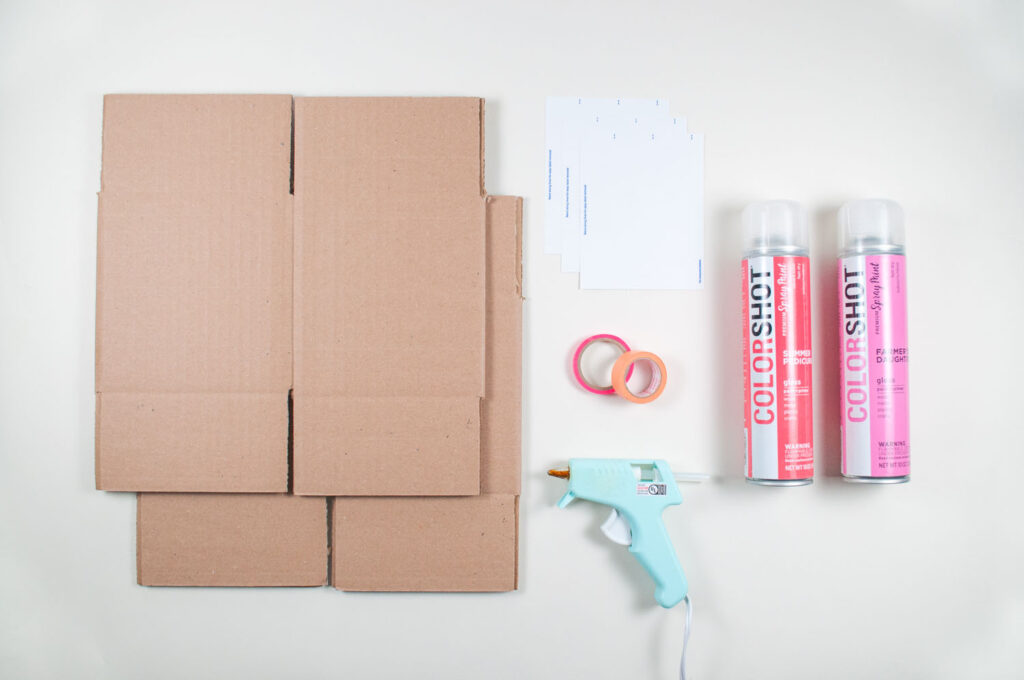
- COLORSHOT Spray Paint – Farmer’s Daughter, Summer Pedicure
- Cardboard boxes
- Round stickers
- Washi tape
- Hot glue gun
- Drop cloth
Instructions
Prepare Box
Assemble your cardboard box using hot glue to adhere the bottom flaps. Place tissue paper followed by your gift into the box. Cover gift with tissue paper to protect from spray paint. Close the box and adhere the top flaps with hot glue.
Apply stickers/tape
Option 1: Apply round stickers all over the surface of the box.
Option 2: Apply washi tape to box in an overlapping fashion, creating a geometric pattern.
Apply Spray Paint
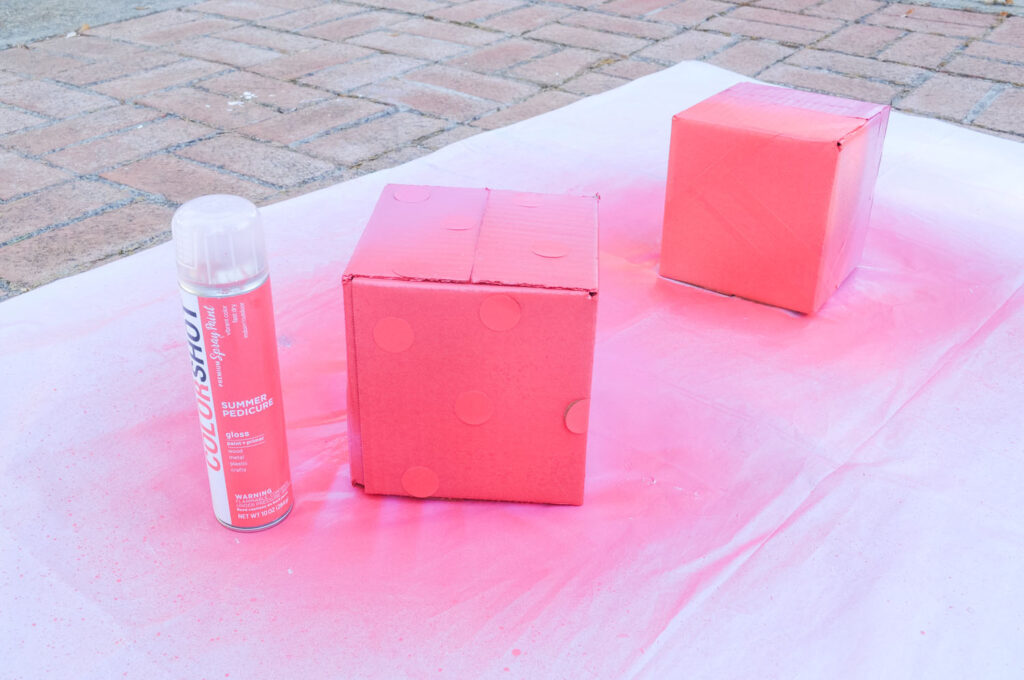
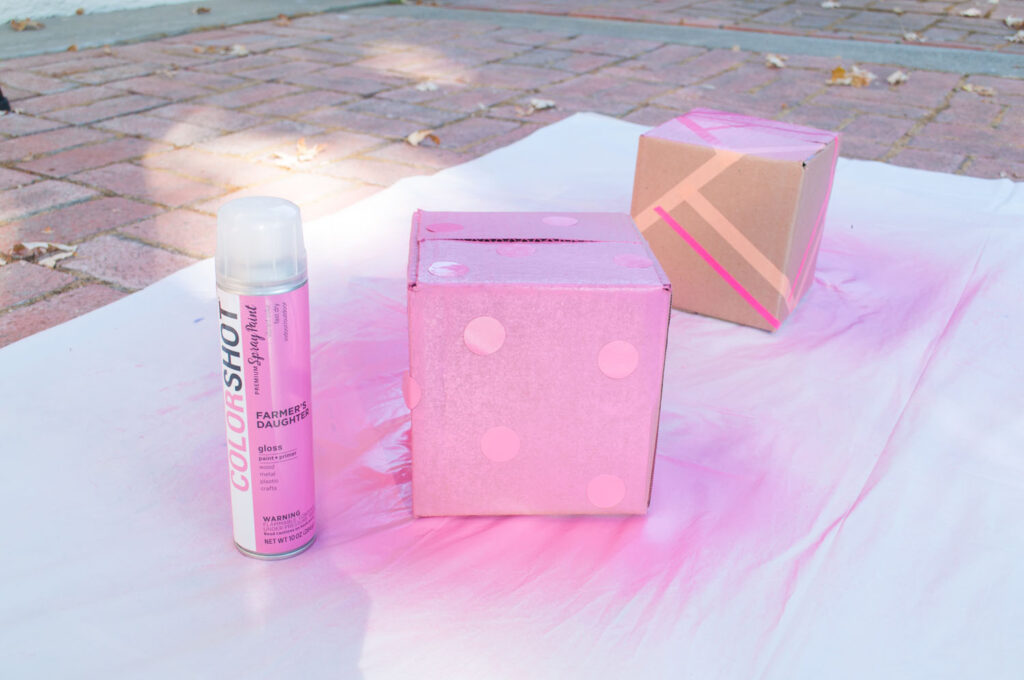
Using a sweeping motion, apply your first color of spray paint to half of the box.
Apply your second color of spray paint to the other half.
Wait one hour before applying a second coat. Allow to dry.
Finish
Carefully peel off the round stickers and washi tape. Tie ribbon or string onto your gift box and attach a gift tag.
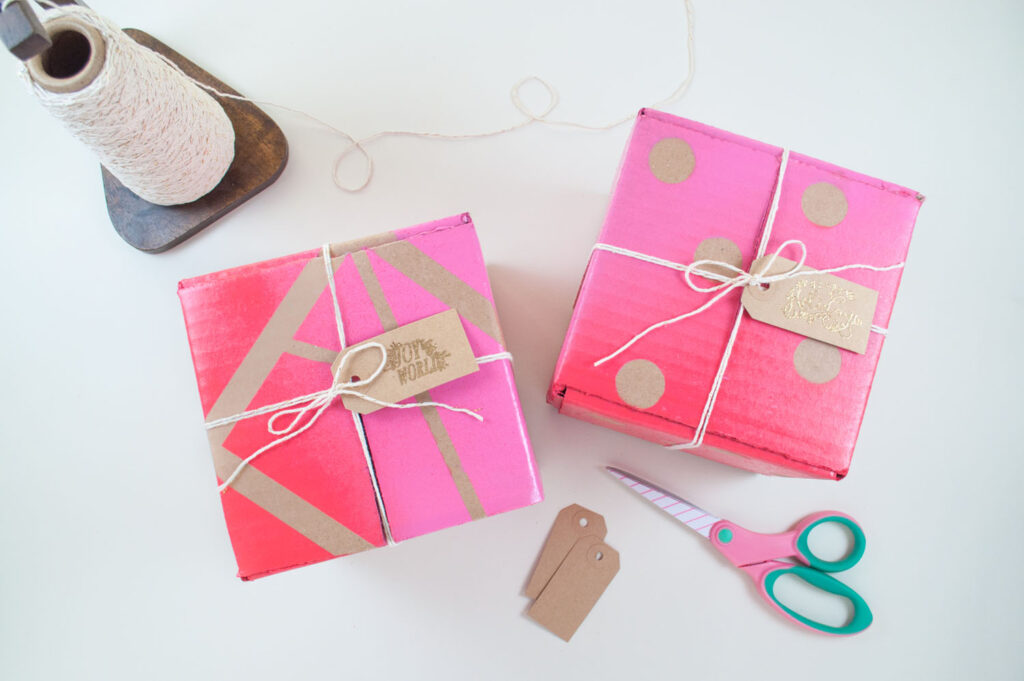
Your gift is ready to be delivered!
#2: Hand Drawn Gift Wrap
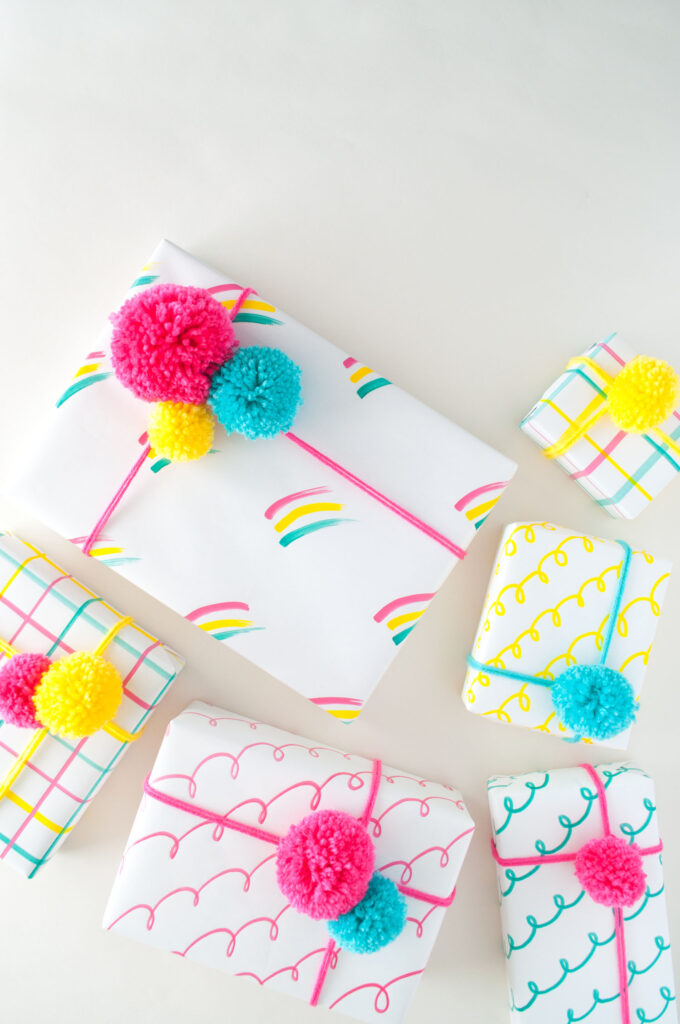
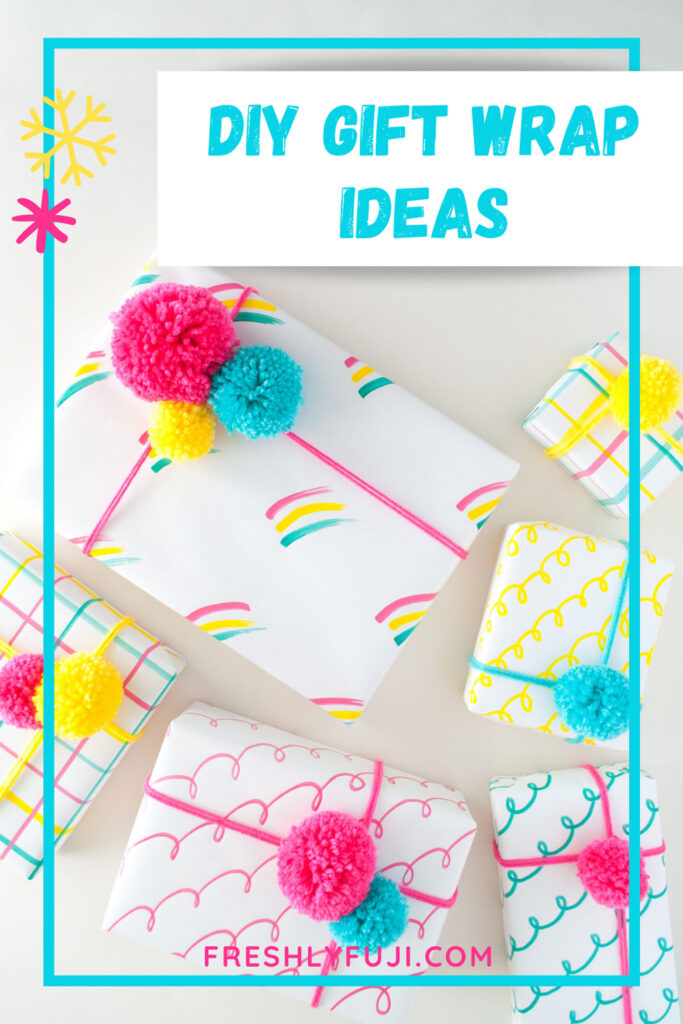
Give your gifts a personal touch with hand drawn gift wrap! I’m sharing three easy hand drawn designs that will make you look like a wrapping pro! The designs are very forgiving (you don’t have to be an artist!) and you can customize them using the COLORSHOT paint marker colors of your choice.
Materials
- COLORSHOT Paint Markers – Farmer’s Daughter, Emoji, Island Girl
- White wrapping paper
- Pencil
- Yardstick
Instructions
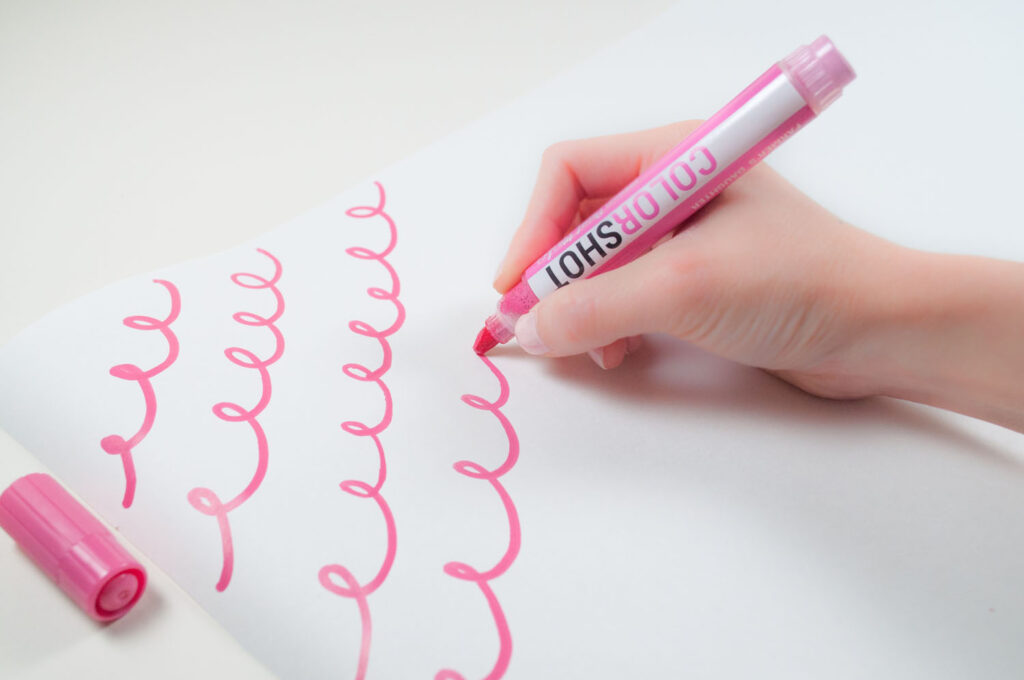
Loops
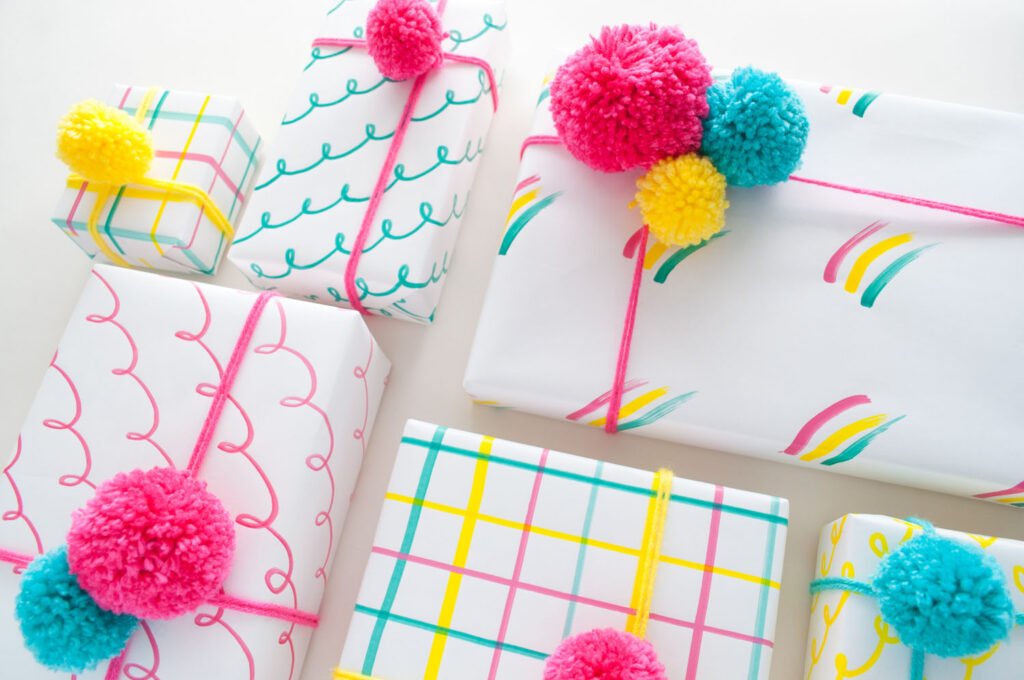
Unroll wrapping paper onto a flat surface. Select your paint marker of choice. Starting at the top corner, draw a continuous loop pattern running diagonally until you reach the edge of the paper. Create additional rows of loop drawings until you fill up the paper. Allow to dry completely before wrapping gifts.
Rainbow Brush Strokes
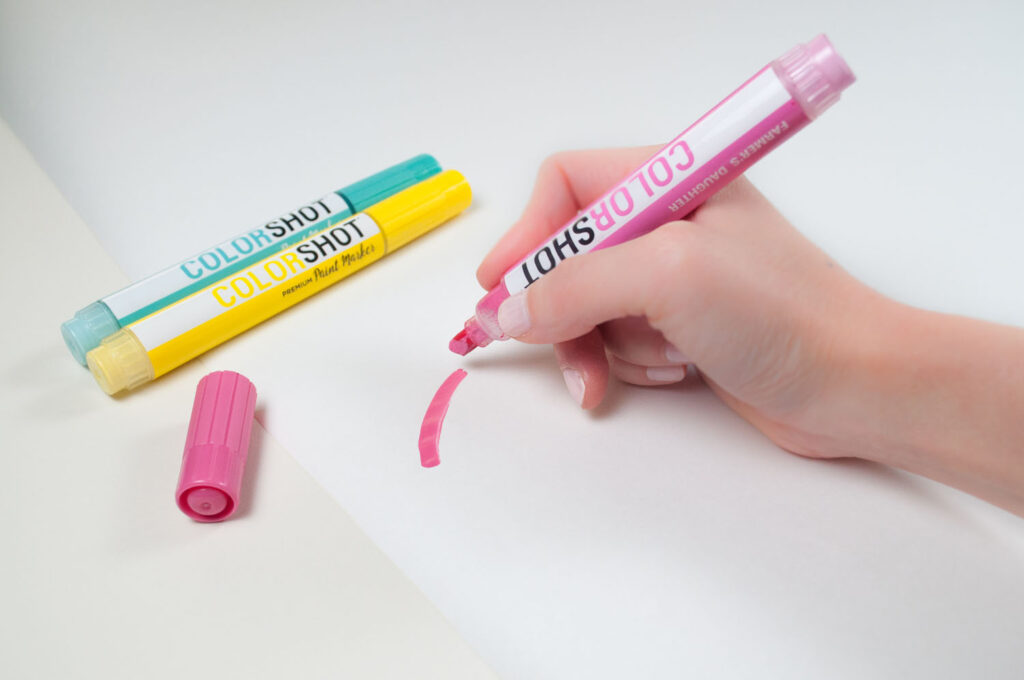
Unroll wrapping paper onto a flat surface. Select three paint marker colors to make up your rainbow.
Starting with your first color, draw an arch with the flat edge of the paint marker. Lighten the pressure at the end to create a brush stroke effect. Draw additional arches all over your paper. Allow to dry.
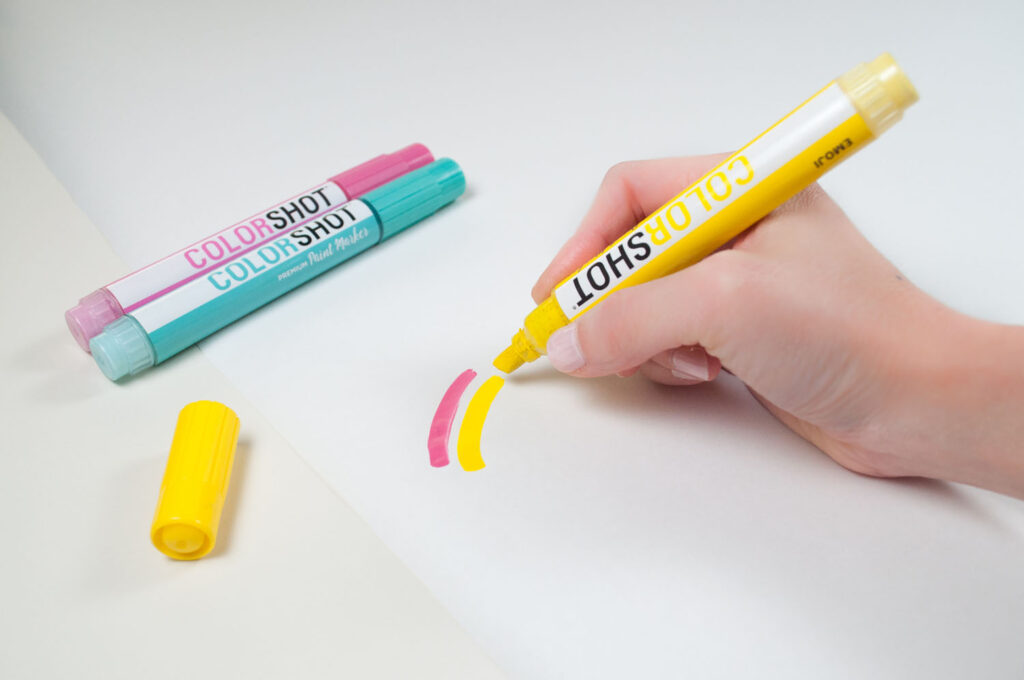
Using your next color, draw a second arch slightly below the first one. Repeat for all the arches you created. Allow to dry.
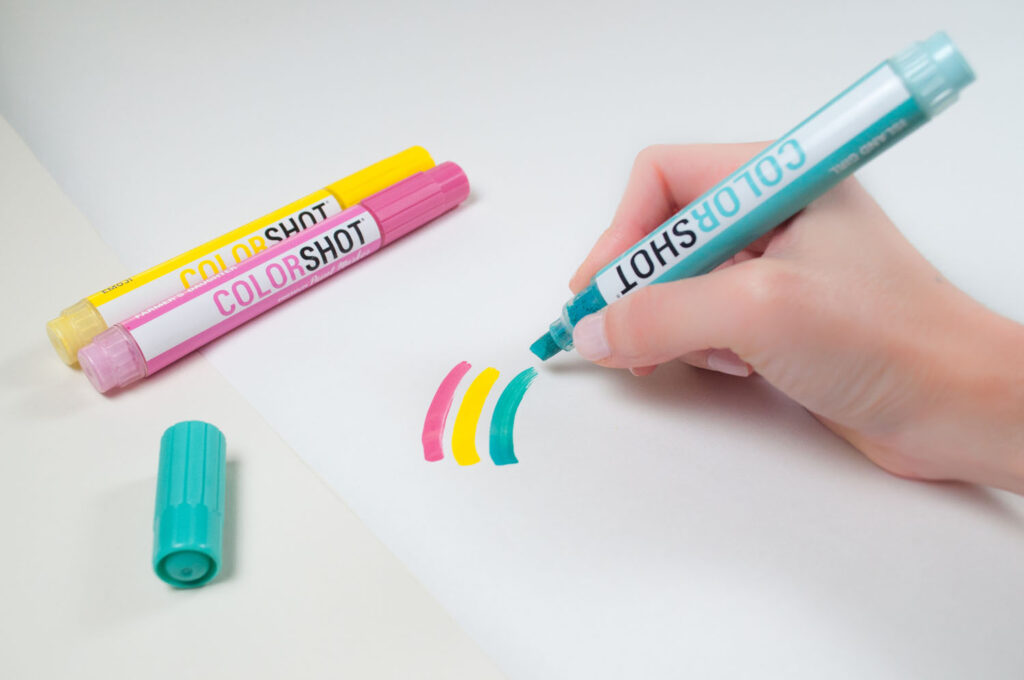
Finally, use your last color to draw a third arch slightly below the second one. This completes your rainbow! Repeat for all the arches you created. Allow to dry completely before wrapping gifts.
Grid Pattern
Unroll wrapping paper onto a flat surface. Select three paint marker colors.
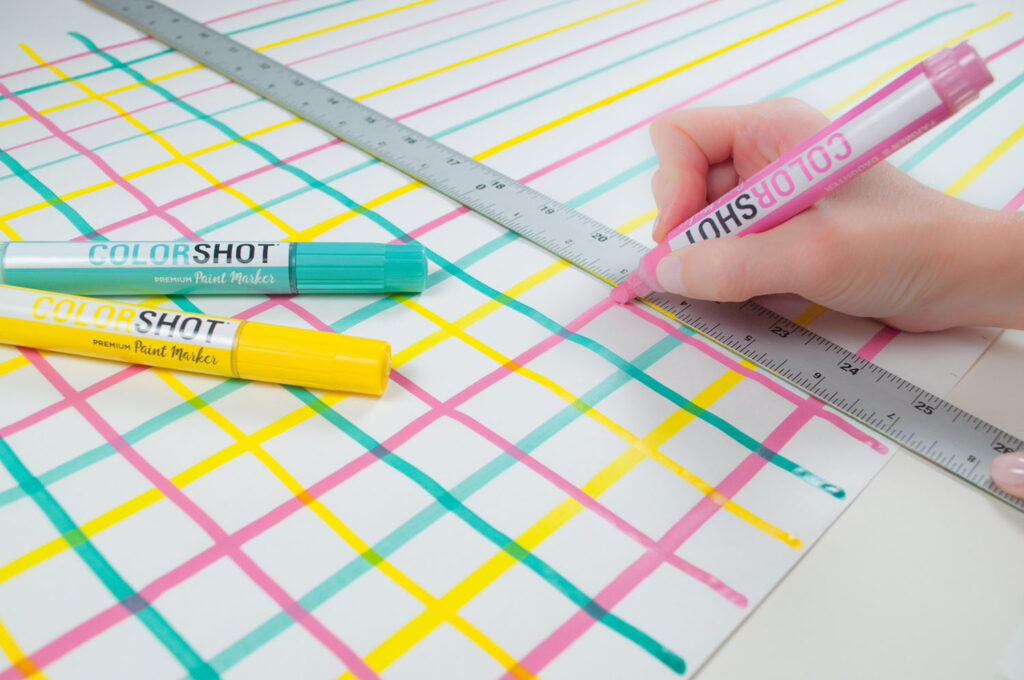
Using a yardstick and pencil, make 1 inch markings along the horizontal and vertical edges of your wrapping paper.

Select your first color. Align your yardstick with the bottom left and right markings. Using your yardstick as a guide, draw a straight line with the flat edge of the paint marker. Move your yardstick up to the next set of markings and draw a straight line with your second color. Finally, move your yardstick to the third set of markings and draw a straight line with your third color. Repeat this process, alternating colored stripes until you reach the top of the wrapping paper. Allow to dry.

Follow the same steps above for the vertical stripes. Allow to dry completely before wrapping gifts.
Wrap your gifts in your hand drawn wrapping paper and add a pom pom or two (or three!)
#3: Painted Acrylic Gift Tags
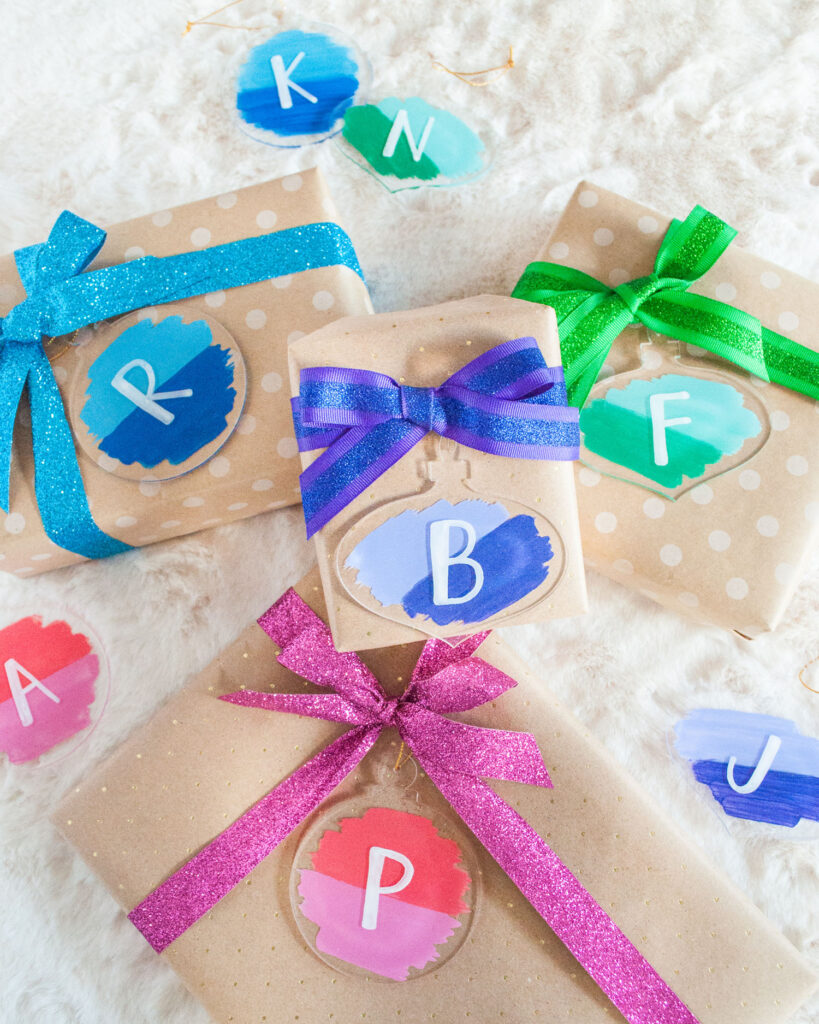
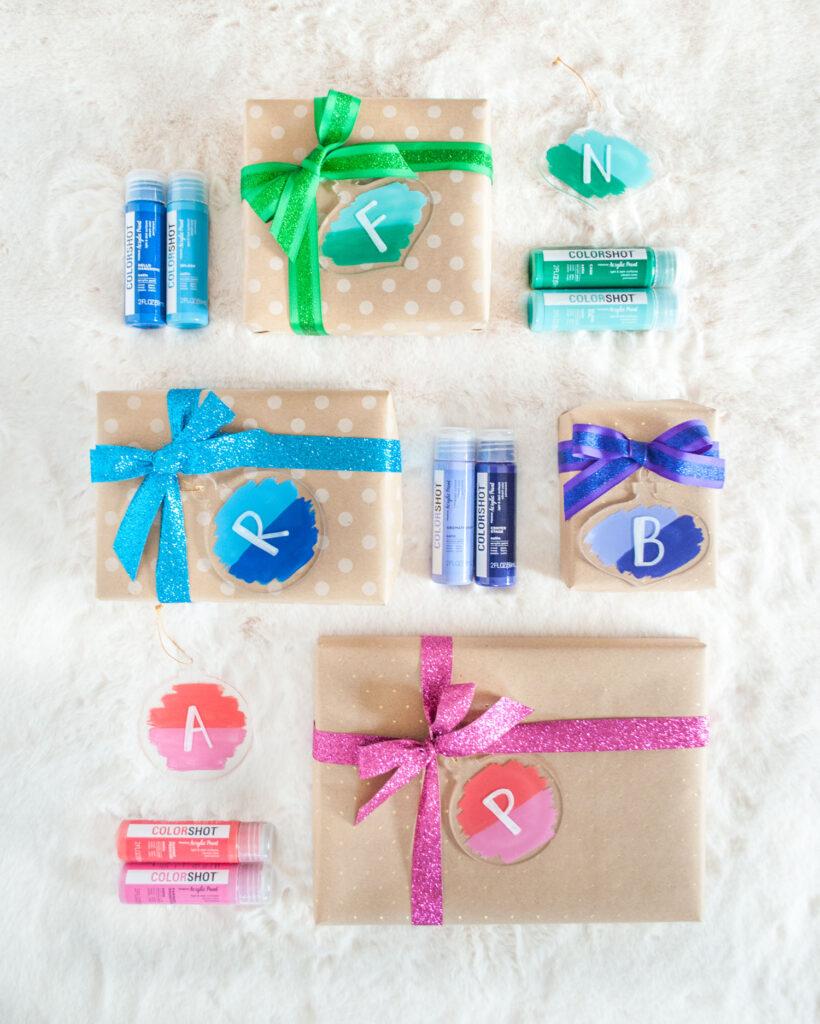
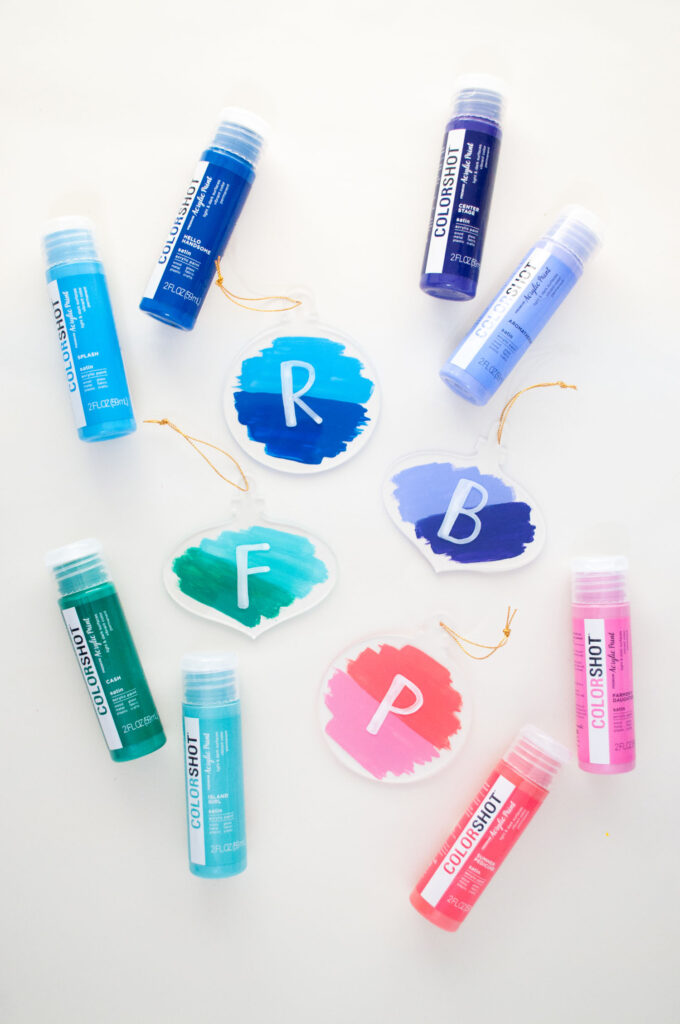
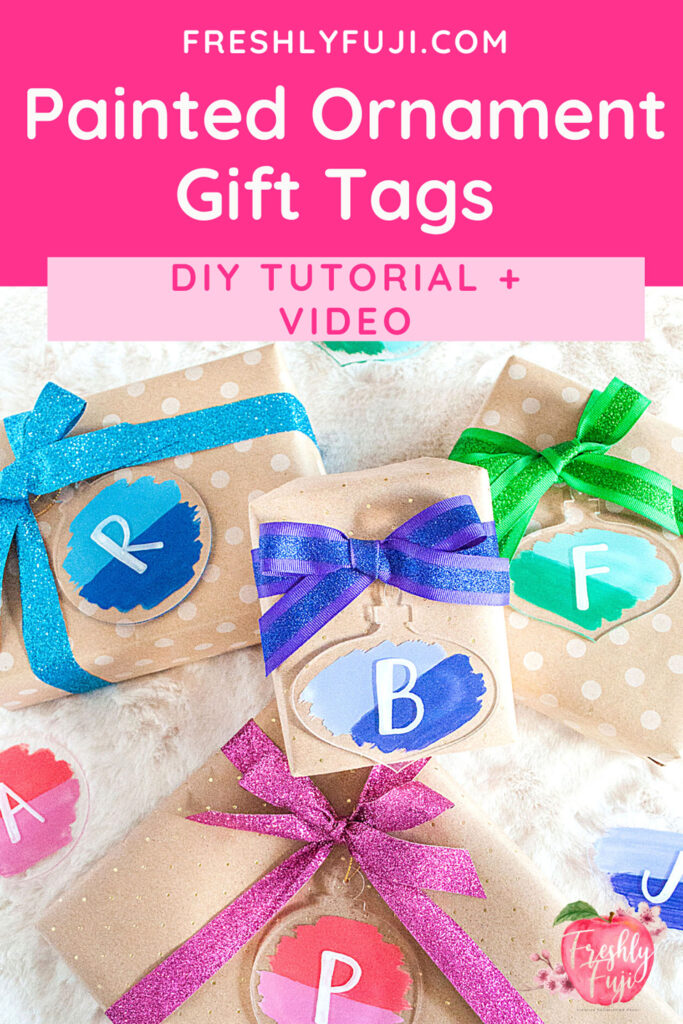
Elevate your gifting game with hand painted acrylic gift tags! Painting on acrylic has become such a huge trend in the last few years so naturally I found a way to add them to Christmas gifts too. These color blocked gift tags will make any plain gift look like a work of art. The shine of the acrylic combined with bold COLORSHOT paint colors creates such a beautiful modern look. The best part? These gift tags double as ornaments too! Customize them with your recipients’ favorite colors and initials for a personal touch.
Materials
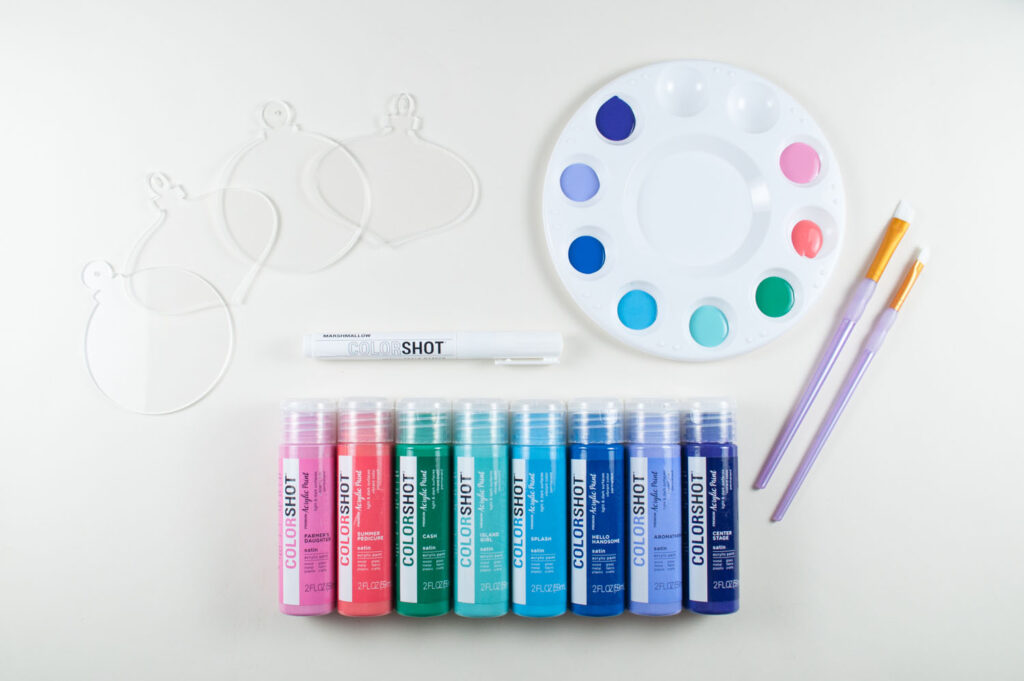
- COLORSHOT Acrylic Paint – I used Farmer’s Daughter, Summer Pedicure, Cash, Island Girl, Splash, Hello Handsome, Aromatherapy, and Center Stage.
- COLORSHOT Chalk Marker – Marshmallow
- Acrylic ornaments
- Paint brush
- Cup of water
Instructions
Clean the front and back of the acrylic ornaments with a soft cloth and glass cleaner to remove any dust or smudges.
Select two paint colors. Apply first paint color to half of the gift tag using a paint brush. To create a more brushed effect, use a smaller brush to feather out the paint. Allow to dry slightly before applying a second coat of paint. You may need a third coat of paint depending on desired opacity.
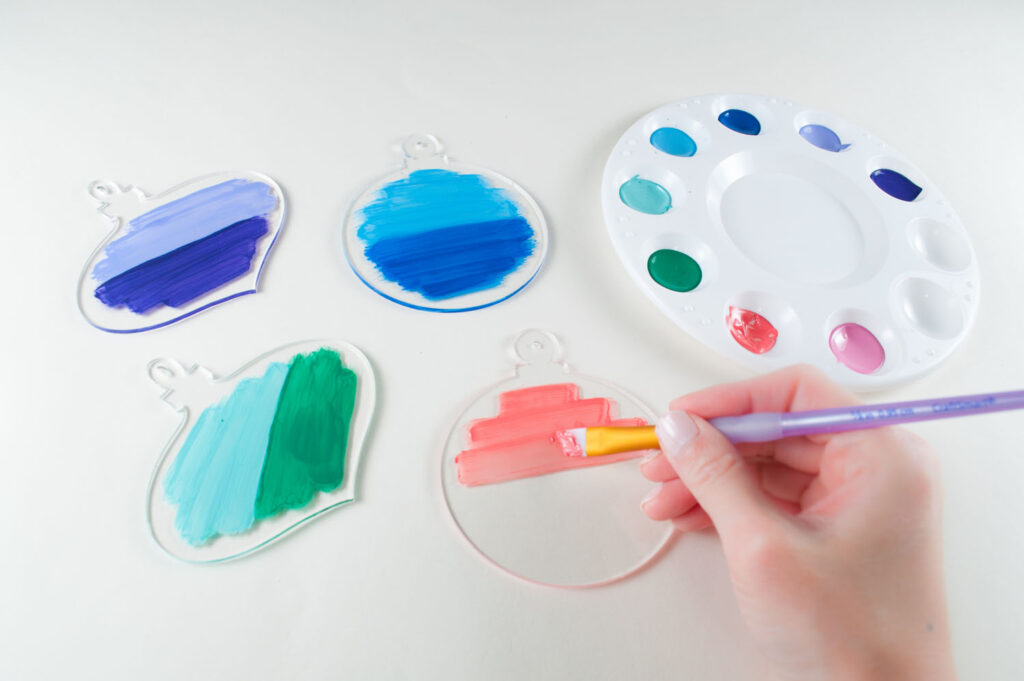
Apply second paint color to the other half of the gift tag. Apply a second and third coat of paint as needed, allowing to dry in between coats.
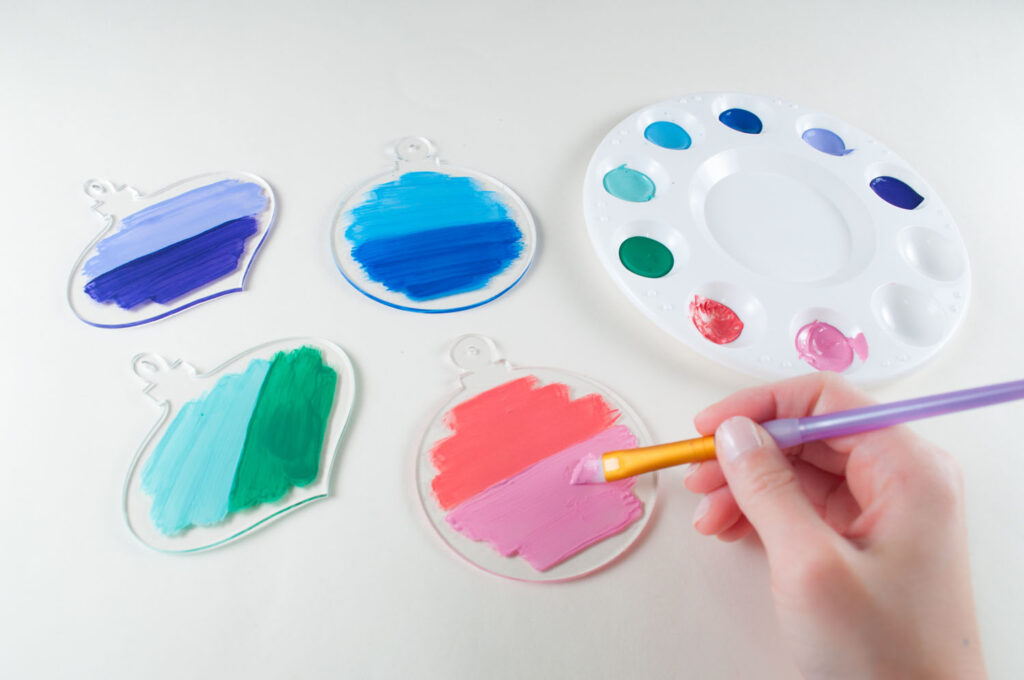
Flip over the gift tag once the paint has dried completely. Use the chalk marker to write the first initial of your recipient. You may need to trace over the letter while it’s still wet to make sure it’s opaque.
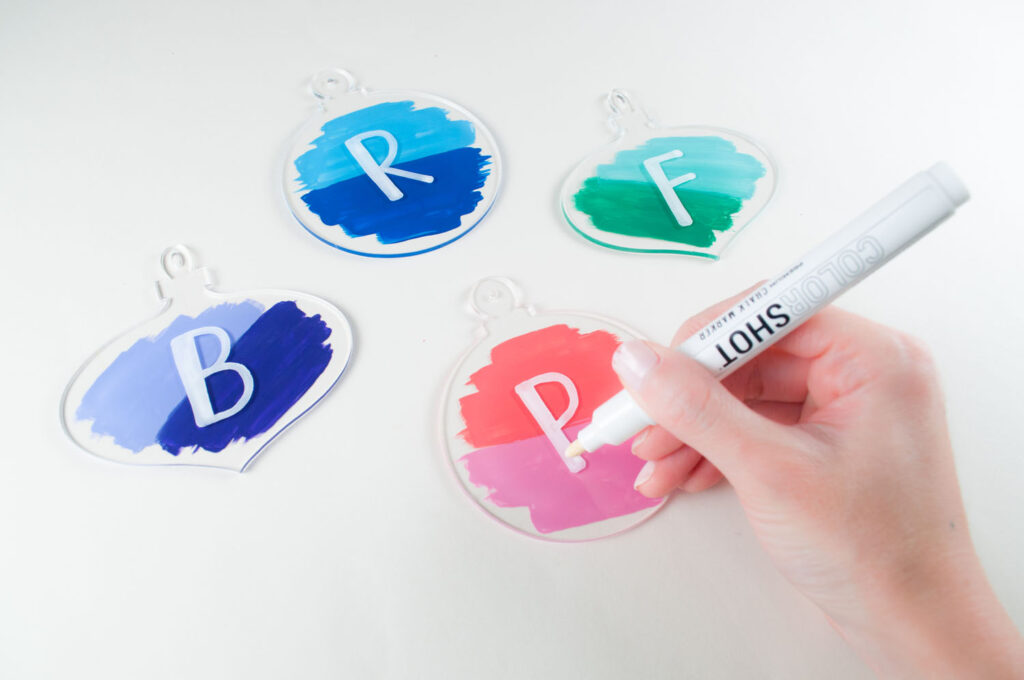
Once dry, insert a piece of string or ribbon through the gift tag opening and tie it onto your gift. Use coordinating glitter ribbon for extra color and shine!
That’s a Wrap!
I hope these gift wrap hacks inspire you to get crafty with your gift giving this holiday season! If you’re already done wrapping but love a good DIY, pin a few of these photos for next year. I love how they can be used for gift giving year-round if you choose non-traditional colors like I did. This year especially, presence is more important presents. Let’s remember to prioritize time with loved ones (virtually) and stay grateful for all of our blessings.
Save these pins!
Wishing you a safe and happy holidays!!

For more paint ideas and inspiration, visit mycolorshot.com.
Ready for more Christmas inspiration? Check out my other Christmas home decor and DIY projects!
